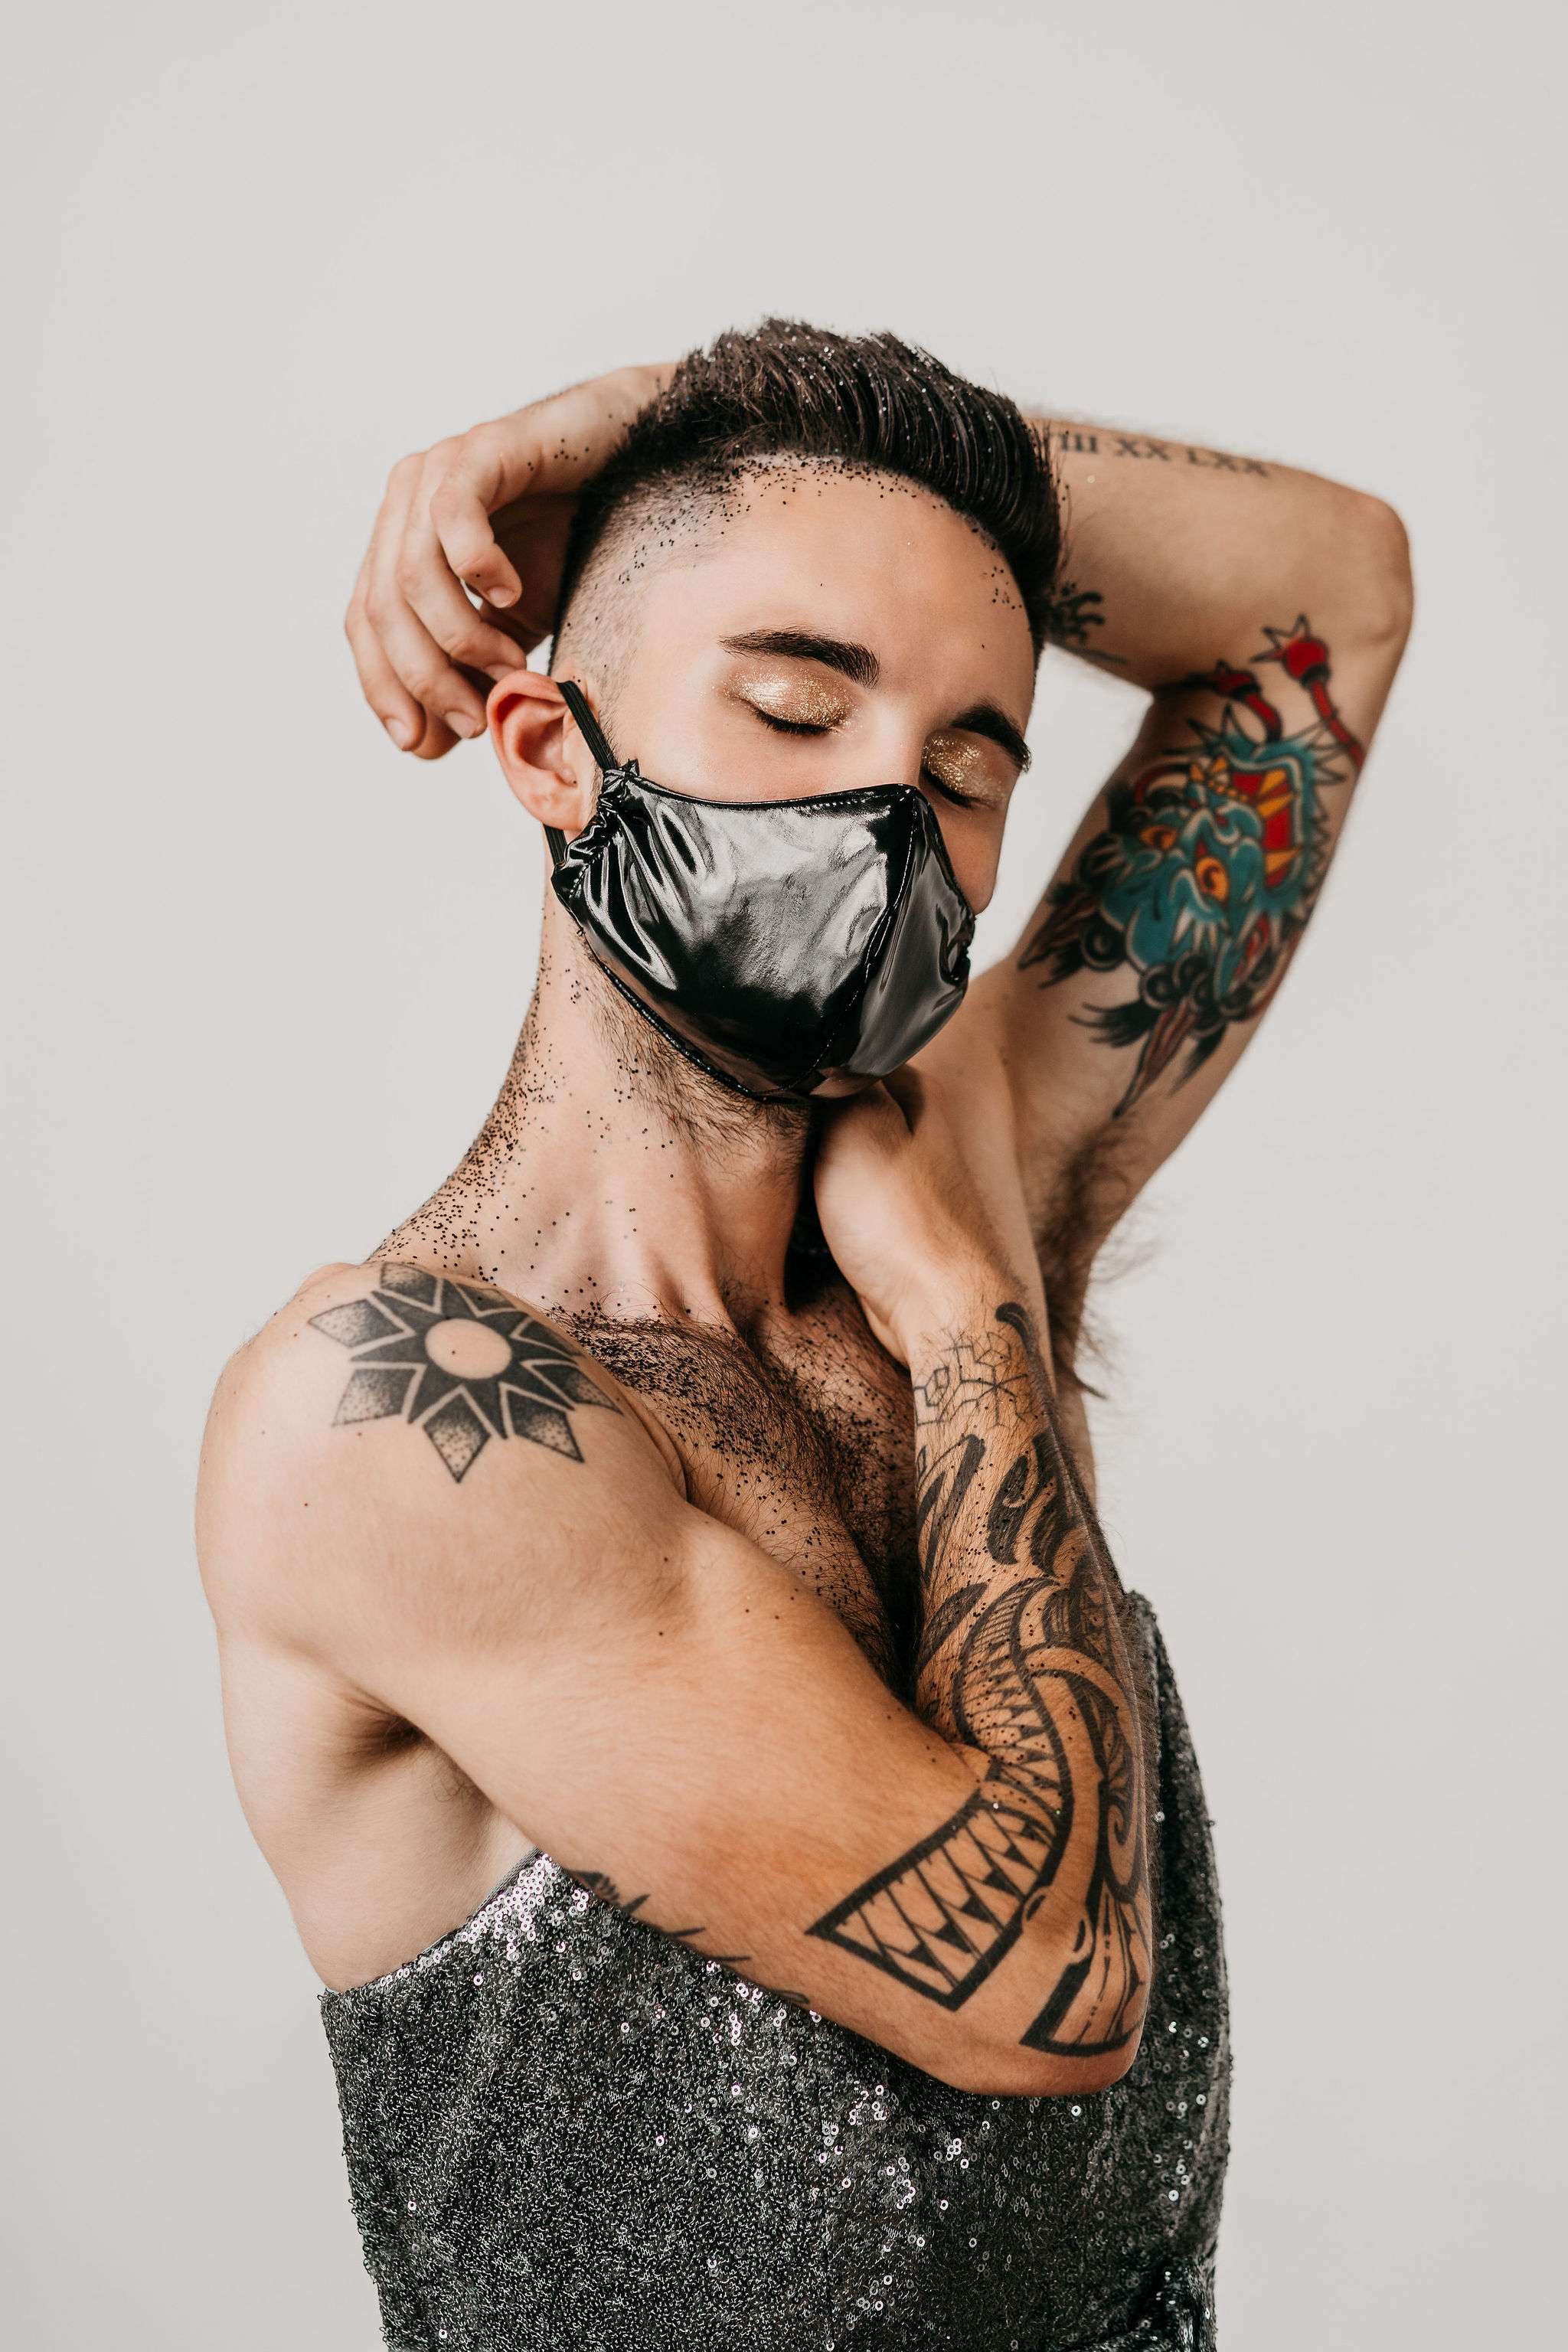
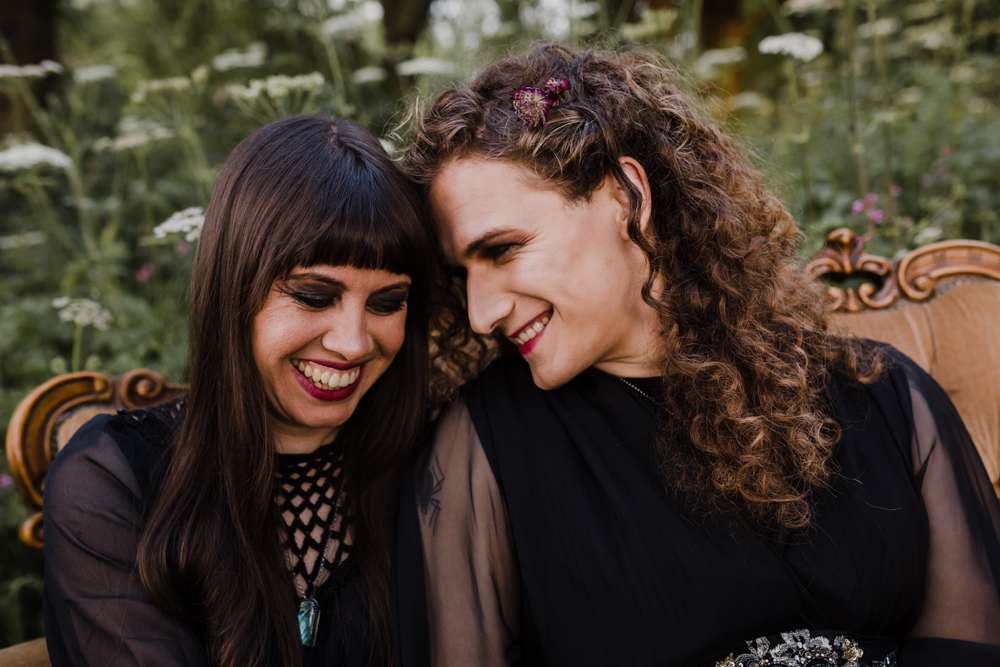
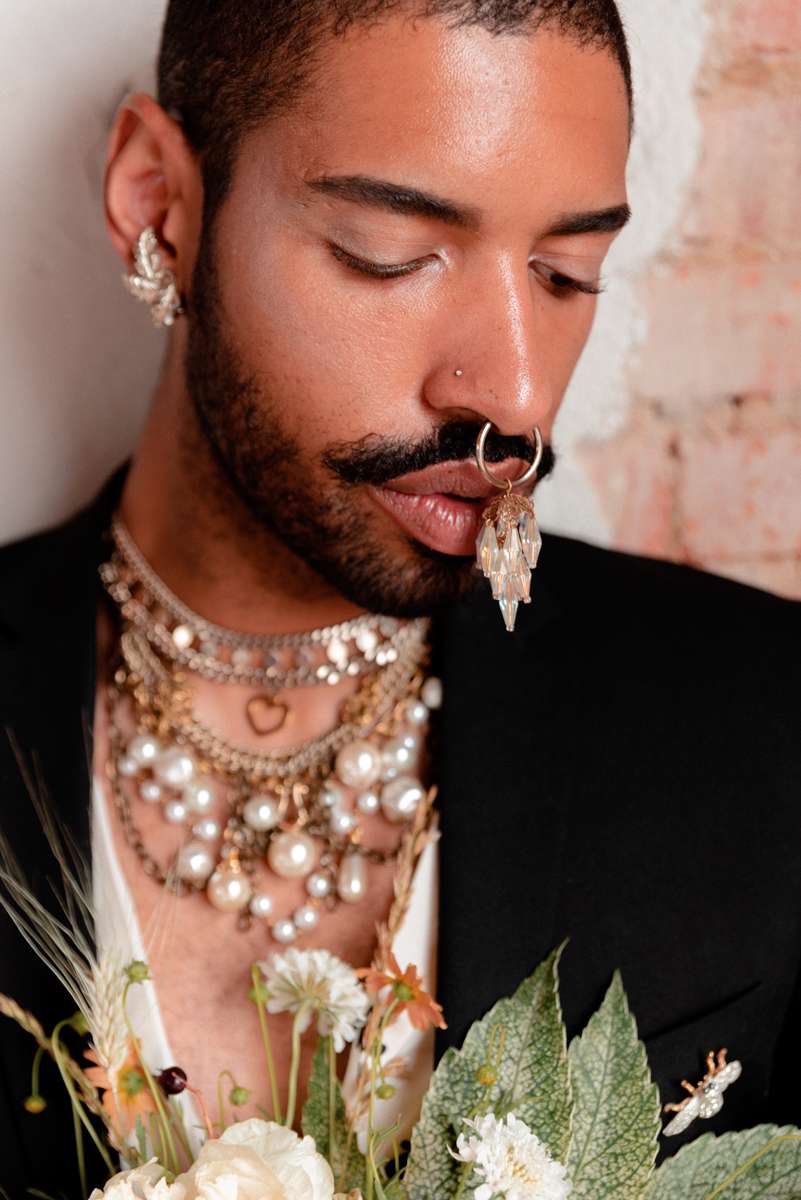
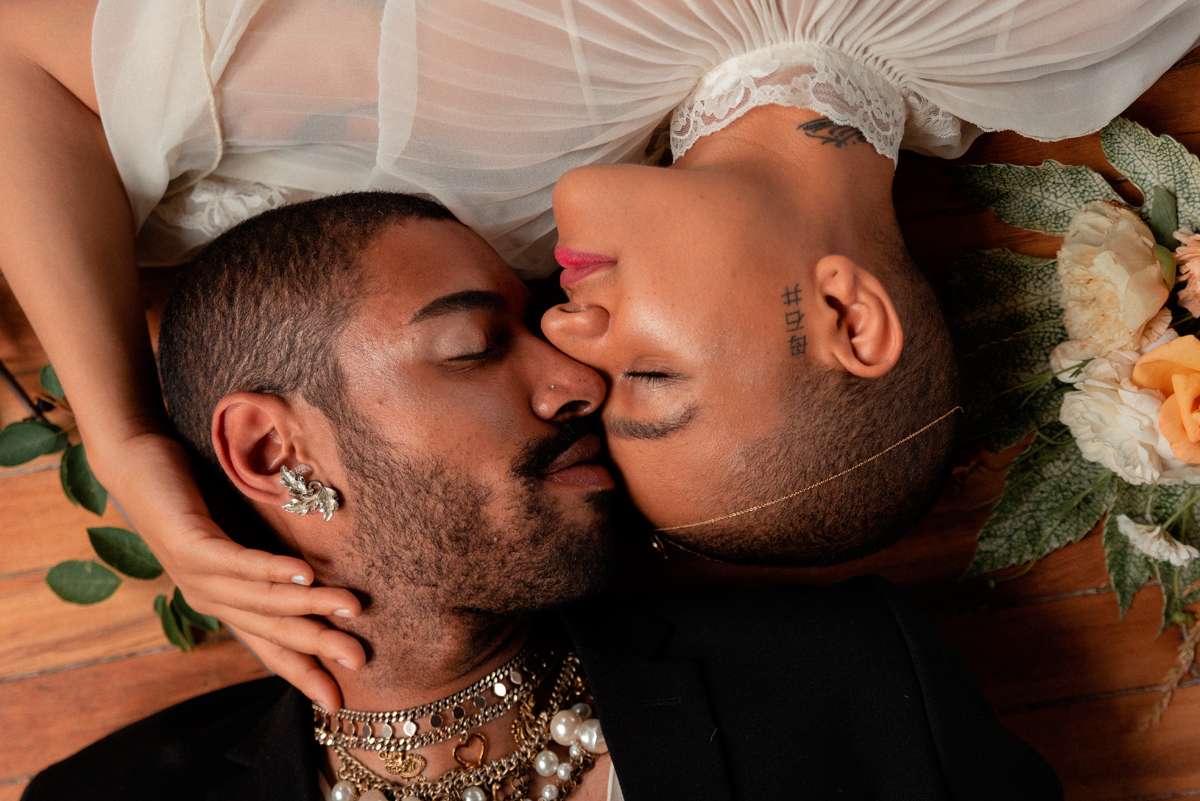
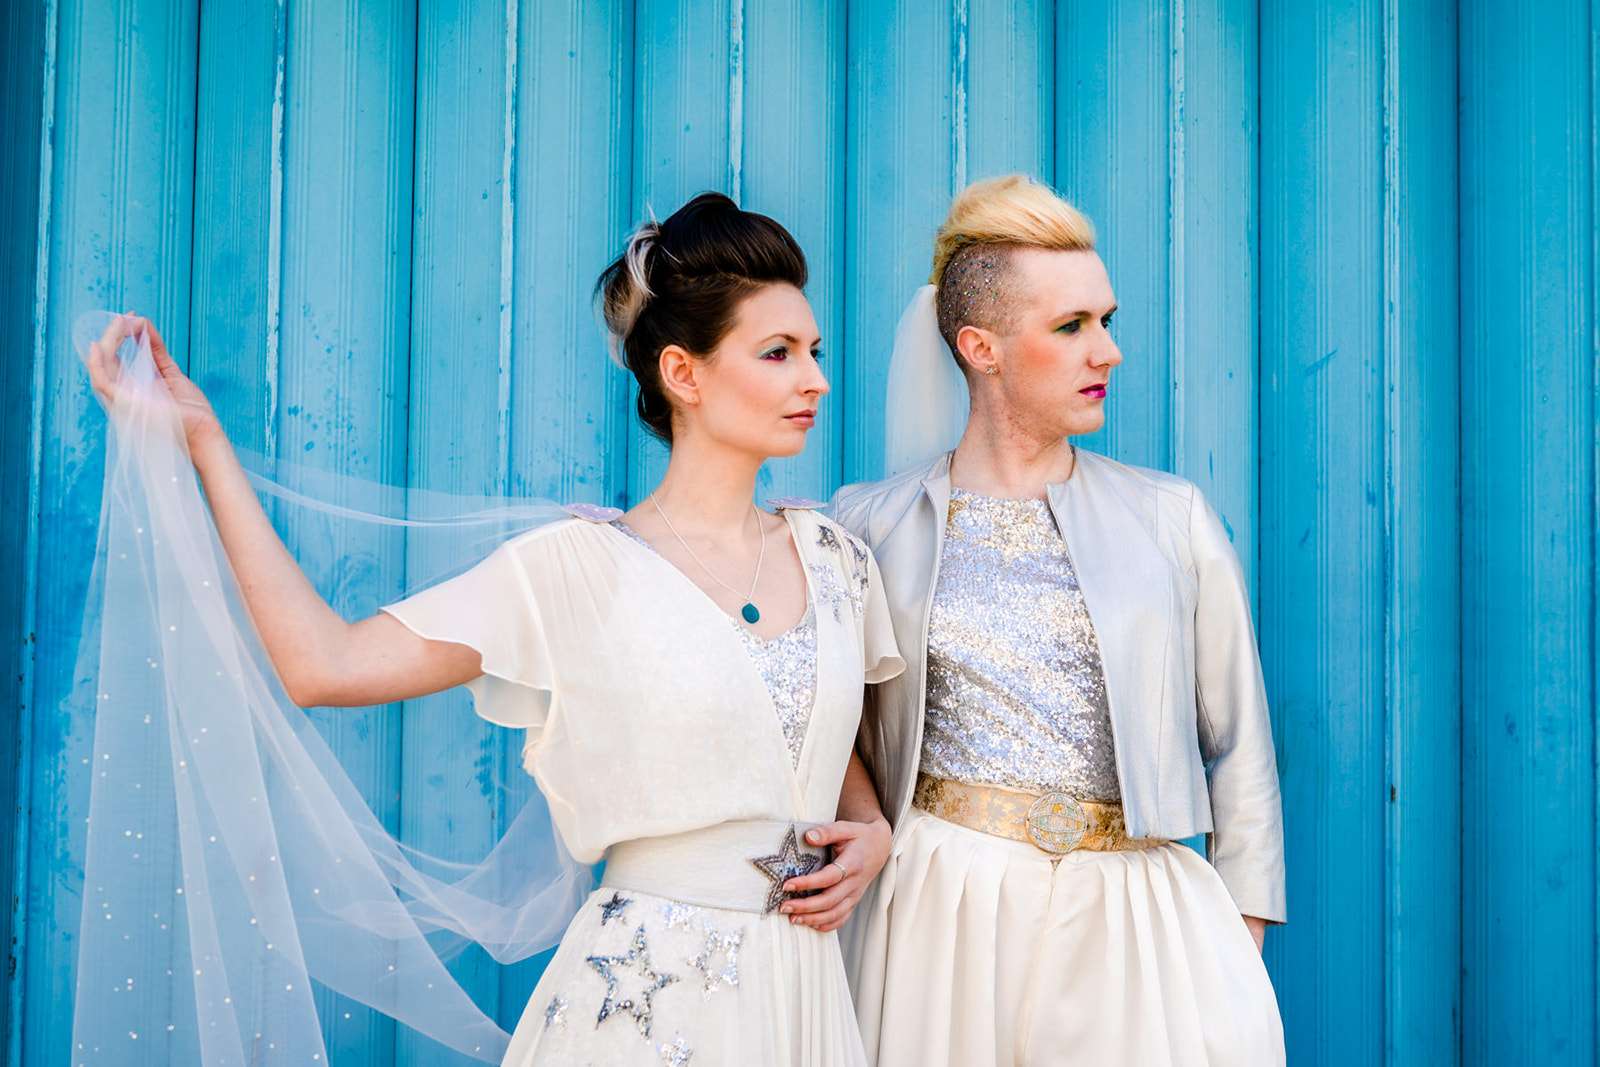
It’s 2020 and thinking that makeup is “just for girls” is about as old fashioned as racing to blockbuster for 11pm on a Sunday to return your VHS tapes. But, if you identify as a man or non-binary, where can you go for the best advice? YouTube is obviously a great resource and there are plenty of influencers of all gender identities rocking the most incredible looks, but for your wedding day you may want something a bit more subtle. Plus, doing a face that looks great in a highly edited selfie is very different to creating a look that lasts all day. Makeup artist Natalie Flewitt has been working with male and non-binary clients for years, and today she’s sharing some of her top tips. Over to you Natalie!
Bridal magazines are, on the whole, aimed at women and while you may see plenty of great makeup tips and product recommendations, how do you know if they’ll work for you? While obviously any person can wear whatever the hell they like, if you don’t ever see yourself or your gender represented, it can be confusing.
There are a few differences between biologically male and biologically female skin. It’s not a con or a marketing ploy when you get skincare targeted at different genders. There is often more to it than them just smelling like a rich woodland rather than a flower garden. Biologically male skin is thicker and contains more collagen (so it stays bouncier and youthful for longer), it also produces more sebum so it’s oilier with larger pores, and often has more melanin so it can have more pigmentation… Then there is obviously facial hair. With all this in mind, nothing bad is going to happen if you use face cream aimed at a different gender, but you will get better results by using a product created with your skin type in mind.
Over the years, I have provided makeup services and lessons for many people from the LGBTQ+ community and here are my top tips:
Skincare
Before any good makeup artist takes a brush to your face, they will prep your skin with products specifically aimed at your skin type and condition. This is going help make your skin look amazing and make your makeup last, rather than just cover any areas of concern with a mask of full coverage foundation.
A dermatologist or beauty therapist who provides facial and skin treatments will be able to advise you of your skin type. If your budget won’t stretch to seeing a beauty therapist, an advisor in the cosmetic and skincare section of a department store will also be able to guide you. Remember, you’re not obliged to buy the products they have recommended from their counter and it’s ok to walk away if you want to think about it.
Whatever your skin type, start cleansing, moisturising, exfoliating and using treatments (such as masks, oils and serums) and SPF in the run up to the big day. For optimum results, start this at least three months before the wedding. In my experience, and whatever your skin type, cream, milk, oil, and balm cleansers are better than anything soapy and foaming, and liquid exfoliators containing salicylic or glycolic acid are more effective and kinder to your skin than the ones with gritty bits in.
Following makeup tutorials
When you are about to start practicing your makeup, don’t first do it when you’re heading for a big night out. Do it on your day off, when you have the time to take it off and start again – especially if you’re going to try a winged eyeliner! Use online tutorials (there are millions on YouTube) and WATCH THE ARTISTS HANDS AND HOW THEY ARE HOLDING THEIR BRUSH.
I will confidently say that 99% of my clients that come in for lessons are still struggling with a technique because they’re holding their brush in a way I describe as ‘cacky-handed’. This is to be expected when you are watching though a screen as the image is flipped. Adjusting your hand position can make all the difference. Don’t give up if you fall at the first hurdle. It is going to take practice.
Remember when watching tutorials that your face isn’t the same as the person in the video, so your results aren’t going to look exactly like theirs. They may have a completely different eye and face shapes and certain looks may never work on you no matter how hard you try. Some looks need tweaking to suit the wearer. Again, this is something that comes with practice and once you get to know your own face you will know what works for you. Try and look for videos where the artist is using their own face. This will make it easier to follow their techniques. Applying makeup on others is completely different.
Planning your wedding day makeup
If you are hiring a makeup artist, do your research. Ask them if they are confident doing make up on all genders and make sure that they understand your vision. Any reputable artist who wants your business will be happy to chat over the phone, via email or maybe even face-to-face without asking you to cough up a deposit. Arrange a trial at least three months before so that if you are not happy with the result you have time find someone else.
If you do have a bad experience with a makeup artist, then please don’t let it put you off. You are paying a professional to make you feel like a million dollars so if they can’t, then find someone who can. If you feel amazing, that confidence will shine brighter than if someone were to walk in front of you with a ring light on your face all day.
Don’t try something drastically new on your wedding day. This applies to EVERYONE. You may love your new look but then look back at the photos and feel like you’re looking at a different person. This is why you should start playing and experimenting early. Start wearing makeup in everyday life to help build up your confidence. Let your friends and family see you wearing it before you saunter down the aisle, especially if you think they may have some judgemental and unkind comments. Get all the negativity out the way before your day. If someone doesn’t like you for you then your wedding day is not the time to find that out!

No idea where to start? Here are some looks you may like to try:
LOOK ONE: The ‘no makeup makeup’ look
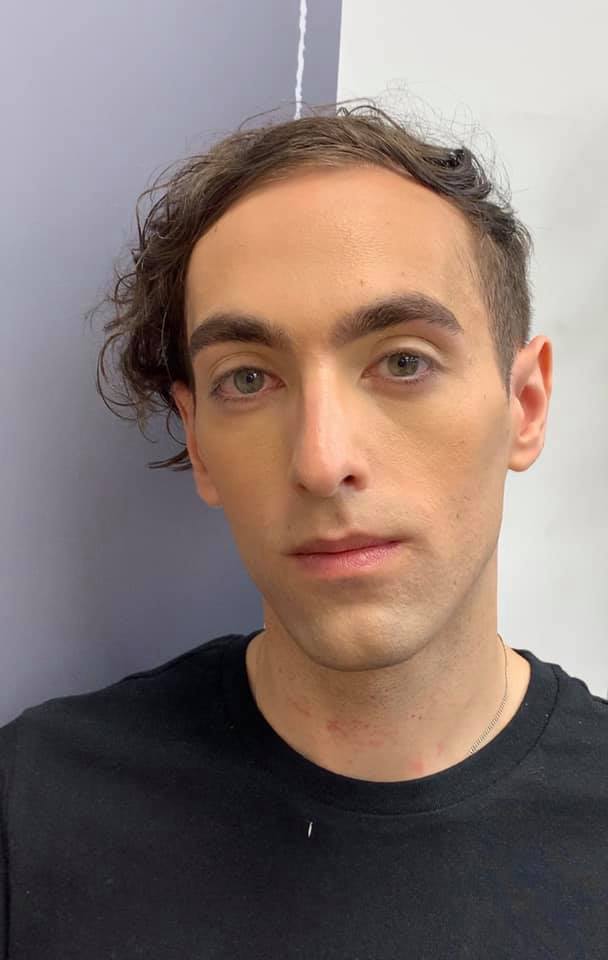
This is a simple routine of good grooming and is ideal for anyone who doesn’t want to use too much makeup, but wants to look their natural best.
A day or so before, tweeze any stray eyebrow hairs. If you don’t trust yourself then go and see a professional who can thread or wax them. Tell them whether you just a tidy up to get any strays, or if you want a defined shape putting in. If you have fair eyelashes, a subtle tint (done by a professional) is also something worth considering if you want to make your eyes stand out.
On the day itself, cleanse and moisturise your face as usual and deal with your facial hair in whether you prefer. Then spray your face with a hyaluronic acid spray. I love the Neutrogena Hydro Boost Express Hydrating Spray (£5.49). This will hydrate your skin and keep it looking fresh.
Take a concealer that is the same colour as your face (not lighter and not light reflective or brightening) and apply this to any area where you have any kind of discolouration and need a bit of evening out. This will often be around the nose, under the eyes, over the chin and on any spots and pimples. Use this sparingly and either pat it gently in using your finger or using a soft fluffy brush.
I like the Try NARS Soft Matte Complete Concealer (£24) or Rimmel Match Perfection Concealer (£6.99). If you are prone to shiny or oily skin, set with a dusting of translucent face powder so help set your concealer and control any oil.
Finally, if you want to give your skin a bit of colour then take a big fluffy brush and a matte (not sparkly or shimmery) bronzing powder such as Hoola by Benefit (£27). Dust this lightly over any areas where you would naturally catch the sun. Bronzer looks good around the forehead, the tops of the cheeks and a little around the nose. You can also use a cream or gel bronzer if you prefer, but use these before your setting powder.
LOOK TWO: Naturally feminine
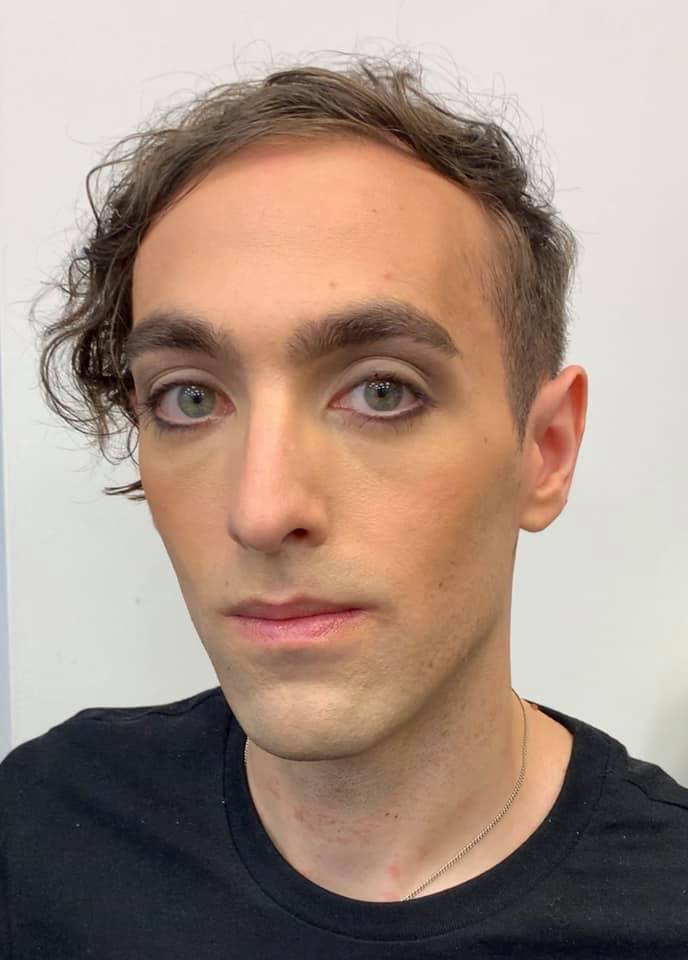
This look is great for those who are just starting to wear makeup and want to look like they’ve put a bit of extra effort in.
Follow the same advice as above with regards to prep, another thing you may want to try is a lash lift which is basically a lash perm and a tint which will really open the eyes up and give a more feminine look. The results last about 4-6 weeks.
If you are going to use foundation, being clean shaven is the easiest way, but it certainly doesn’t have to be the case. If you want to disguise any facial hair shadow, then a foundation that offers full coverage is your friend. I like MAC Full Coverage Foundation (£30) and Fenty Pro Filt’r Soft Matte Longwear Foundation (£27). The exact foundation you choose completely depends on your skin type and shade. To avoid wasting money, go and get yourself matched up by a specialist at a makeup counter. Don’t buy it straight away, ask the advisor to apply it to your face and then go home and see how it sits on your skin after a few hours. Some can oxidise and change colour. Many counters will even give you a sample.
I prefer to apply foundation in a few lighter layers rather than one thick one. This gives a more natural finish and will also make the foundation last longer. Add a concealer that is the same colour as your face to any areas that need a bit more attention such as around the nose, under the eyes and the chin. Your face should now be all one flat colour and you can start defining your features.
Take a fluffy eyeshadow brush such as a MAC 217s (£16) or a Morphe Pro Firm Blending Fluff Brush (£8) and dip the tip of the brush into a matte powder eyeshadow in a neutral brown shade slightly darker than your skin. Swish this liberally through your socket line. Then, using a denser brush, take an ivory eyeshadow and pat this onto your mobile eyelid (the bit that moves when you blink) and up to your brow bone. Using the fluffy brush again, blend these together in swishy movements.
Next, use a dark brown or black eyeliner pencil or eyeshadow and a wet fine eye-lining brush to line your upper lash line, keeping as close to the lash line as you can. Do the same on the lower lash line, starting from the outer edge and softly blend it to about 3/4 of the way across. Use mascara on your top and bottom lashes, and apply a false lash if you wish.
Take a matte bronzer and apply it just above your temples, down to your cheek bone and continue to under your jaw line with a medium sized brush. Imagine using the brush to create the shape of the letter ‘E’. Repeat on the other side.
After that, use the same brush to apply a blush to the apples of your cheeks (the chubby bit when you smile) and blend outwards. Start off with a peach or soft pink. My favourites are MAC Peaches (£20) and The Body Shop All-In-One Cheek Colour in Marshmallow (£8).
If you want a dewy glow then use a shimmery highlighter down the centre of your nose and above your cheek bones. Try Makeup Revolution Highlighter Palette (£4). Don’t go too over the top with this unless you like the spaceman look. Finish with a lipstick or gloss of your choice and a squirt of setting spray.
LOOK THREE: All-Out Glam
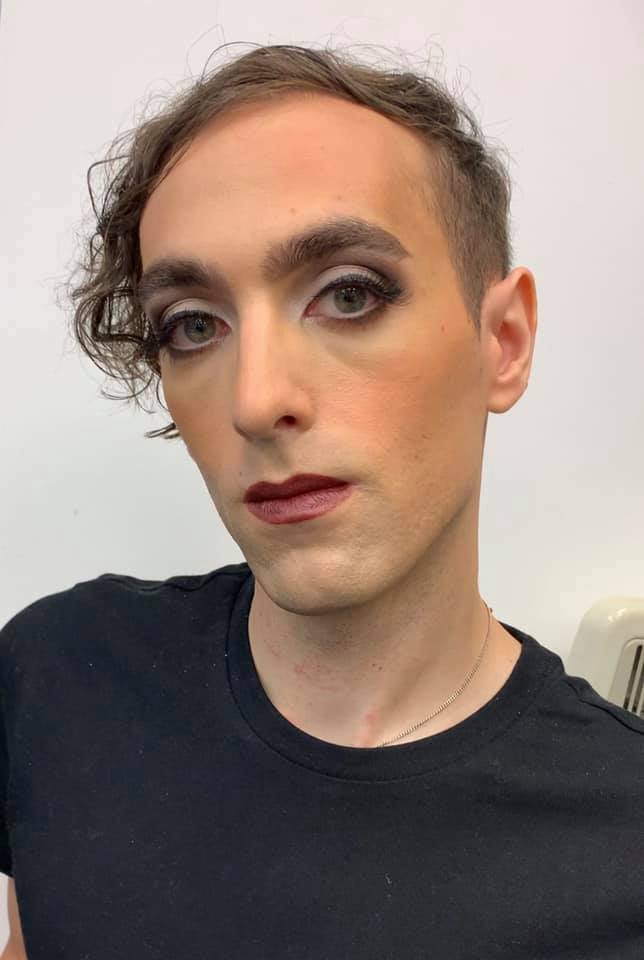
This look can be built up depending on how glam you want to go and how much makeup you want to wear. This look is popular with those who are used to wearing makeup and want to take it up a notch for their wedding day.
Start your makeup in the same way as the two looks above, but before you apply your eyeliner and mascara, we’re going to use more eyeshadow to add a bit more depth. If you like a shimmer then replace the matte ivory eyeshadow to one that’s frosted, shimmery or even sparkle if you wish. You can even use your powder highlighter for this. If you are using any of these, then apply them after the rest of the eyeshadow.
After applying your neutral brown, take a darker brown shade and use the same fluffy brush to apply this to the outer corner of your eye, close to the lash line and blend up and through your socket line. The heavier the look you want to achieve, the more layers of this you can add. If you want a super glam look then go in again with a darker brown or even a soft black. This is going to lift your eye and help create a feline look.
For eyeliner, you’re going to swap the pencil for something a bit stronger. I prefer a gel liner with a lining brush such as Maybelline Lasting Drama Gel Eyeliner in black (£8.99) If you find this tricky, try the felt tip pen style liners or a liquid liner with a brush in the lid. The Kat Von D Tattoo Liner in Trooper (£18) is great.
Starting at the whichever corner of your eye you find easier, draw a line close to your lash line as you can. You can go as thick as you like with this and even give yourself a feline flick if you wish. I find that drawing your line quickly and in a couple of quick swoops is a lot smoother than when you try and take it slowly. Going slowly makes your hand shake, resulting in a wobbly line. Don’t be scared, just go for it!
Next, go back to your eyeliner pencil and starting at the outer corner, draw the line on your lower lash line and softly blend to about 3/4 of the way across. Finish with mascara and add lashes if you wish. Gorgeous!