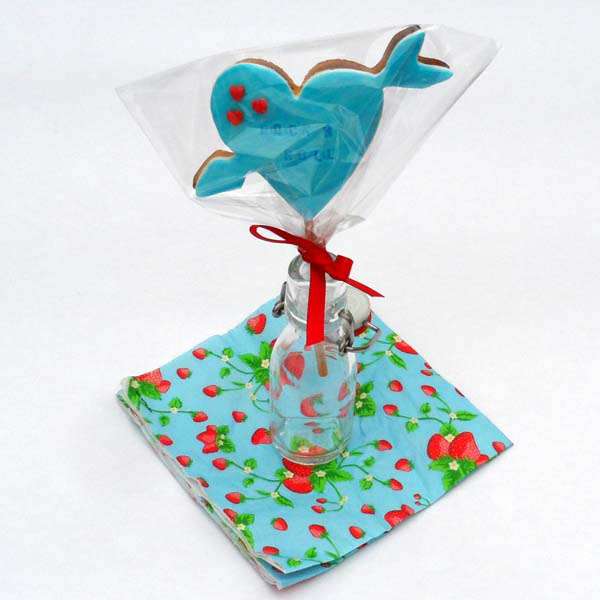
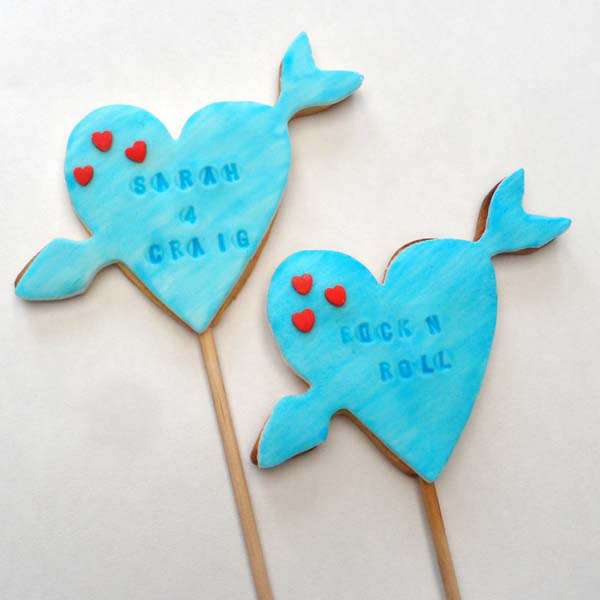
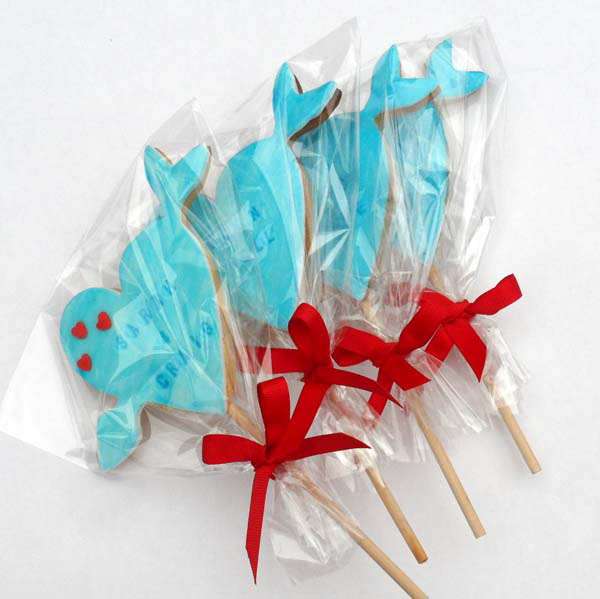
Who doesn’t love cookies?! Who doesn’t love cakepops? Combine the two and I’m just about ecstatic! These heart shaped cookie-pops would make perfect wedding favours, a cute addition to your dessert table or the perfect a Valentines day treat for you and your loved one!
Over to you Miss Cake… (by the way, be sure to go check out her website for some totally adorable perspex cake toppers and jewellery!)
I love a cookie (well, who doesn’t) and I wanted to create a super-cute DIY personalised cookie tutorial for those without sugarcraft knowledge or a perfectly steady hand for piping icing names. The techniques used here I have gleaned from my past life as a cake maker and my present life as a crafter. With a little bit of practice you should be able to get a cookie factory line going in your kitchen and you can create your own cookie favours to do the double whammy of personalising your wedding and feeding your guests a little treat. I would recommend doing them in small batches and doing a few extras for breakages (or munchies) along the way.
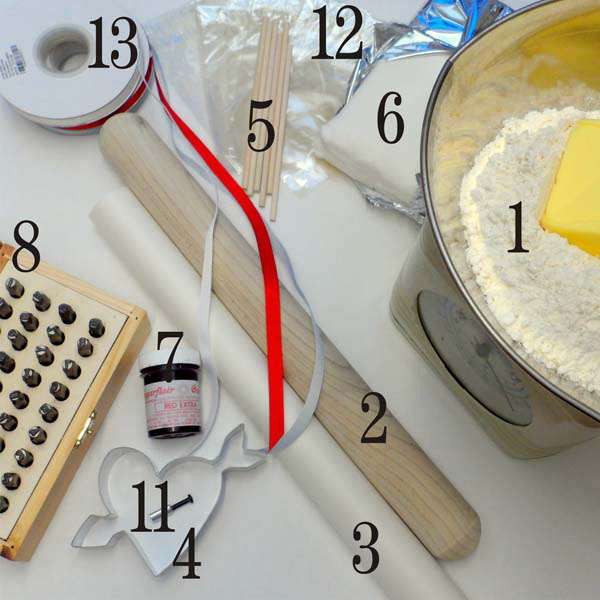
Supplies Needed:
♥ Ingredients for cookies:
400g plain flower (plus extra for dusting)
200g unsalted soft butter
200g caster sugar
1 egg, lightly beaten
Icing sugar for dusting
Optional flavourings (pick one) – grated zest of 1 lemon or orange, seeds from 1 vanilla pod, or for chocolate replace 50g of flour with 50g cocoa powder
Note: this quantity will make between 10-20 cookies depending on the size of your cutter
♥ Rolling pin
♥ Greaseproof paper and baking sheet
♥ Cookie cutter in your choice of shape (I got mine from eBay)
♥ Lolly sticks
♥ Fondant icing (such as Regalice or supermarket own brand)
♥ Food colouring paste (try cake decorating shops/online)
♥ Letter stamper (mine is a 5mm letter sized one from eBay)
♥ Vodka
♥ Paint brush
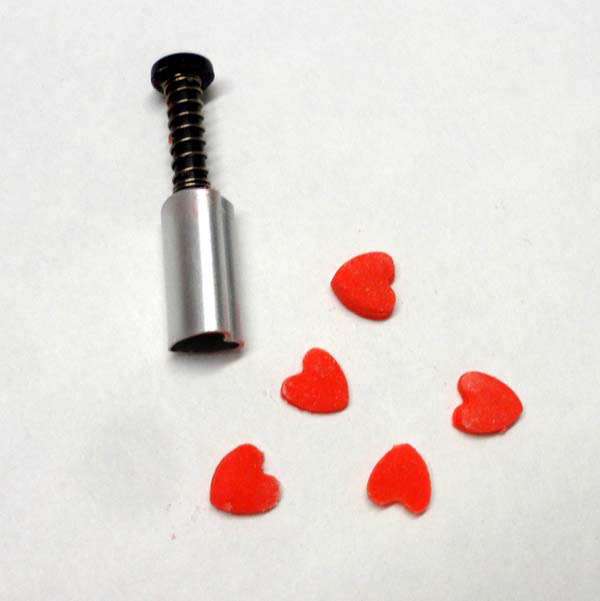
♥ Small heart plunger cutter (try cake decorating shops/online)
♥ Cello bags for packaging
♥ Ribbon for decoration
Method
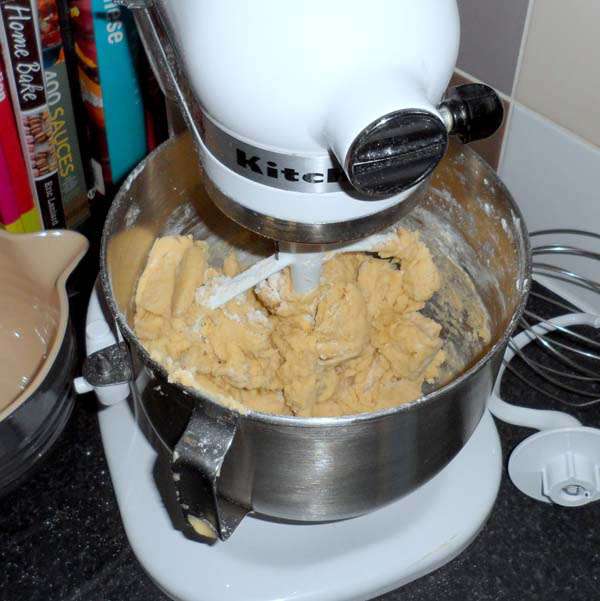
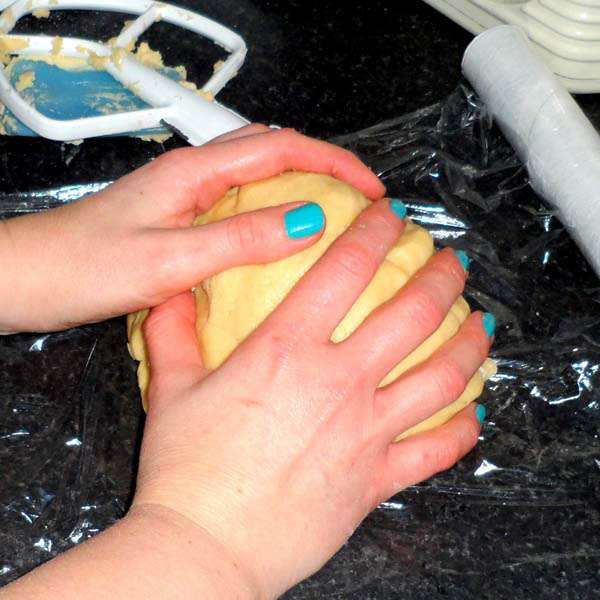
Step One: Bake the cookies! I use my trusty Kitchen Aid but this can also be done by hand, it will just take slightly longer. Cream the butter, sugar and flavouring until well mixed and just becoming creamy. Beat in the egg until well combined then add flour and mix until a dough forms. Shape into a ball, wrap in cling film and chill for at least 1 hour.
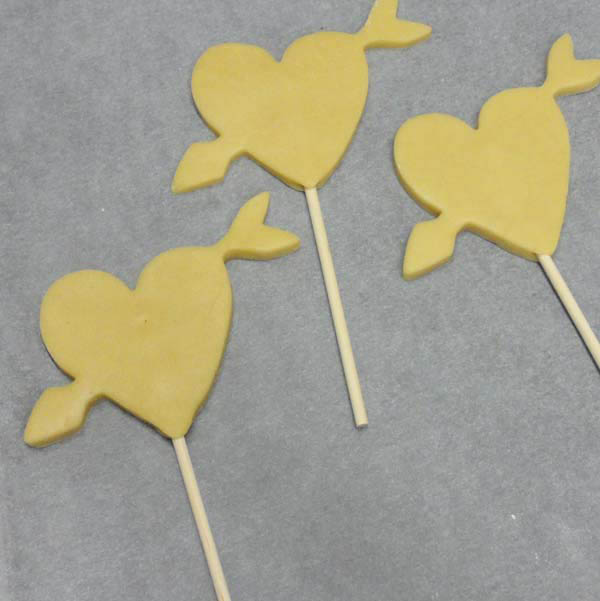
Step Two: After chilling, knead the mixture briefly then roll to an even thickness using a dusting of flour to stop the mixture sticking. Use the lolly sticks to guide you to the right thickness, you need to be able to insert the stick through the cookie’s middle and make sure it doesn’t stick out at the back. Use the cutter to cut out the desired shapes, carefully insert the lolly sticks (I find a gentle wiggle helps) and place on a baking tray lined with greaseproof paper. Chill again for 30 minutes.
Step Three: Make sure you have the icing ready to use. Bake the cookies at 180 C/gas 4 for 6-10 minutes until they are golden brown at the edges.
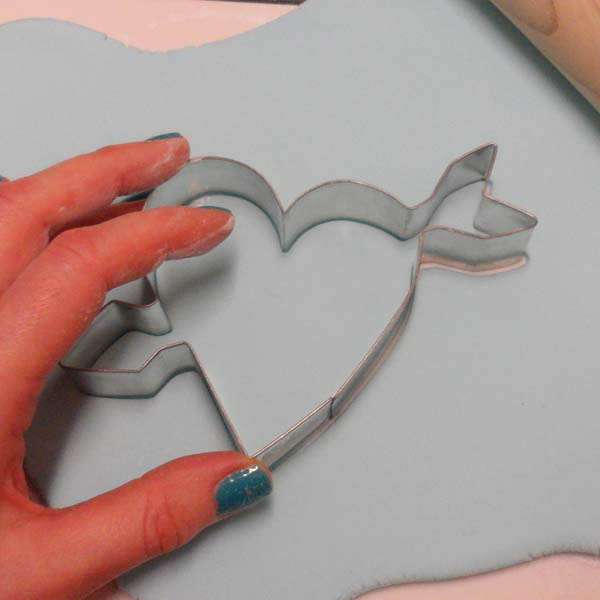
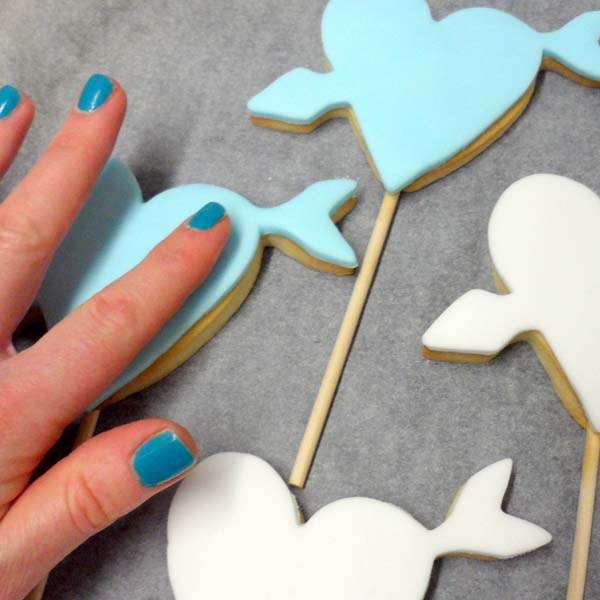
Step Four: Whilst the cookies are baking roll out the fondant icing quite thinly (approx 2mm)using a dusting of icing sugar to stop it sticking and then cut using the cookie cutter. You can try different colours by colouring the icing using the colouring pastes. For the final cookies shown here I used white. As soon as the cookies come out of the oven place the icing on each cookie and smooth down gently. The heat from the cookie will weld the icing to it (clever, eh!)
Step Five: Once the cookies have cooled down for a few minutes you can stamp the writing on each cookie, carefully lining up each letter against the last. Tip – best to roll out some spare icing so you can practice the letter stamping. Alternatively, if you are a dab hand with a piping bag instead you could pipe the names on using coloured royal icing, a piping bag and a plain piping nozzle and miss out the next step.
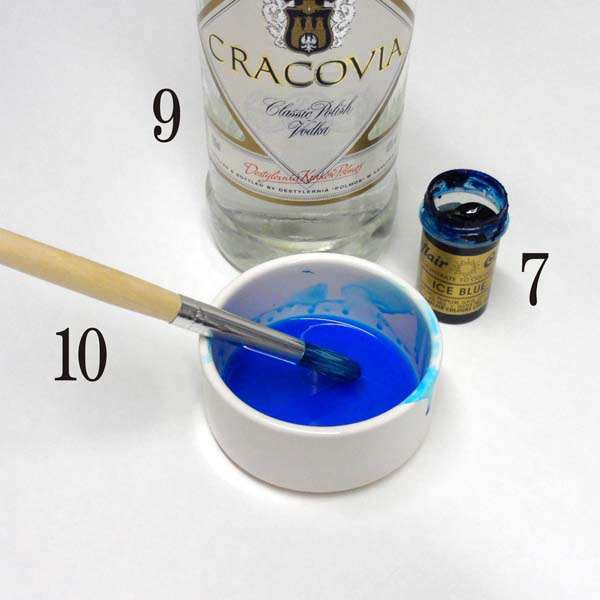
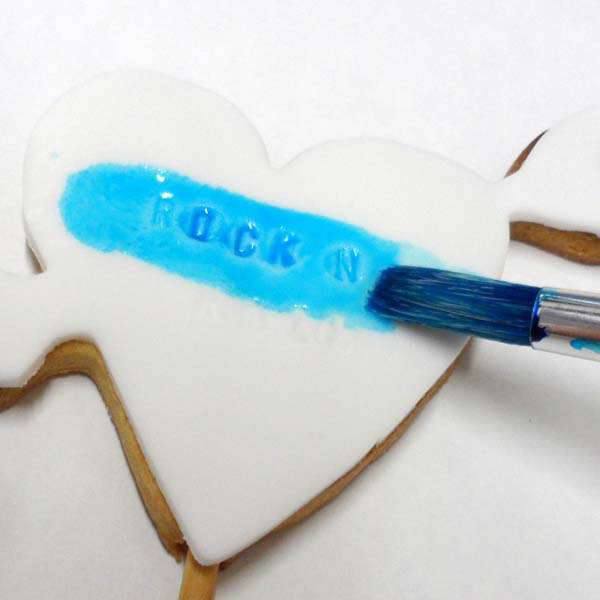
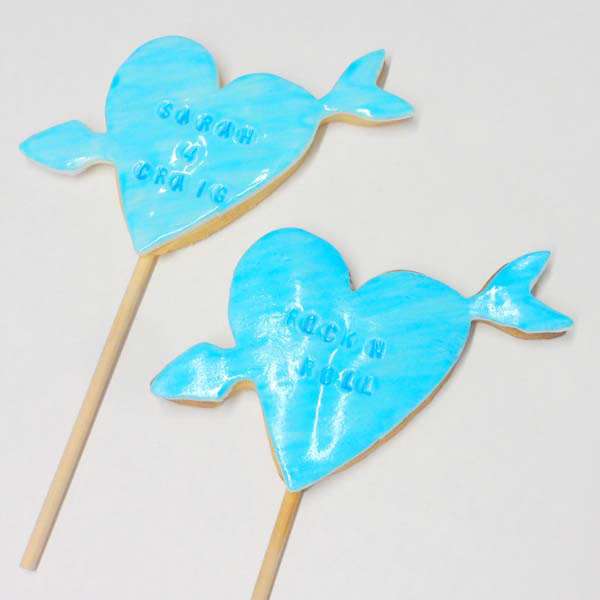
Step Six: When the cookies have completely cooled you can add the colour. Mix a little bit of colouring paste with vodka, think of the consistency of watercolour paint. I used ‘Ice Blue’. Vodka is best as it evaporates leaving the colour behind. You can use water instead of vodka but it will take longer to dry (and be less fun to drink). Paint the vodka solution onto the cookies to see the writing stand out. Tip – maybe do not drink the coloured vodka as you will get a tongue like a smurf.
Step Seven: Make some little red hearts by colouring the icing (I used ‘Red Extra’), roll out thinly and cut. You could do any shape or colour, or even add small sweets or sprinkles. Place the hearts onto the cookie whilst they are still wet so they will stick.
Step Eight: Package and display your cookies. I used cello bags and ribbon. If wrapped well and airtight the cookies should keep well in a cool dry place for a couple of weeks. Thus letting you get on with your last minute wedding panic.

