Arrow & Apple
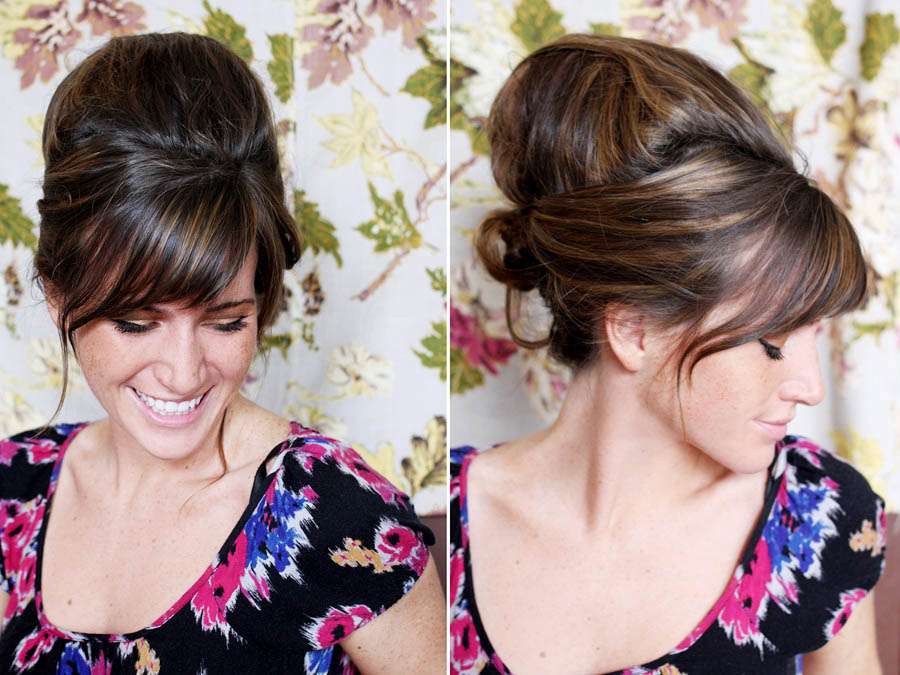
I’m rubbish at hair…which is kind of ironic considering I have a candy pink barnet. However when it comes to styling…yeah I suck. So today I’m super excited to share an easy tutorial from one of my favourite bloggers Elsie Larson of A Beautiful Mess about how to create a simple and gorgeous beehive hair do.
Now excuse me, I’m off to practice with a bath loofa…
♥ ♥ ♥
Supplies needed:
♥ Bath Loofa (any color)
♥ A piece of fabric that matches your hair color to cover the bath loofa
♥ A rubber band
♥ Bobby pins
♥ Hair spray
Step 4: Pull pieces from the sides of the hair back to cover the sides of the bump. This creates a beautiful shape.
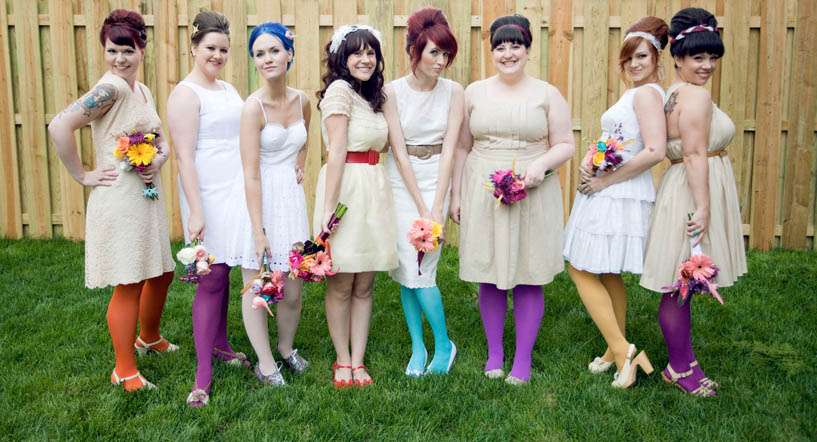
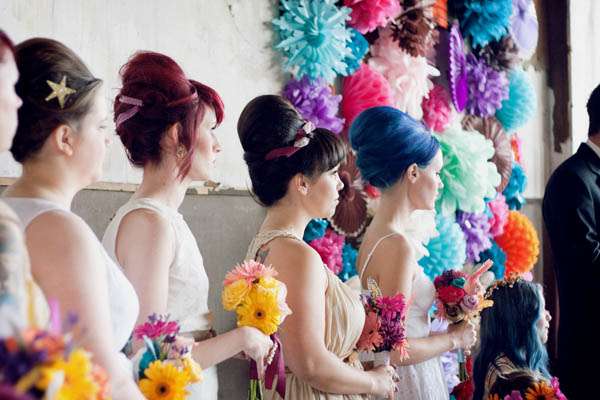
Enjoy your new beehive! I wore one in my bridal portraits and my bridesmaids wore them at my wedding. Beehives are so classic and stylish. I love them paired with a 1960’s dress or a simple gown.
XO, elsie
Photography Credit: Arrow & Apple
You May Also Like
DIY Tutorial: Multi-Layered Tulle Petticoat (Make Your Own Rainbow Petticoat!)
Kat
November 5, 2011
First up, I have to say a huge thank you to everyone that's emailed me with their DIY ideas. I've has a huge response and I'm really looking forward to sharing them with you over these coming weeks. Be sure to keep them coming!
I'm starting with this amazing underskirt tutorial by Alexandra King, an independent designer from Somerset. Alexandra produces fabulous vintage-inspired dresses and accessories.
So without further ado, over to the lady herself...
Read more...
DIY Tutorial: Owl Wedding Lanterns
Kat
November 19, 2011
Today's tutorial isn't one you might expect to be wedding related and it's certainly not one that everyone's going to want to try and create, but I just loved Kat Cameron's owls so much I had to share! I don't know about you, but these really made me smile.
Over to you Kat, Wit Wooooo!
Read more...
DIY Tutorial: Ombre Glitter Champagne Glasses
Kat
April 14, 2014
When it came to planning how to style my recent champagne party, I knew it would be the perfect opportunity to flex my creative muscles. Now I'm no expert, in fact I'm darn right rubbish at DIY projects, and I'm certainly not a professional stylist either. But I knew if I just kept things simple and threw glitter at it, it would probably work out in the end.
Read more...
DIY Tutorial: Pretty Paper Fans
Kat
June 2, 2012
It’s pretty difficult to escape paper decorations at the moment, they’re a top trend and rightfully so! They add an instant splash of colour and can transform any blank canvas into an extra special space.
These paper fans look fantastic when grouped en-masse and used as a backdrop for your ceremony or photo-booth and I have them in varying sizes as a feature wall in my home. Here’s how to make your own…
Read more...
DIY Tutorial: Scratchcard Wedding Invitations
Kat
May 12, 2012
Hi Rock n Roll Bride readers! My name is Michelle and I am marrying Dan this summer in a garden in Scotland (where he proposed in fact!) and we are doing almost everything ourselves. Partly this is because we are trying to save money (more to spend on food and drinks!) and also because getting married is a great excuse to do all sorts of crafty things you wouldn't normally have budget to do! We made a stop-motion video for the save the date (so. much. fun.) but then wanted to send a physical postcard for the actual invite so people have something to keep. I came up with an idea for a scratch-off card - like a lottery ticket - with the prize being the details of our wedding! Dan got totally behind the idea and did most of the fiddly tasks (including cutting out almost a hundred little plastic hearts). We sent them out last week and our guests love them. I've put together a little tutorial for how to make the cards - they were lots of fun to make and came out looking quite professional-looking!
Read more...
DIY Tutorial: Ombre Rainbow Paper Pom Poms
Kat
September 20, 2012
So firstly a little apology. I'm away this week at The Photography Farm so there's no Thursday Treats. "Waaaah" I hear you cry, but fret not, I have something even better! Who fancies making rainbow pom poms?! OH GOD YES! You might remmeber Jen & Ben's epic rainbow wedding... oh yes, it's one of my all time faves too. So it's taken a while but I've finally bartered Jen enough and she's created a DIY tutorial of just how she made those fabulous rainbow pom poms... and if that's not enough for you, she's even done a step by step video!(scroll down to the end of this post).
Over to you Jen...
Read more...
DIY Tutorial: Dip Dye Your Wedding
Kat
Andrea Pennington
November 12, 2014
Ombré and dip dye. I am obsessed. I'm not really sure what it is, but it makes me so happy! So when Elle, who owns the hire company Inspire Hire, sent me this shoot that she styled, complete with a DIY tutorial on exactly how they achieved this super gorgeous effect on the tablecloths and the dress, I knew you'd love to see it.
Read more...
DIY Tutorial: Photo Booth Chalkboard Speech Bubbles
Kat
March 24, 2012
Hello Kat & Rock n Roll Bride readers, I’m Rebecca Douglas of www.rebeccadouglas.co.uk a Kent based wedding and lifestyle photographer who loves working with people and making and creating beautiful things! When I’m not shooting and doing photography related stuff I love to get a make on with all sorts of materials.
I really loved the images that I was seeing from wedding photo booths and so wanted to develop these blackboard speech bubbles for guests to write messages on while in photo booths at weddings.
Read more...
 Photography Credit: Arrow & Apple
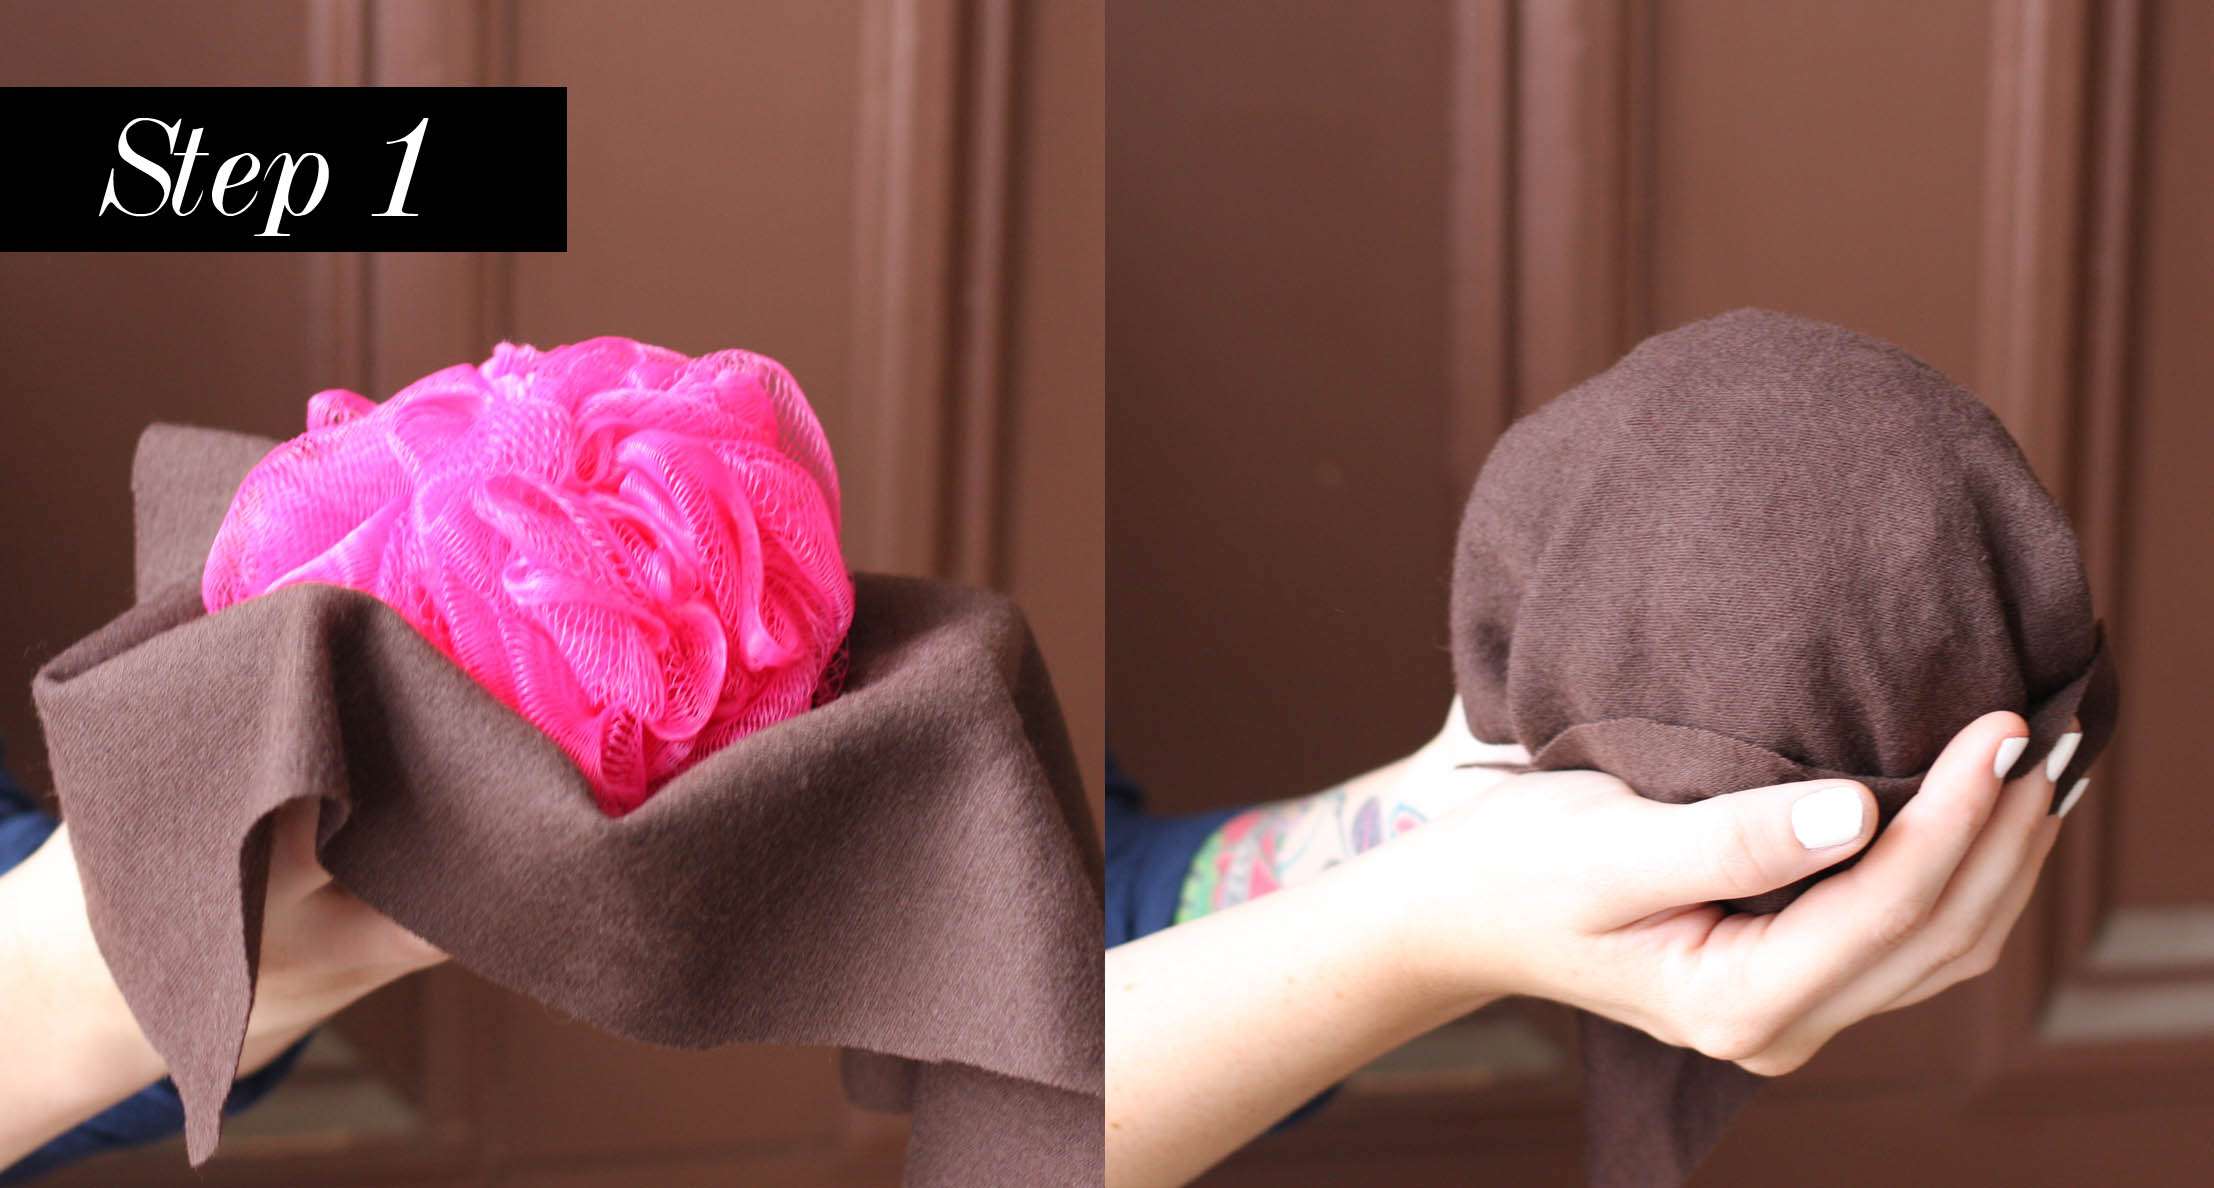
 Step 1: Cover a bath loofa in a solid fabric that matches your hair color.
 Step 2: Pull one small section of hair forward (leave unteased). Gather a second 1-2 inch section, spray and back-comb it. Repeat with 2-3 more sections until your hair looks like this…
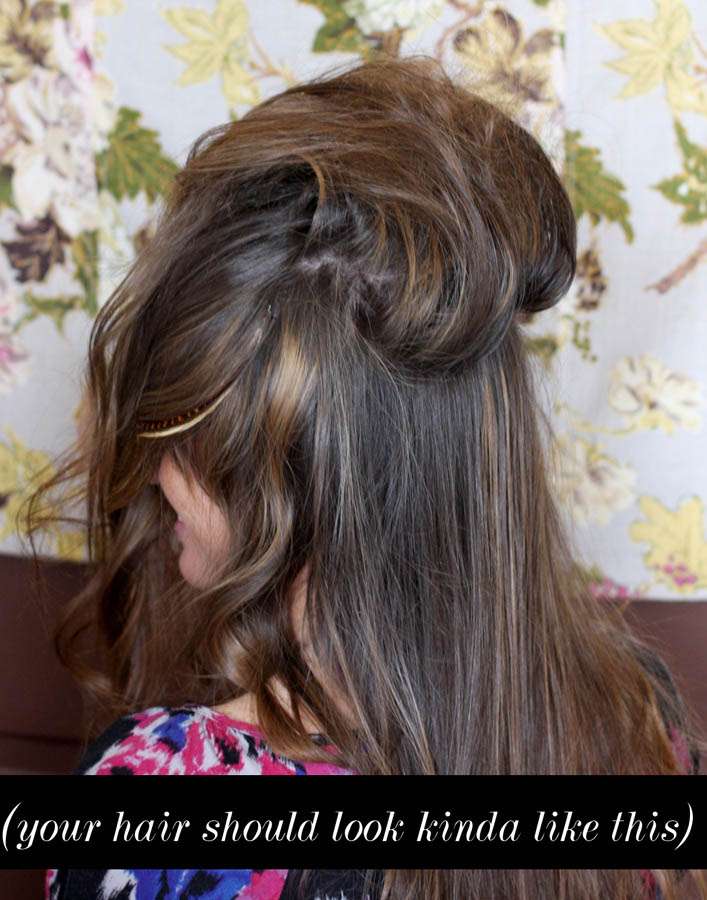 Step 3: Add the loofa to your hair. Wherever you position the loofa will be where the bump sits. Cover the loofa with pieces of hair and pin each piece down. Continue to cover it from every direction until the loofa is completely hidden!
 Step 5: Choose to pull the back of the hair up or leave it down (a la Amy Whinehouse).


