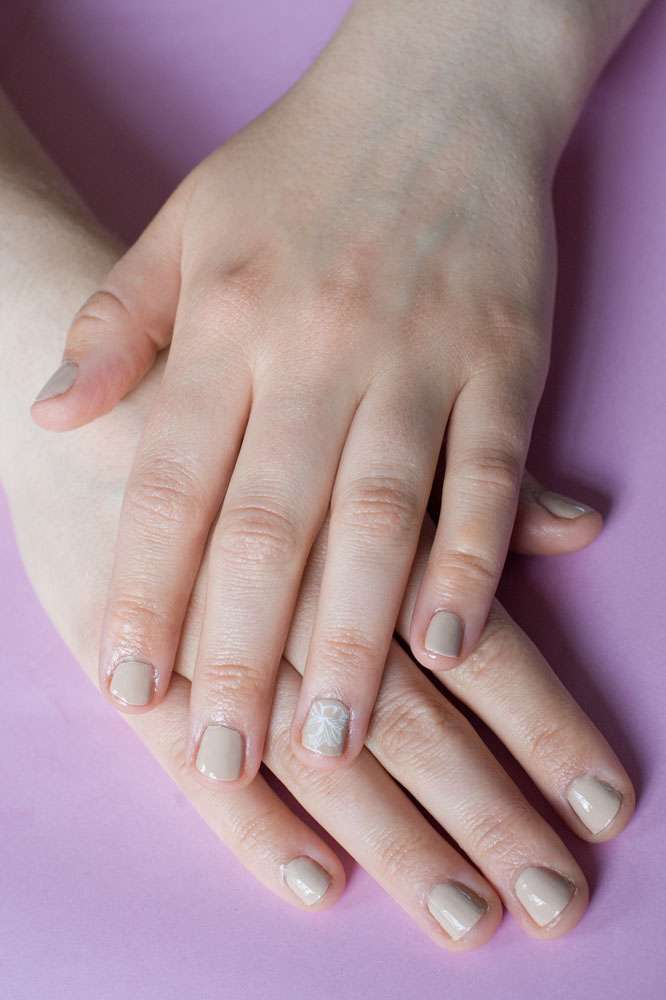
Manicurist Tabby Casto is popping by today to share this super fun, summer bridal nail tutorial with you. She’s used a neutral base colour, but you could totally funk it up by using brighter colours to fit your wedding colour scheme. Over to you Tabby…
“For this tutorial I felt that keeping things simple was best with an accent nail on the ring finger. I enlisted the help of uber cool nail brand MoYou London who make stamping plates for just about everything you can imagine! These work similar to screen printing in that a design is etched into a little template which is then transferred and stamped onto the nails. I felt the Flower Power plates would work well for a bridal nail as they are pretty, yet subtle.
I’d recommend practising with these a few times before the actual day so you really get to grips with how to use the stamps.
Supplies Needed
♥ Nail polish remover ♥ Nail file ♥ Cuticle pusher ♥ Cotton pads ♥ Barry M Super Mani 7-in-1 Nail Care ♥ Barry M ‘Plumpy’ top coat
♥ MoYou Clear Stamp & Scraper
♥ MoYou Flower Power Collection 03 plate ♥ Coconut oil ♥ Your choice of coloured nail polish ♥ White nail polish ♥ Cuticle oil
Method
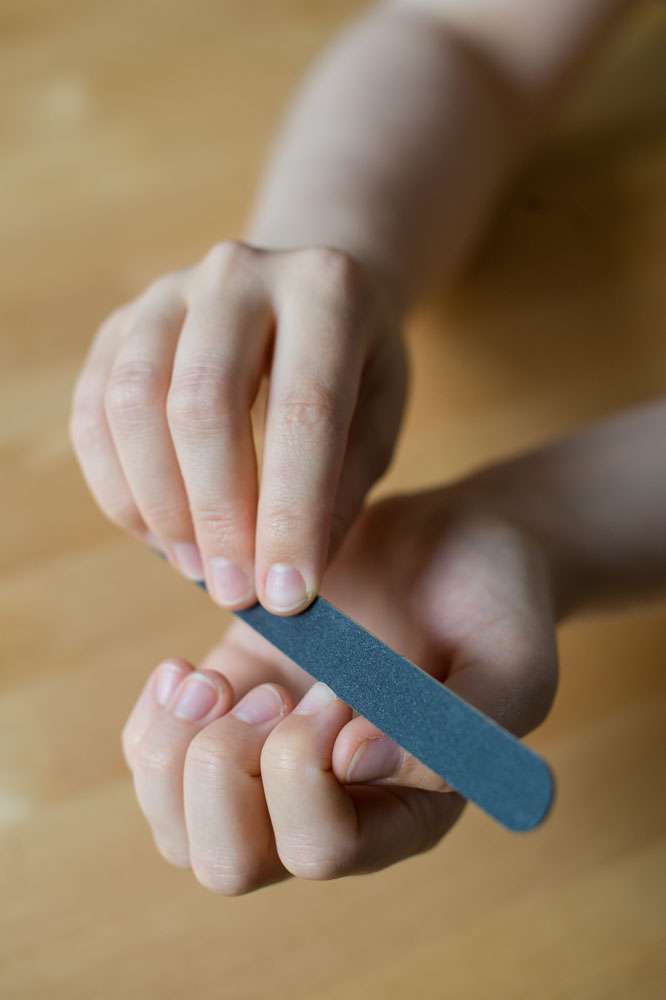
Step one: Clean your nails with nail polish remover to get rid of any old polish and oil on the nails. Then shape and file into your desired shape. This preparation step is also essential if you plan to try trendy glaze nails, as a smooth base ensures the reflective finish looks flawless.
Step two: Gently push back your cuticles with a cuticle pusher and a little bit of coconut oil.
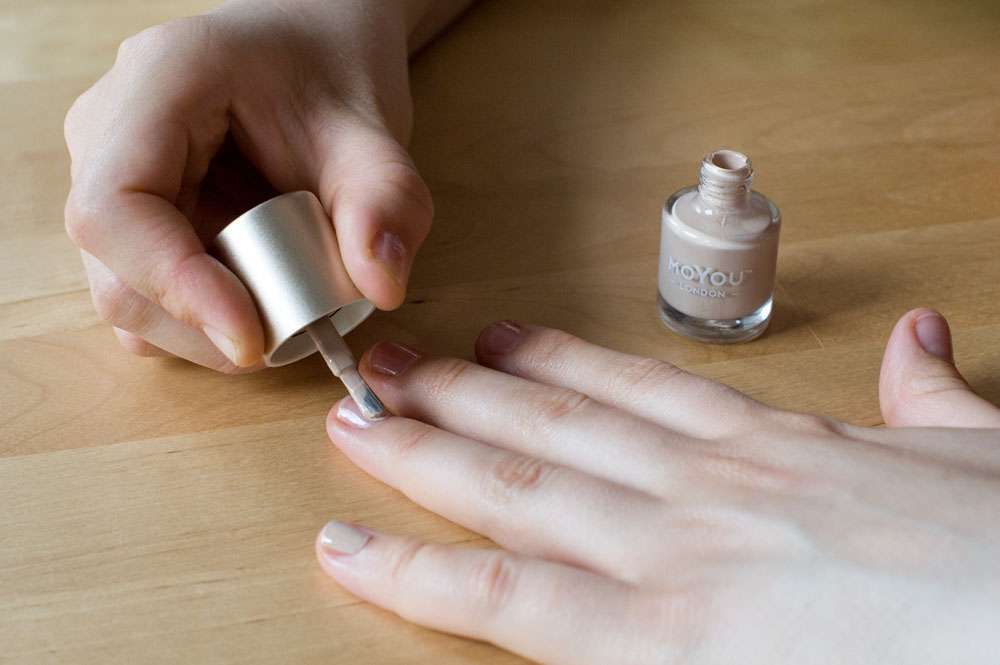
Step three: Remove any excess oil and then apply a strengthening base coat such as Barry M’s Super Mani 7 in 1 followed by two coats of your coloured nail polish. Make sure you allow both coats to completely dry in between.
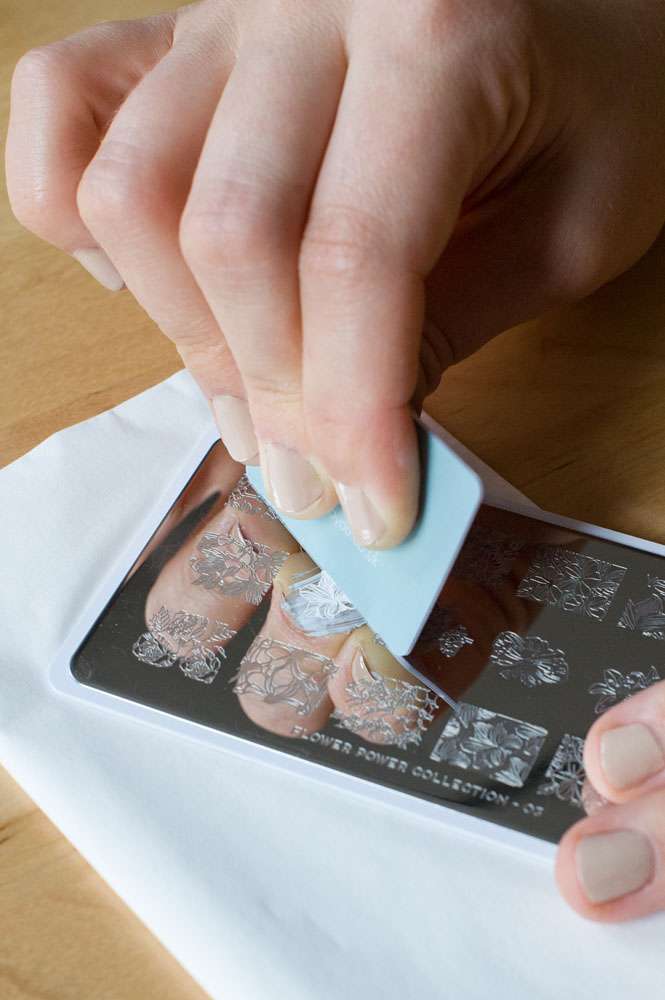
Step four: Take your MoYou Flower Power Plate 03 and apply white nail polish on your template. Then, use the MoYou Scraper to scrape the nail polish over the etched design.
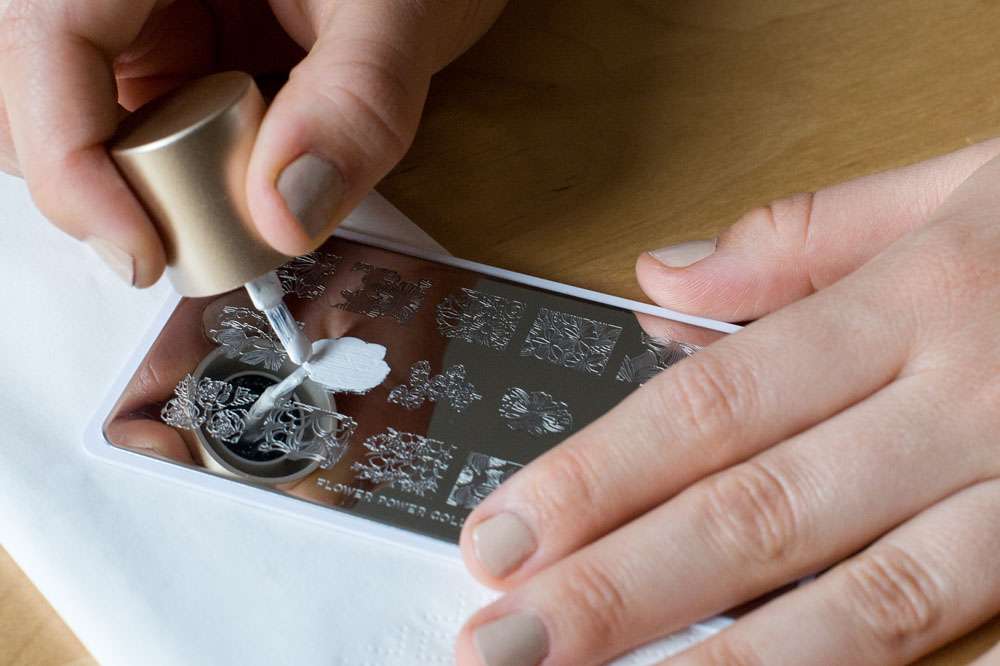
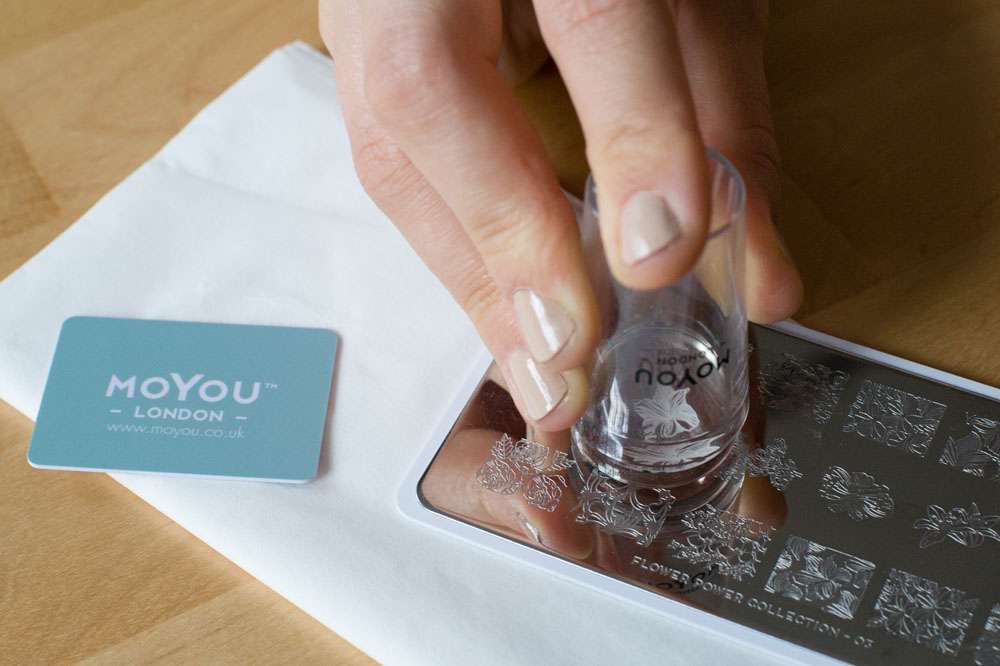
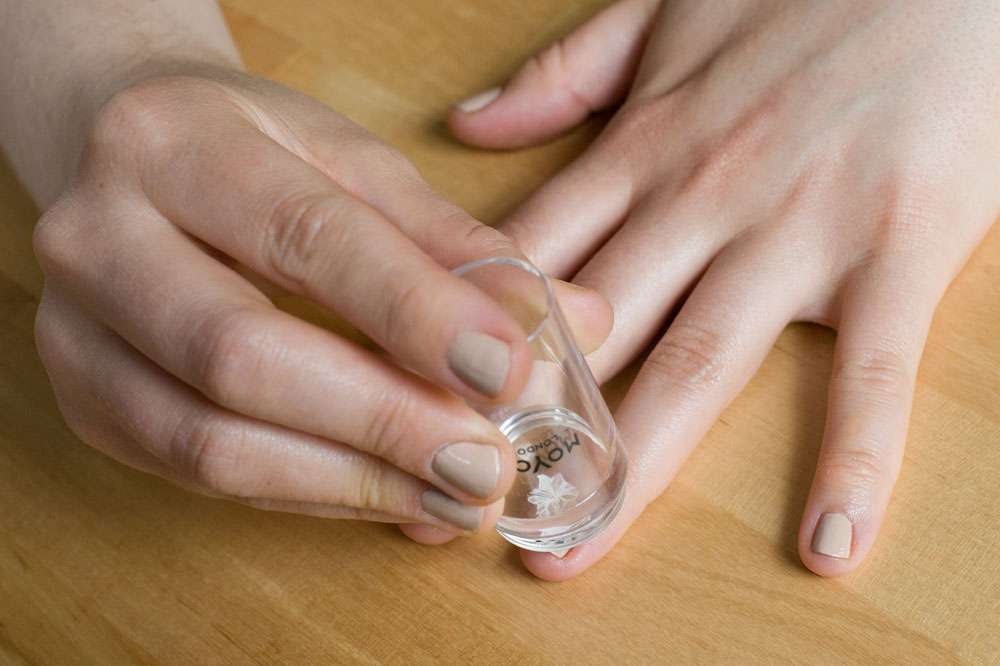
Step five: Quickly push the MoYou Kalaidescope Clear Stamper over the image to pick it up, place it on your nail and push down to transfer it (genius)!
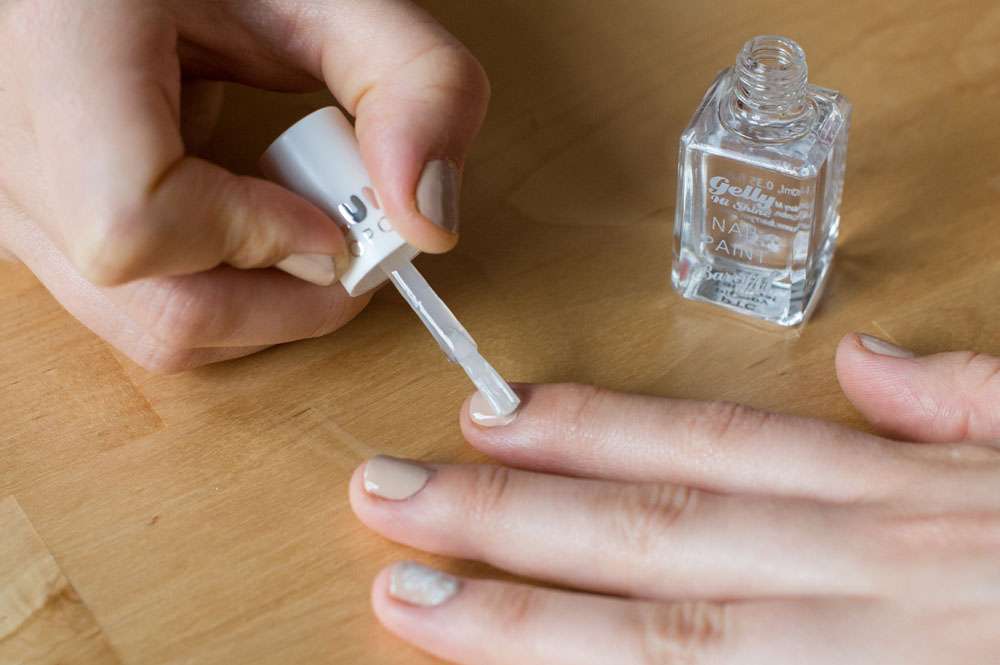
Step six: Wait for a couple of minutes to allow the nail polish to completely dry then apply a shiny long wearing topcoat. If you wanted this to last a really long time, you could do this tutorial using gel nail polish and UV light to seal each stage instead.
Step seven: Apply your cuticle oil and you’re done!
Suppliers
- Photography: Carl Osbourn