This contest is now closed
I have adored Twinkie Chan from afar for a long time. Her “Eat your cake… and wear it too!” motto kind of speaks to my sweet tooth-loving self you see! Her colourful and super kawaii blog has brought daily rays of sunshine into my life for quite a while now ad I’m pretty much jumping over rainbows with the excitement of sharing our little collaboration with you all today!
For those of you not familiar with Twinkie Chan, she is a crocheting marvel from San Francisco who has risen to fame with her cute and food inspired creations. She has made everything from scarf’s, hair accessories and other wearable goodies from wool and her designs literally fly off the shelves as soon as she posts them to her etsy store. In short, she makes crocheting cool again! She’s even released a tutorial book of some of her adorable creations, which got me thinking…
At the end of the year I was brainstorming some new ideas for the blog and, after seeing these adorable coffee cup cozies that she’s just relased (and yes I did get one!) I knew I had to get this lady on Rock n Roll Bride…somehow.
So I emailed the multi-coloured marvel (we are also pink hair twins…another reason to love her) to see if she’d be interested in creating a DIY tutorial for my readers. I assured her that even though my blog was a wedding-related one, that my readers like anything BUT the usual wedding fluff, and that one of her awesome crochet creations would certainly fit in over here.
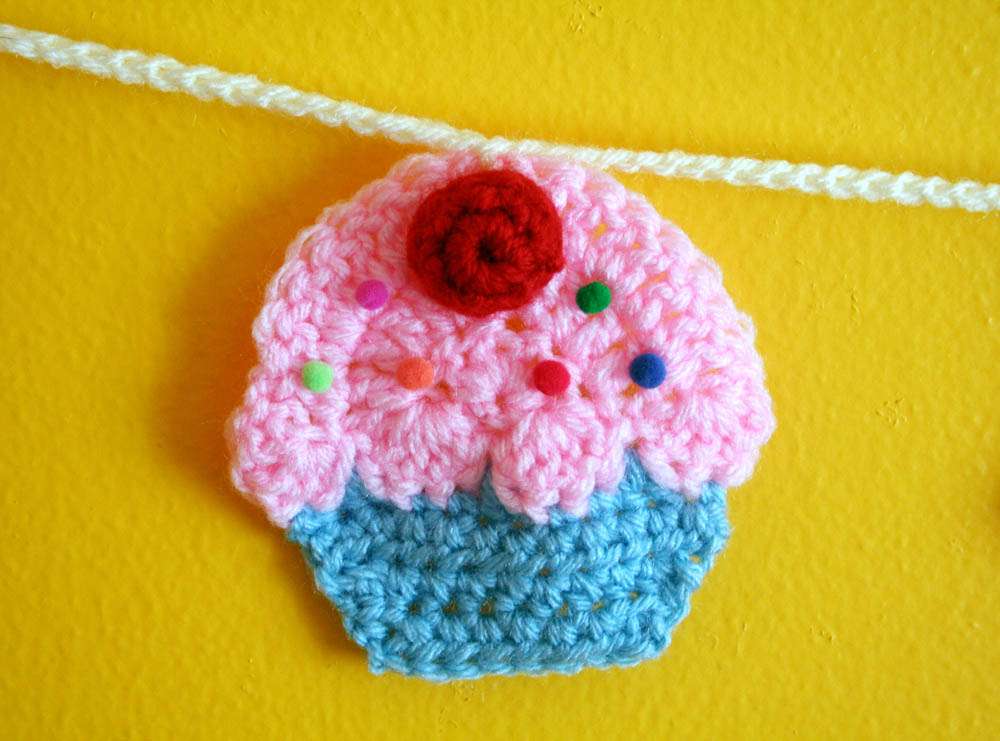
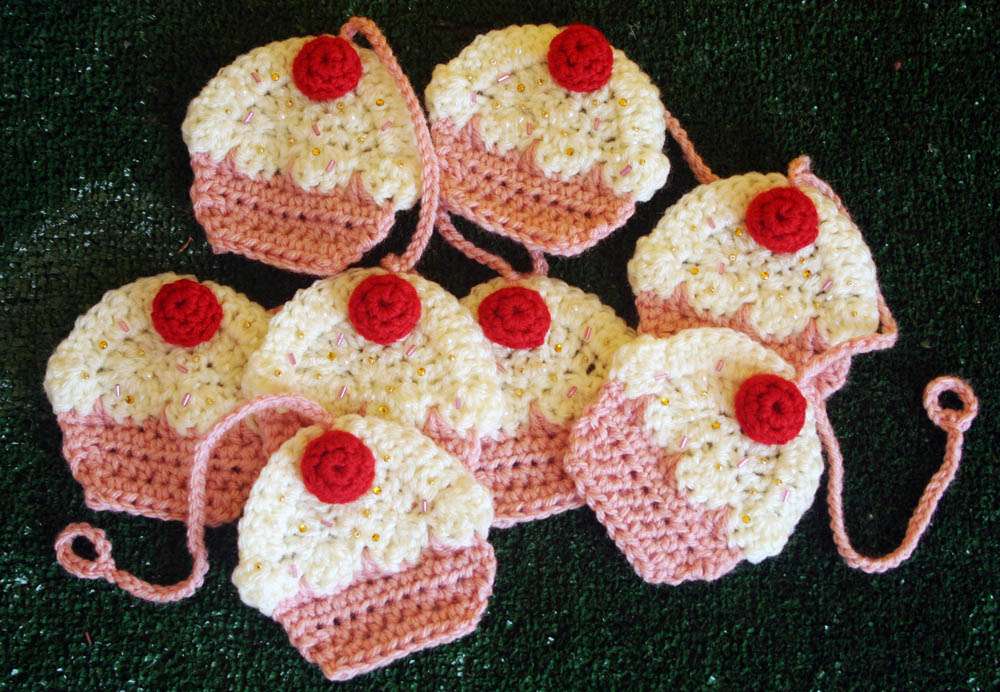
Behold…the created-especially-for-Rock n Roll Bride – cute as hell, crochet cupcake garland tutorial!
♥ ♥ ♥
When Kat approached me to contribute a tutorial to Rock n Roll Bride, I was so honored, but also a bit confused about how I might translate a Twinkie Chan project into something fun for your wedding! With some brainstorming from the brilliant Kat, we decided to inspire you with some super cute cupcake garlands! Whether your special day is indoor or outdoor, these sweet little strings of sugar are sure to add a magical and personal touch to your wedding decorations. There are so many possibilities as far as color combinations and cupcake toppings that your garlands can range from quirky and goofy to charming and sweet. If you and your pals all know how to crochet, these garlands are a terrific way to meet up while creating something together for your wedding!
For the most part, you can crochet your cupcake garland using the same basic techniques in the Cupcake Scarf pattern in my book “Twinkie Chan’s Crochet Goodies for Fashion Foodies: 20 Yummy Treats to Wear.” However, we will be making a small change to the cake-bottom portion of the cupcakes in our garlands, not only to make them more light weight, but to also minimize any potential curling.
You will need:
-An I hook (5.5mm)
-A ball of worsted weight yarn in your Frosting Color (FC)
-A ball of worsted weight yarn in your Cake Color (CC)
-A small amount of worsted weight yarn in Red for your cherries
-Optional: twine in roughly the same gauge as your yarn, for stringing your cupcakes
-An assortment of pom poms, beads, small bows, or cabochons, to decorate your cupcakes
In my sample garlands, I used Lion Brand Vanna’s Choice yarns as well as Red Heart Super Saver.
Abbreviations:
Ch(s): chain(s)
Dc: double crochet
Dec: decrease
Hdc: half double crochet
Sc: single crochet
Sl st: slip stitch
St(s): stitch(es)
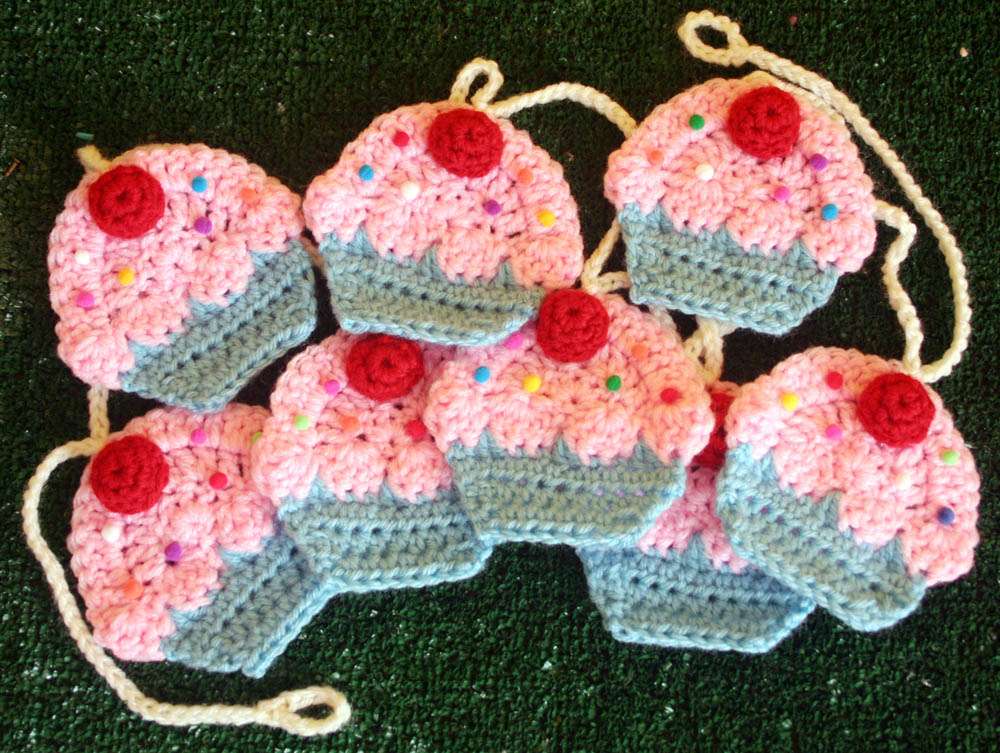
FROSTING (I made 8 cupcakes, because the number 8 is lucky to the Chinese! But you can add more for a longer garland. My garland ends up being about 52 inches unstretched, and up to 6 feet when hanging and stretching. Just remember, the longer it is, the heavier it will be!)
With FC, ch 3 and sl st to first ch to form loop.
Row 1: Ch 3 (acts as your first dc), work 5 more dc into loop. Turn. (6 sts)
Row 2: (Ch 3, dc) in same st, (2 dc) each in next 5 dc. Turn. (12 sts)
Row 3: (Ch 3, dc) in same st, 1 dc in next st. [(2 dc), 1 dc] 5 times. (18 sts). Don’t break off.
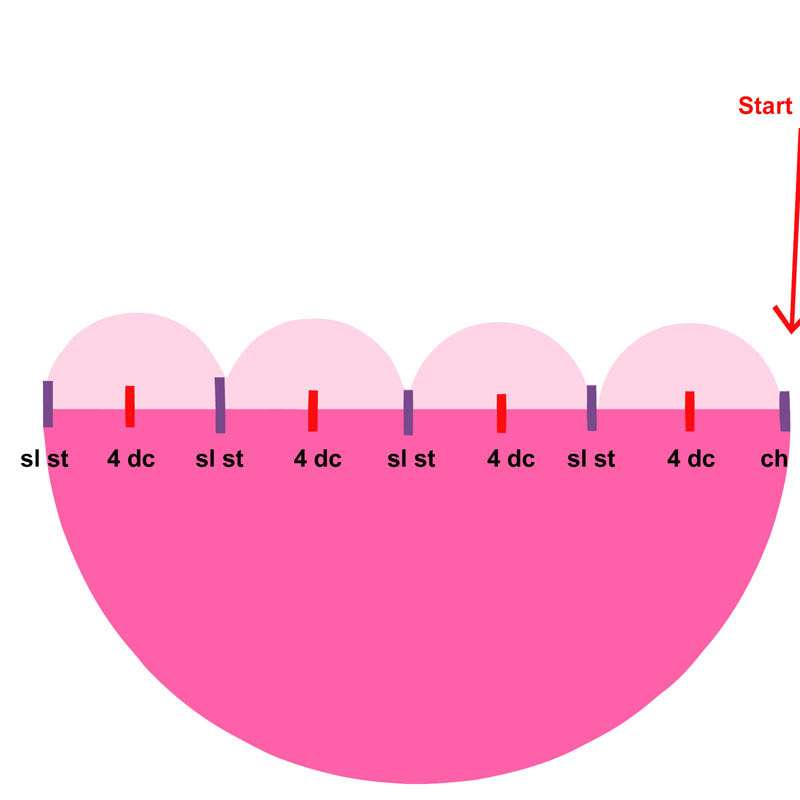
Rotate your completed half-circle clockwise. On the straight edge of this half-circle, you will be working a row of 4 scallops. Imagine breaking the straight edge into 4 quadrants. (Fig.1)
Row 1: Ch 1, (4 dc) into first 1/8, sl st into 2/8. (4 dc) into 3/8, sl st into 4/8. (4 dc) into 5/8, sl st into 6/8. (4 dc) into 7/8, sl st into 2nd ch of the main piece. Break off. Weave in your ends.
CAKE
You will notice a slight difference between the front and back of your Frosting. It really doesn’t matter which side you pick to work from. Just be consistent throughout your work. I prefer to call the “front” the side on which the scallops bubble out rather than bubble in. This “front” is also the right side (rather than the wrong side) of your final scalloped frosting row.
Keep holding the Frosting upside down, with the frosting scallops on top, right side facing you. See Fig. 2 to help you place your stitches.
With CC:
Row 1: Insert hook into 2nd to last dc, work 1 sc, [skip next dc, (2 dc) down inside sl st, skip next dc, 1 sc in each of next 2 dc] 2 times. Skip next dc, (2 dc) inside last sl st, skip next dc, 1 sc in next dc. (12 sts)
Row 2: Ch 2, turn. 1 hdc in each st all the way across. (12 sts)
Row 3: Ch 2, turn. Hdc dec, 8 hdc across, hdc dec. (10 sts)
Row 4: Ch 2, turn. Hdc dec, 6 hdc across, hdc dec. (8 sts). Break off. Weave in your ends. Add Cake onto all your Frosting pieces.
CHERRIES (Make 8, or however many to match each of your cupcakes. If you plan to hang your garland under an arch or in a place where both the front and back of your cupcakes will be visible, you may want to make cherries for the other side of all your cupcakes. If you don’t feel like crocheting the cherries, you can also sew or glue on red pom poms or buttons or whatever you like!)
Before beginning, unravel about 8 inches of Red yarn to use as stuffing later. Do not break off.
Round 1: Ch 2. Work 6 sc into 1 st ch. Sl st to first sc to join.
Round 2: Ch 1, (2 sc) in same space, sc in next sc, [(2 sc) in next sc, 1 sc in next sc] 2 times. Sl st to first sc to join. (9sts)
Round 3: Ch 1, sc in each sc around. Sl st to first sc to join. (9 sts) Break off leaving around 10-12 inches for sewing. Weave in the beginning end of your yarn, using this opportunity to close up the center hole if there is one, and tie off but don’t break off. Turn the cherry inside out so that the right side of your work is the outside of the cherry. Use the inside tail as stuffing for the cherry (add or subtract yarn as you see fit, but I don’t like to overstuff). Sew cherry to top of cupcake.
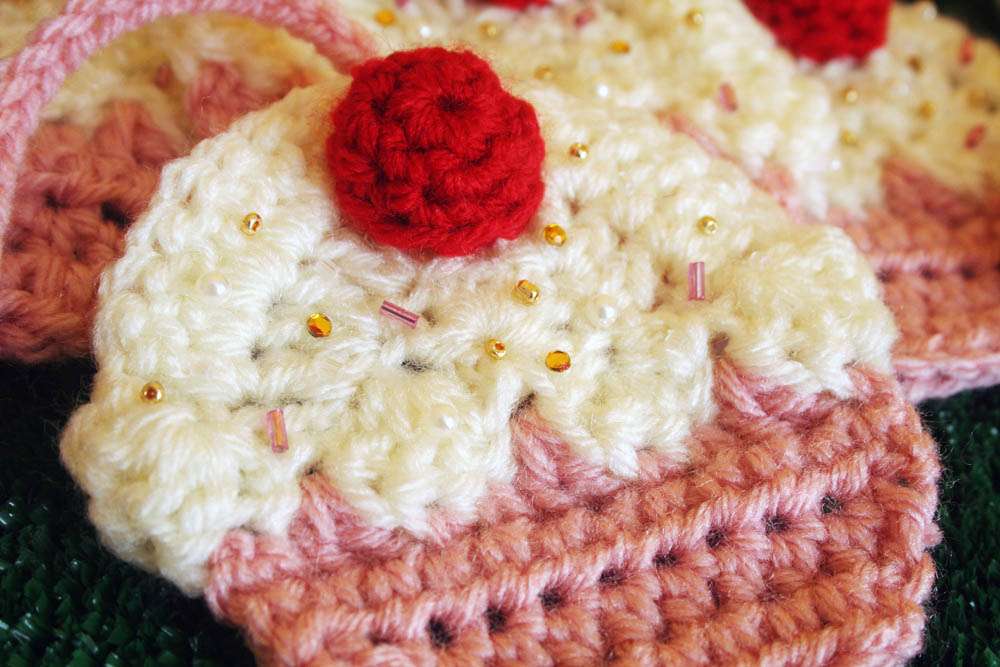
DECORATE your cupcakes! I usually go for rainbow mini pom pom sprinkles and washable fabric glue. However, for this tutorial, I also tried to make a slightly more grown up cupcake by experimenting with neutral-toned beads, crystals, and faux pearls.
STRING YOUR CUPCAKES TOGETHER
In making my samples for this tutorial, I did find there was a lot of stretchiness due to the weight of the cupcakes, so you might opt for using twine to string your cupcakes rather than yarn, if you can find some that is not too thick. Using twin, your CC, or any color you like, ch 10. Sl st to 1st ch to form a big loop. You can use this to hang your garland.
Continue to ch 30. Sl st to the top of one cupcake.
[Continue to ch 25. Sl st to the top of another cupcake.] Repeat for as many cupcakes as you have.
After slip stitching into your final cupcake, ch 40, and then sl st to the 10th ch from your hook to form another hanging loop. Break off. Weave in all your ends. Tada! You’ve just completed your magical cupcake garland!
♥ ♥ ♥
But that’s not all…oh no! The adorable Twinkie Chan would like to give both the samples she created for this tutorial to two very lucky Rock n Roll Bride readers! To enter to win your very own Twinkie Chan original, simply comment below before Wednesday 9th March 2011, stating which colour combo (pink & blue or pink & white) you would like. The winners will be picked at random and announced in Thursday Treats on the 10th March.
This contest is now closed
And if you use this tutorial to make your very own cupcake garland for your wedding (or just for fun!) you simply MUST send us some photos!!


