If you missed part one, check out how to make your origami animals. You can also see all these ideas in action in Ceri & Terry’s origami themed wedding.
Again, over to you Ceri!
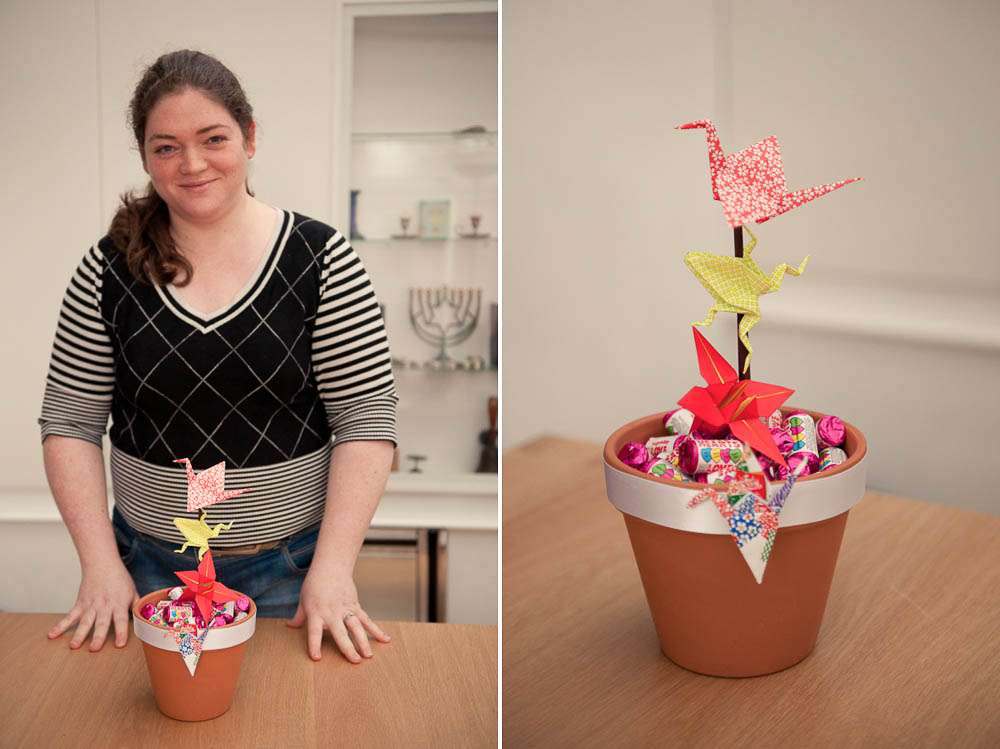
Having gotten ourselves in a folding mood with the 1,000 cranes (plus a few – we ended up folding more than we needed!), as the wedding approached, we decided to branch out – we folded tiny cranes for the place cards (beautiful, but very fiddly) and decided that, instead of having whisky distilleries or singers as our table names, we would look up exciting models for origami animals and fold those for the centrepieces. As we didn’t really want flowers, but still wanted our tables to look nice, this seemed like a perfect solution. Finally, a couple of weeks before the wedding, I decided that I did want a bouquet, but that I would fold it in order to stay in keeping with the origami theme. I was a bit nervous about it, though – but I figured that if it looked a mess, I didn’t have to use it! In the end, my bouquet of blue and yellow lilies came out even better than I’d hoped, and remains a lovely memento of the day for me.
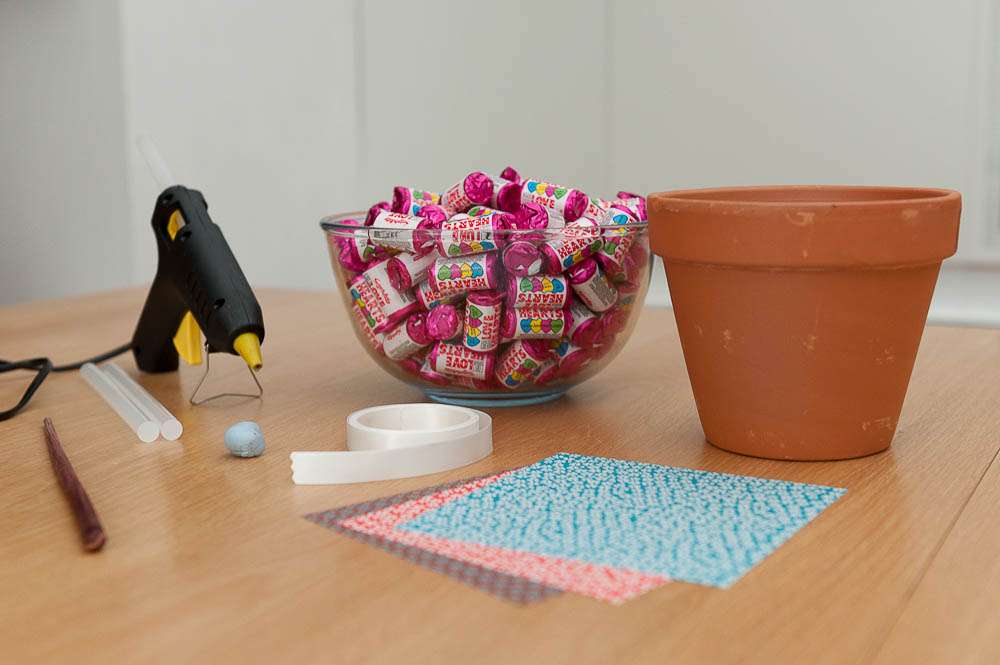
Supplies Needed:
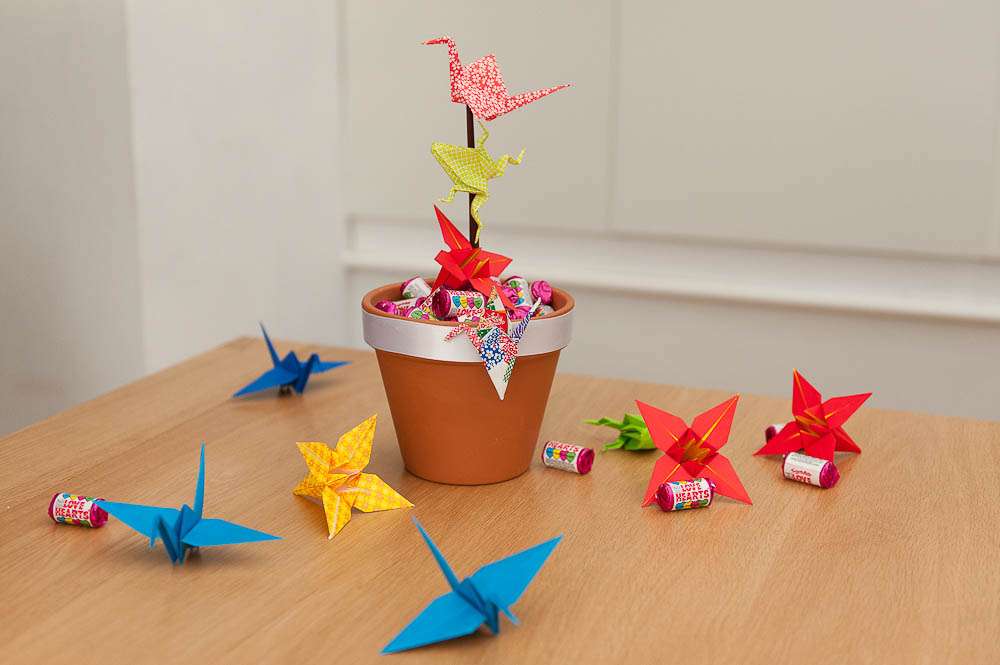
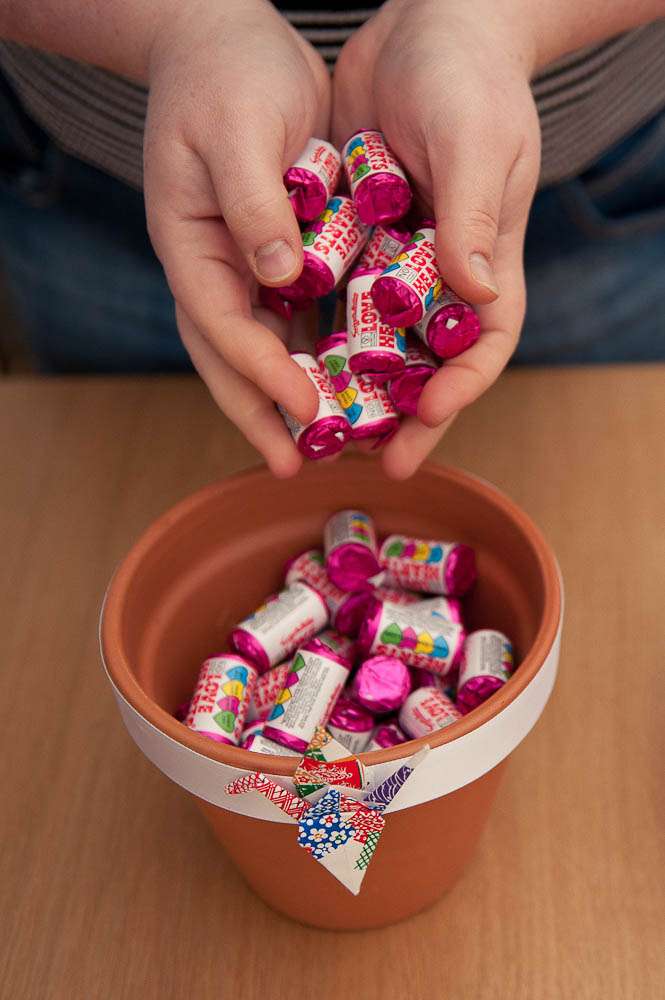
♥ For the centrepieces we used terracotta flowerpots filled with Loveheart sweets, to stand up the animals. We decorated each pot with a bit of white ribbon, and used a piece of thin dowel (or you could use a chopstick), to which we fixed the origami piece. We used lots of hot glue from a glue gun and blue tack to steady the dowel
♥ For the streamers you need simply need the cranes, a glue gun and some ribbon.
Flowerpot Centrepieces
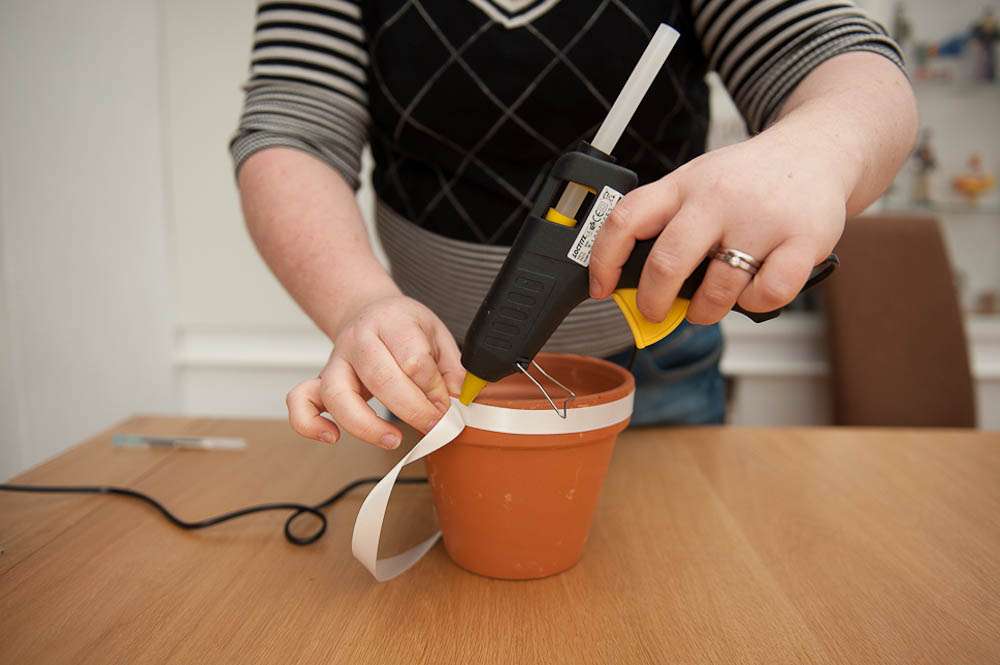
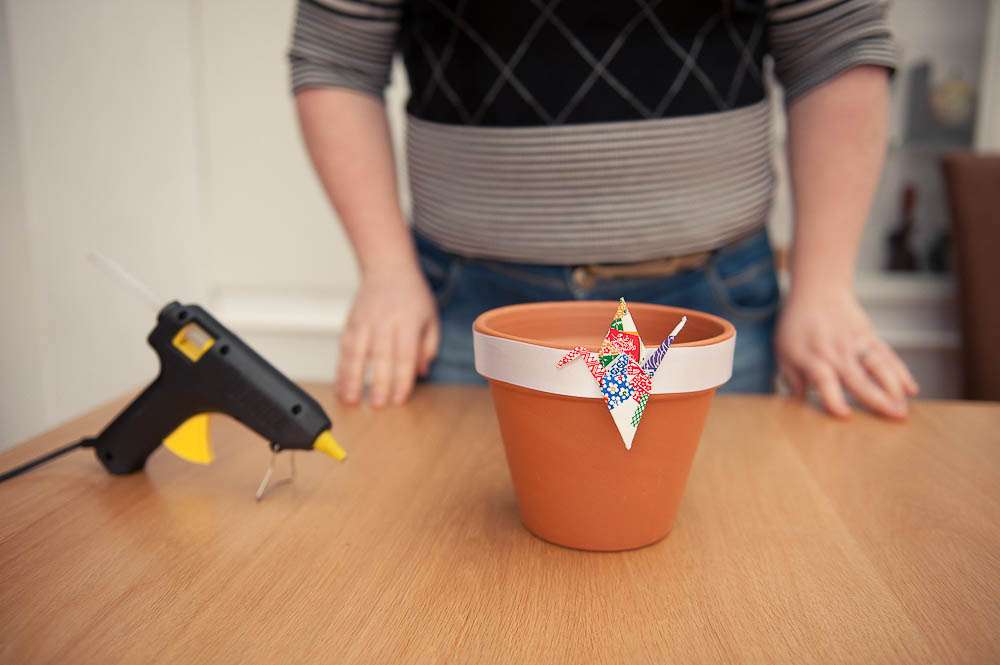
Step One: Wrap the ribbon around the top, cut to size, and use a glue-gun to fix in place. We glued a small crane on top of the join to cover it.
Step Two: Fill up the pot with lovehearts (or you could use anything else you fancied, like pebbles or other sweets) – this steadies the origami model.
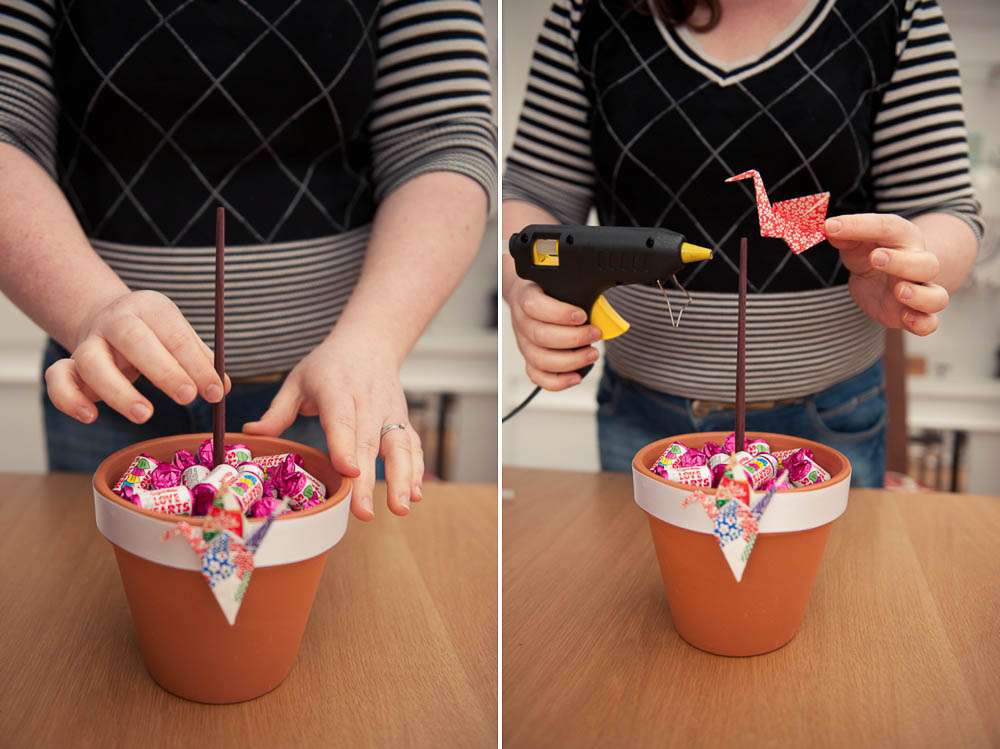
Step Three: Put the dowel/chopstick into the pot so that it stands upright. You could also use blue tack or the hot glue to fix it into the middle before you put the sweets in.
Step Four: Use hot glue to fix the model to the stick – all the models have folds which the glue could be hidden in.
Crane Streamers
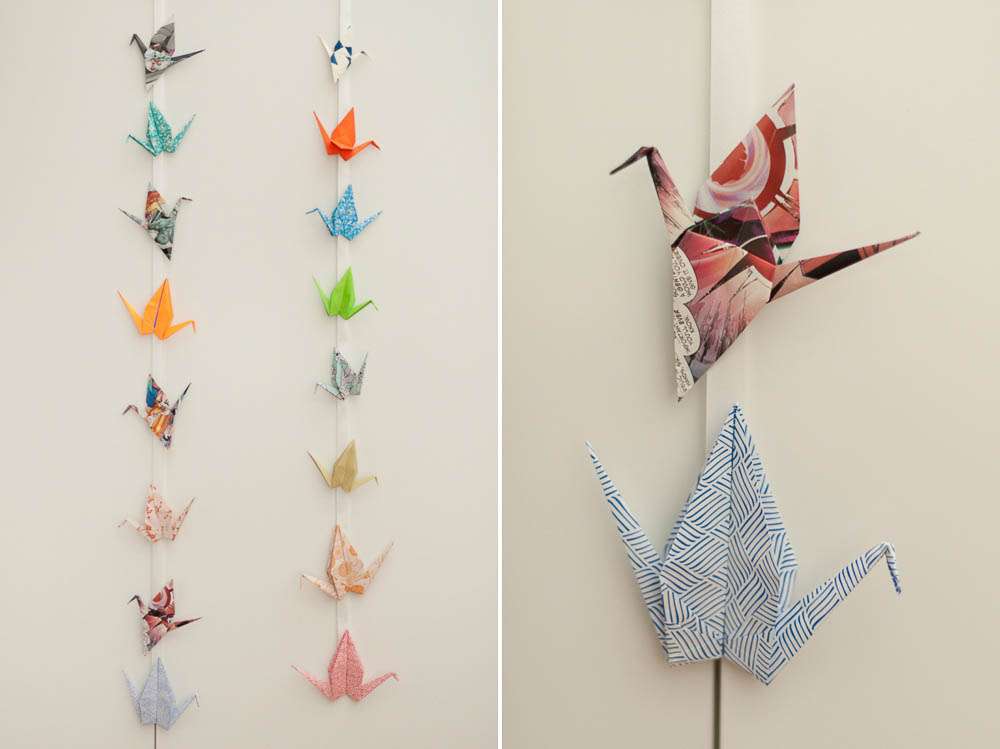
This was very simple! We just glued seven or eight cranes to each piece of ribbon (around 4-5 feet long) in what we thought were attractive colour groups and then pinned these around the edges of the marquee.
It was a great way to show off all the cranes, and our guests took them home at the end of the evening as a souvenir – we’ve been told that they’re decorating homes around the world now!
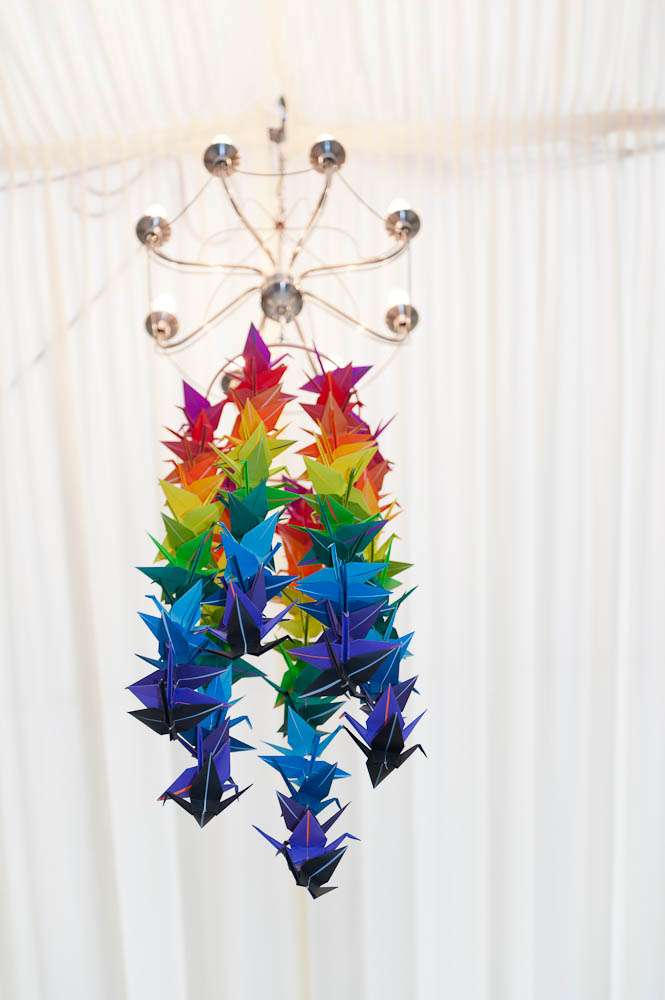
We also took some of these streamers (about 25 of them in total) and attached them to circular embroidery hoops (which are available, very cheap, from any haberdashers) to make crane mobiles!
All Photography Credit: Ria Mishaal Photography

