I’ve got something a little different in terms of a DIY tutorial today. Ceri & Terry’s origami themed wedding was so popular (in fact so much so that I think a national wedding magazine picked it up afterwards as well!) when I blogged it that I asked Ceri if she wouldn’t mind sharing some of origami tips and ideas with us.
She’s gone above and beyond what I expected of her and has not only put together some basic origami tips but has created three individual animal tutorials plus two extra tutorials of ways to encorperate your creatures into your wedding day (to be posted later today).
Are you ready for this?!
I’ve always liked doing little crafty things, but prefer the kind of project that I can just pick up when I want to make something – so origami was perfect as it’s easy to learn the basic techniques, and there’s not much investment in start-up materials! Over the last fifteen years, I’ve gone through “origami phases” where the house ends up littered with various origami creatures. I’m also a bit of a romantic, so when I read about the senbazuru (a group of 1,000 paper cranes, traditionally made as a wedding gift in Japan and said to grant the couple one thousand years of happiness and prosperity) I thought it was a beautiful idea. When my fiancé and I were discussing how to decorate the venue for our wedding, it was the idea that we liked the best. We weren’t sure how long it would take, though!
In the end, it took us about three months of folding a few cranes each in the evenings. Part of the reason that the senbazuru is sometimes folded by the bride and groom together is that it is supposed to prepare them for married life, and I started to understand this as we began the mammoth task of filling a cardboard box with our colourful creations – it was a serious undertaking. However, it also gave us a chance to sit together and talk, and to create something together that, in the end, we were really proud of.
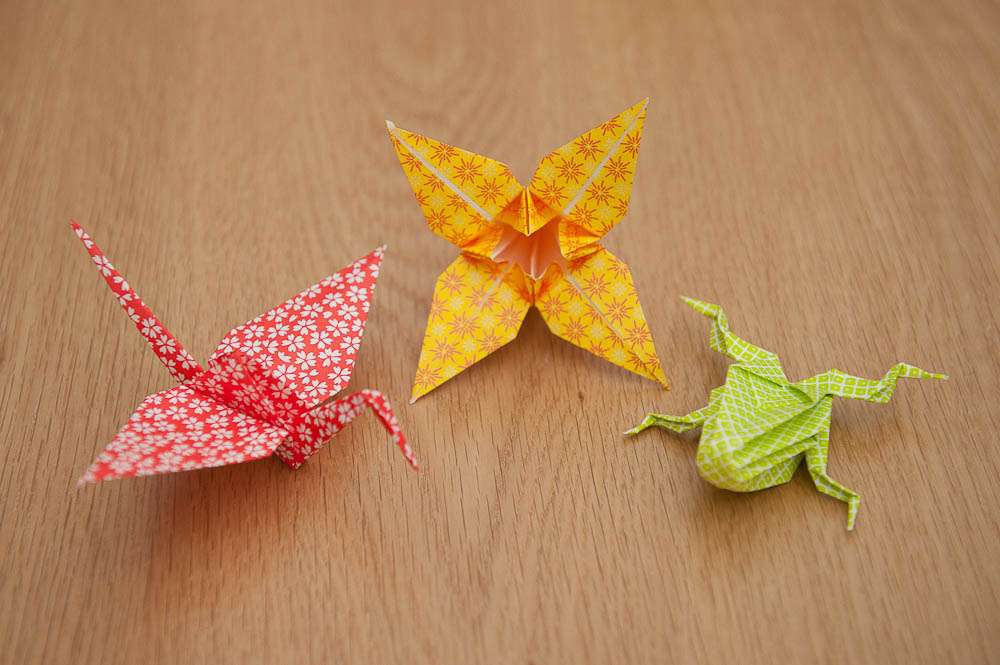
In this tutorial, the folds are for the crane, the lily and one of our animals (the frog, folded from the same base as the lily), and I’ll go through how we put these together into our decorations.
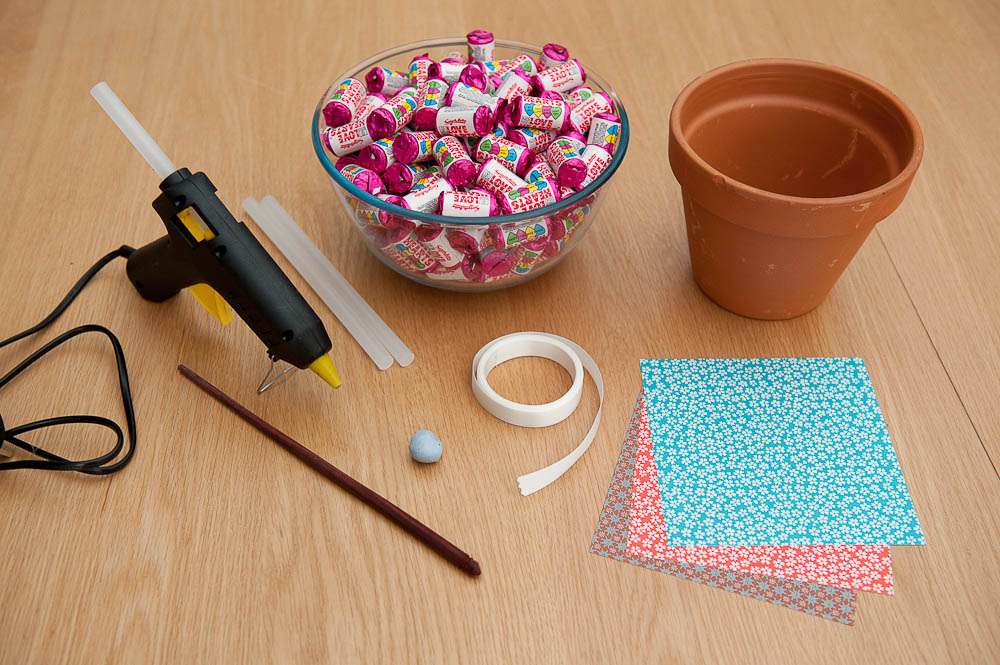
Supplies Needed:
♥ Different coloured paper – in a perfect square (cut this yourself) wrapping paper is great or you can buy special origami paper from stationers
The Crane:
click image to enlarge
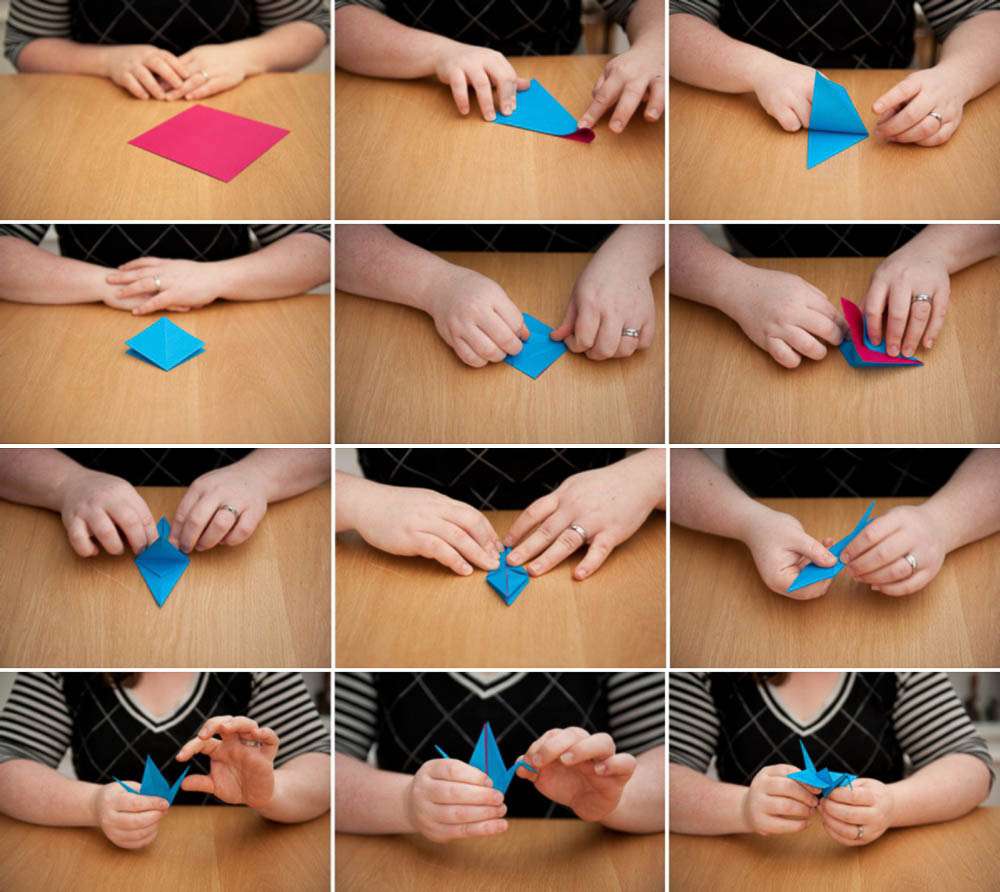
I’m using a double-sided piece of paper for all the folds. In this case, it’s blue on one side and purple on the other. I want the finished crane to be blue, so I’m starting with the blue side face down, and the purple “inside” upwards.
Step One: Fold the paper corner to corner, so that you have a triangle. Then fold this triangle corner to corner. You then have a triangular object, with two pockets inside.
Step Two: Open up each of these pockets and squash-fold them down, so that you have a diamond shape that’s open at the bottom.
Each of the side corners will have two layers, one at the front and one at the back.
Step Three: Keeping the open end towards you, fold each of the side corners (from the top layer only) into the middle, so that the lower edge rests against the centre line of the model (it will look like a kite). Turn the model over and do the same on the other side. Fold the top point down over these folds, front and back, so that you create a new fold. Then unfold the flaps that you’ve made – the next fold will be done along these creases.
Step Four: This is the only tricky bit – you do what is called a “petal fold”. You now have the open-ended diamond in front of you, like in step 2, with some additional creases. Pick up the bottom point (only the very top layer), and gently lift it upwards, folding along the creases that you’ve just made, including the horizontal crease at the top. The flaps fold into the middle. This is the crane’s wing. Do the same on the other side. You should now have a long, pointy diamond, where one end (the end pointing towards you) has two “legs” – that’s how I think of it, and if you look at it from the side, you should be able to see the wings and the body between them
Step Five: Now we want to narrow the lower part to make the neck and tail. Fold the side corners into the middle again, so that the edges lie along the centre line of the model. Do this on both sides. You now have a pointy diamond with two legs, but where the bottom is narrower than the top.
Step Six: Fold each “leg” (these are the head and tail) up at the angle you want them to be in relation to the wings, and make sure that the crease is reasonably pronounced, and then unfold. Now fold them up at the same angle, but between the wings (this is called an “inside reverse fold”) – the fold in the middle of the neck/tail will reverse. If your paper is a bit thick, you might find that your paper is difficult to fold here, and overlaps too much for you to be able to make the fold look neat. If this happens to me, I go back a couple of steps and rearrange the folds at step 5 to give a little more room.
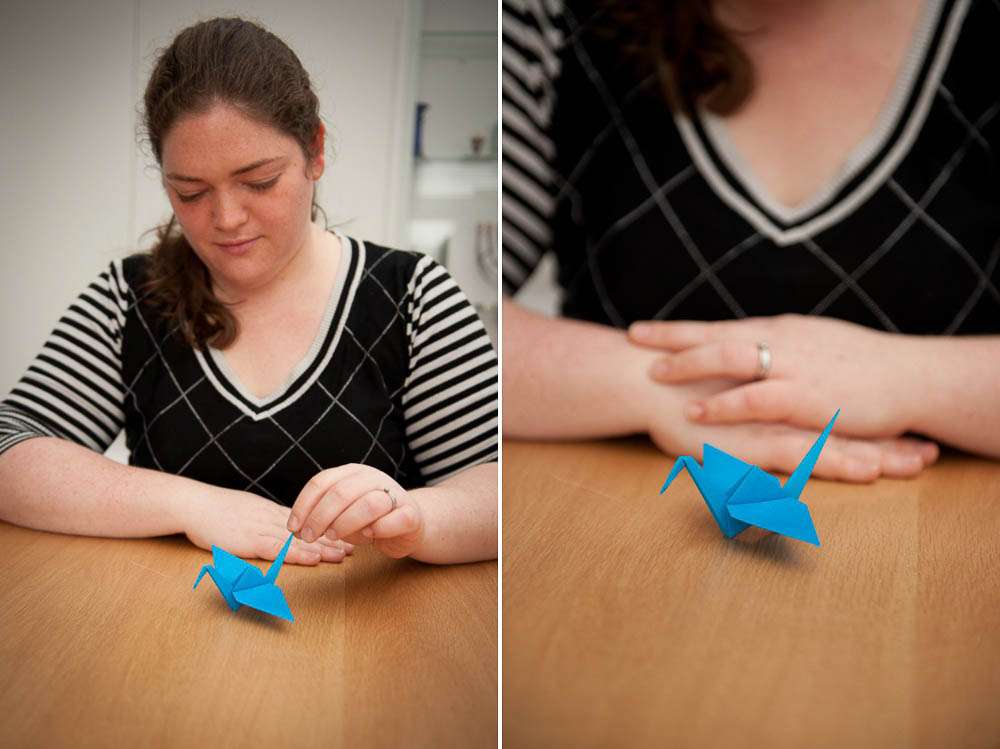
Step Seven: Almost done – you now have everything except the head. Chose one of the head/tail ends, and make a small “inside reverse” fold to make the head. Now fold the wings down.You can blow gently into the hole at the bottom of the model to inflate the body, or arrange the model so that it will stand up by itself – or you could make it into a decoration.
The Flower & Frog (base)
Again, I’m starting with the colour I want my piece to be face down. In this model, the “inside” colour will show in the middle of the flower, so double sided paper looks great. The flower and the frog start from the same base.
Step One: Again, like the crane, fold corner to corner, and then fold again, corner to corner so that you have your two pockets. Like the crane, squash these into the open-ended diamond shape.
Step Two: The diamond has four flaps – squash fold each of these, so that the model is shaped like an upside-down kite with the inner colour showing (see picture).
Step Three: Keeping the open end towards you, fold in the top layer of flaps so that the bottom edges of your lie along the centre line. This covers up the inside colour on that face. Then turn over the flaps (like the pages of a book) twice, until you come to another face which looks like the first (where you can see the inside colour). Fold in the corners, like before, so that the bottom edges lie along the centre line. Repeat this again on the other two faces.
Step Four: Starting with one face, unfold step 3. Gently pull up the flat edge from the middle and fold the flaps inside. We want to create a triangular flap in the middle, pointing up, so pull this up gently and crease to make the flap into a triangle – you will need to create a horizontal crease from corner to corner, and a diagonal crease into the centre point on each side. Repeat this on the other three faces.This base is used to make the flower and the frog.
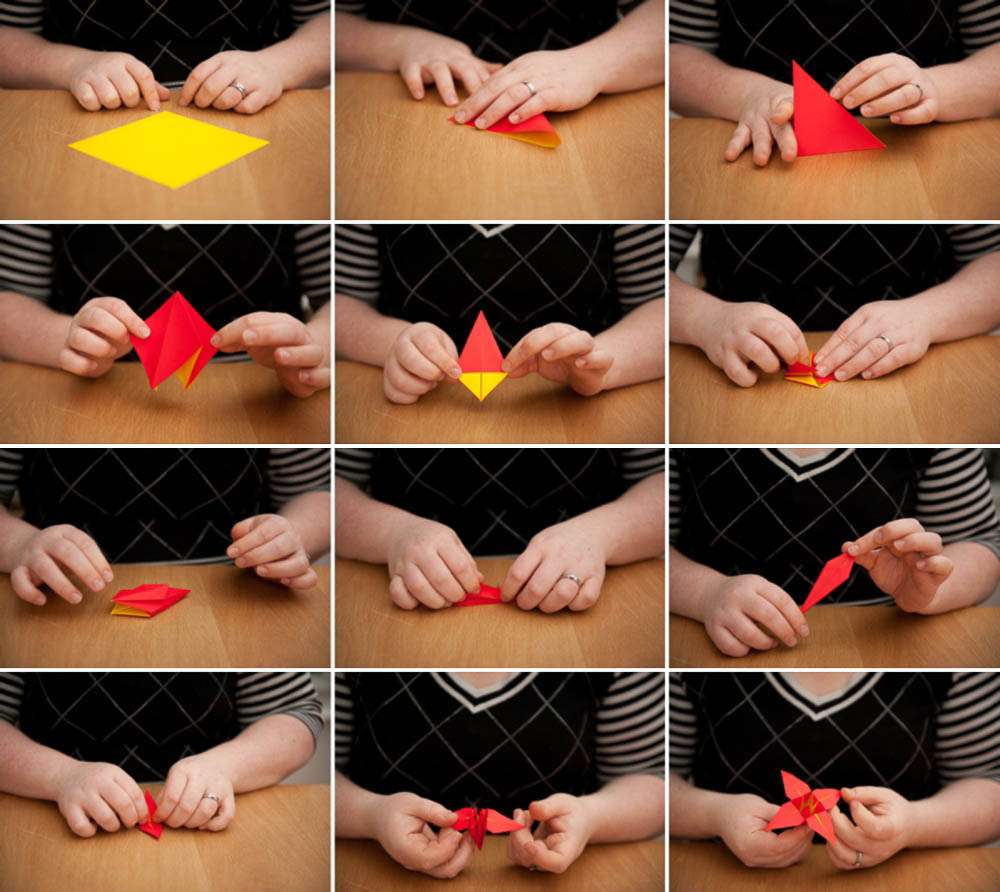
The Flower
Step One: At the moment, the open end is towards you and the flaps in the middle are pointing up. Fold all four flaps down, so they are pointing towards you. Then turn the model around, so that the open end is away from you.
Step Two: Fold the top layer of flaps in to the middle, so that the lower edge of the diamond lies along the middle crease. Do this on all four faces.
Step Three: Turn over one flap, like the pages of a book. You then have a “flat” face uppermost. Fold the top point (this is a petal of the flower) down as far as it will go. Do the same on the other three “flat” faces.
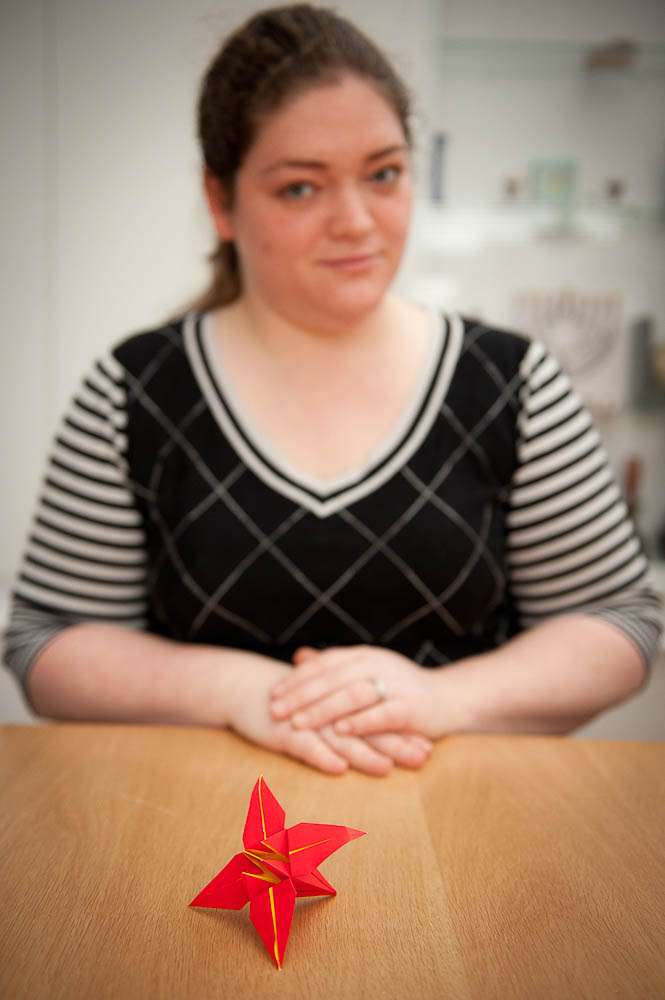
Step Four: That’s it – now all you have to do is gently open the flower up, by pulling the petals back to horizontal and opening up the body.
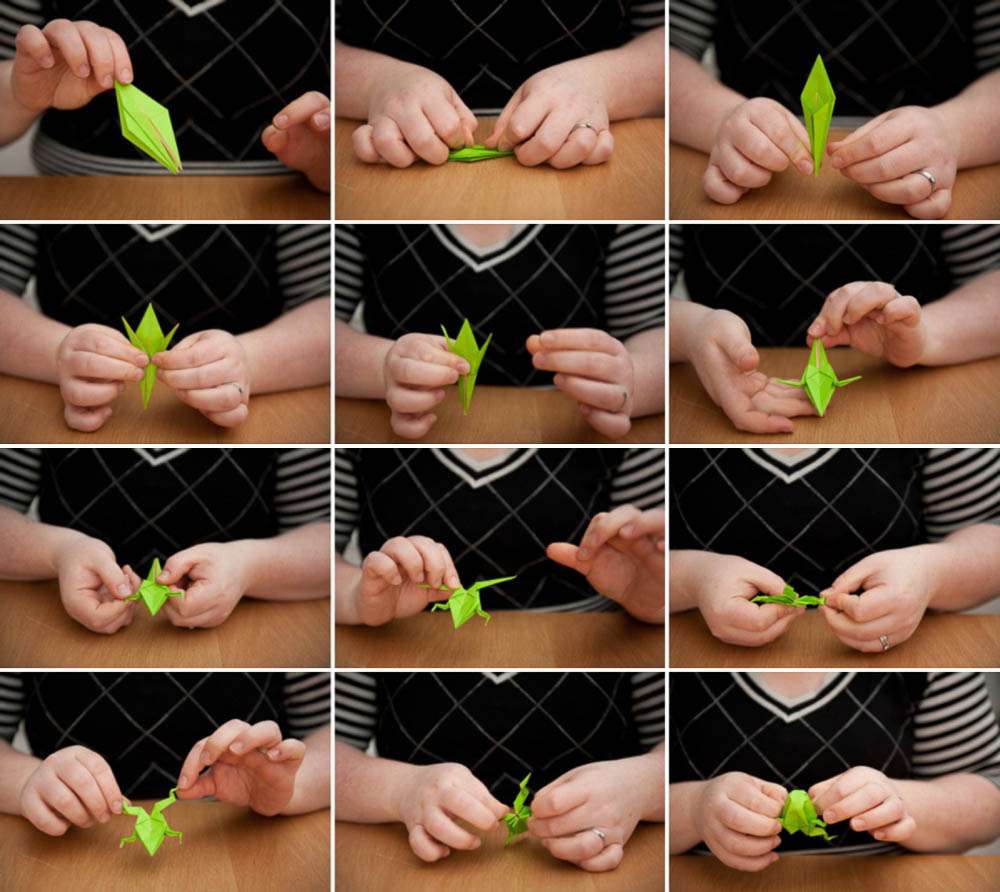
The Frog
click image to enlarge
Step One: At the moment, the open end is towards you, and the flaps in the middle are pointing up. This is correct – the open end will become the legs.
Step Two: Fold the lower flaps into the middle, so that the lower edge rests along the middle crease. Do the same with the other three faces.
Step Three: Now, fold up the top two points and make a crease – these will be the arms, so position them the way you like. Then unfold and “inside reverse” fold to make the arms.
Step Four: Fold the two remaining points at the bottom out to the side, to make the legs. Crease, unfold, and inside reverse fold to make the legs.
Step Five: Make two more inside reverse folds on each of the limbs to make the knees, elbows, feet and hands.
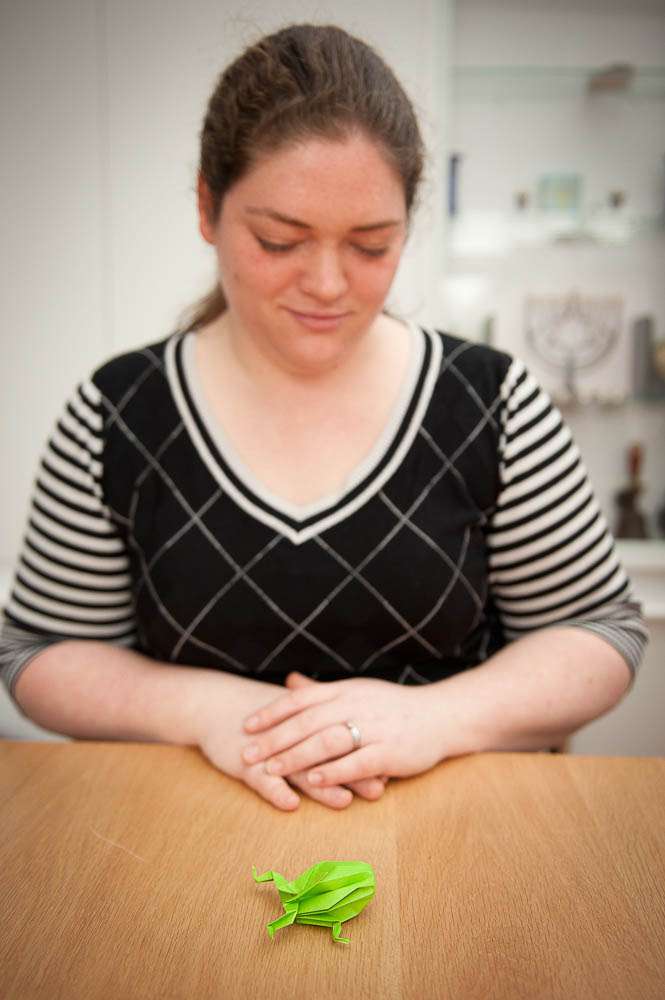
Step Six: The frog is now pretty much done – but the nose will look a bit pointy! If you look between the legs, there is a hole in the base of the model – blow into this (you can use a straw) to inflate the frog’s body.
That’s probably quite a lot to digest so come back later today for some of Ceri’s tips and tutorials on how to use your origami in your wedding decorations!
All Photography Credit: Ria Mishaal Photography

