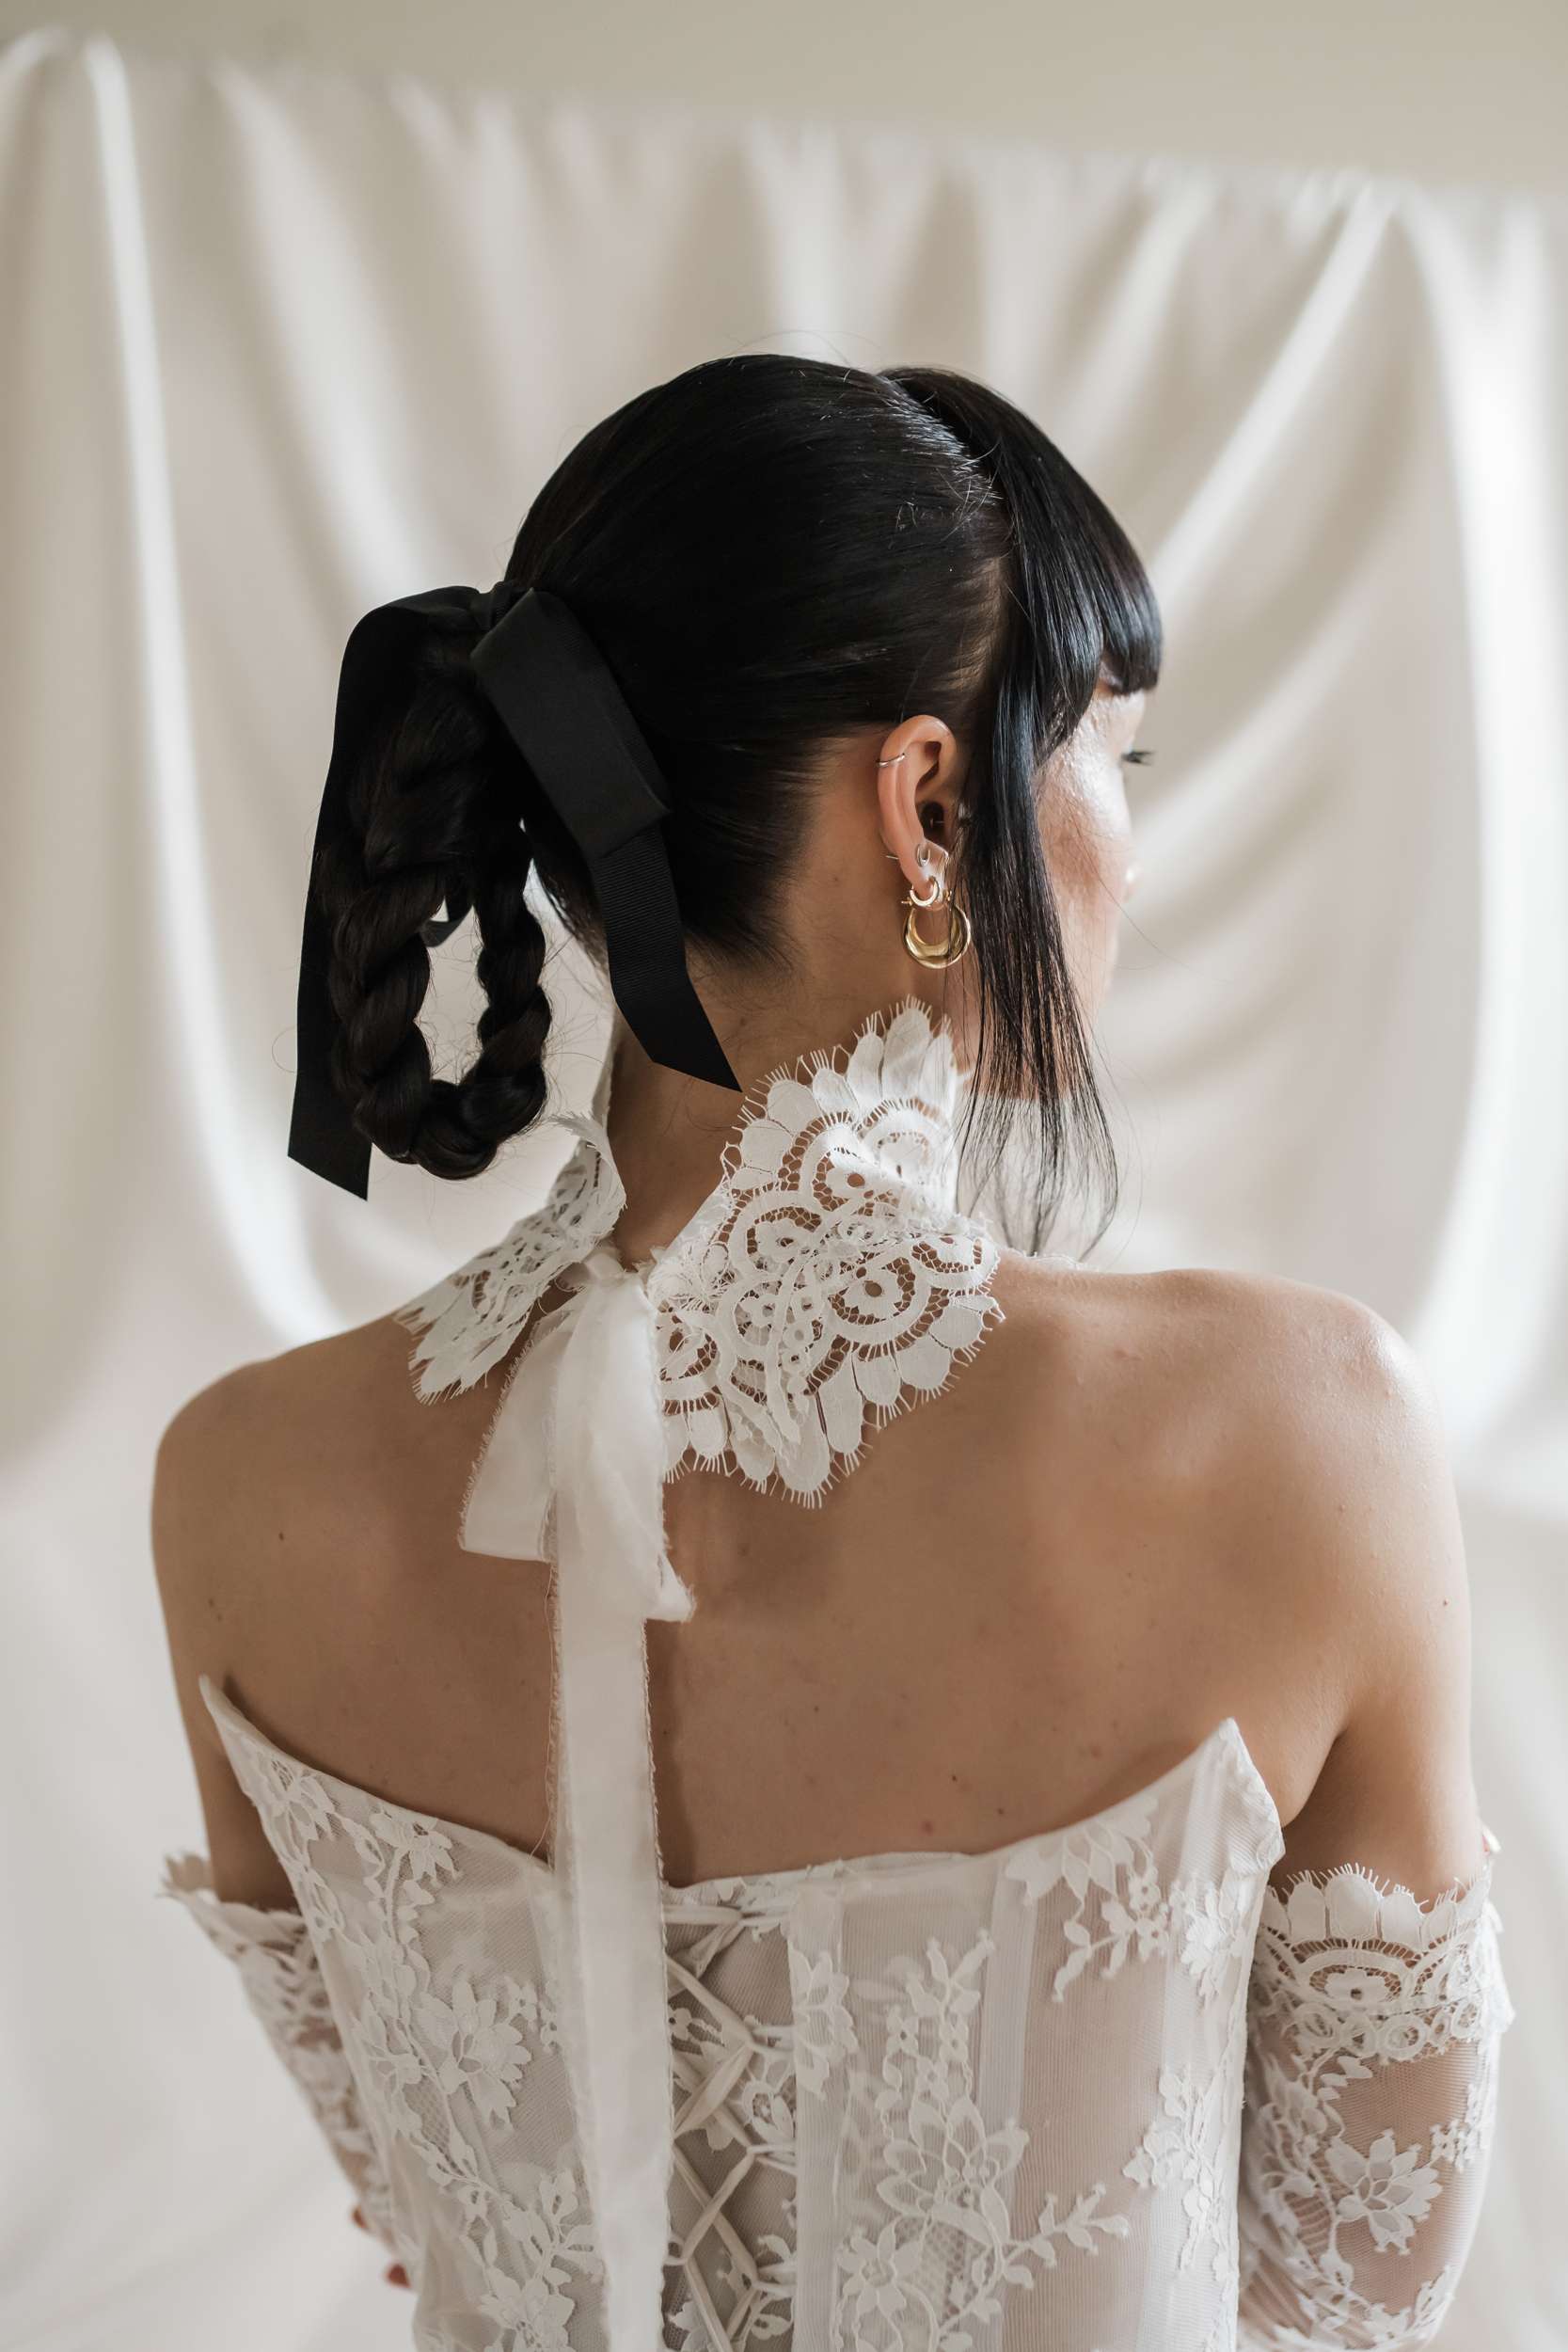
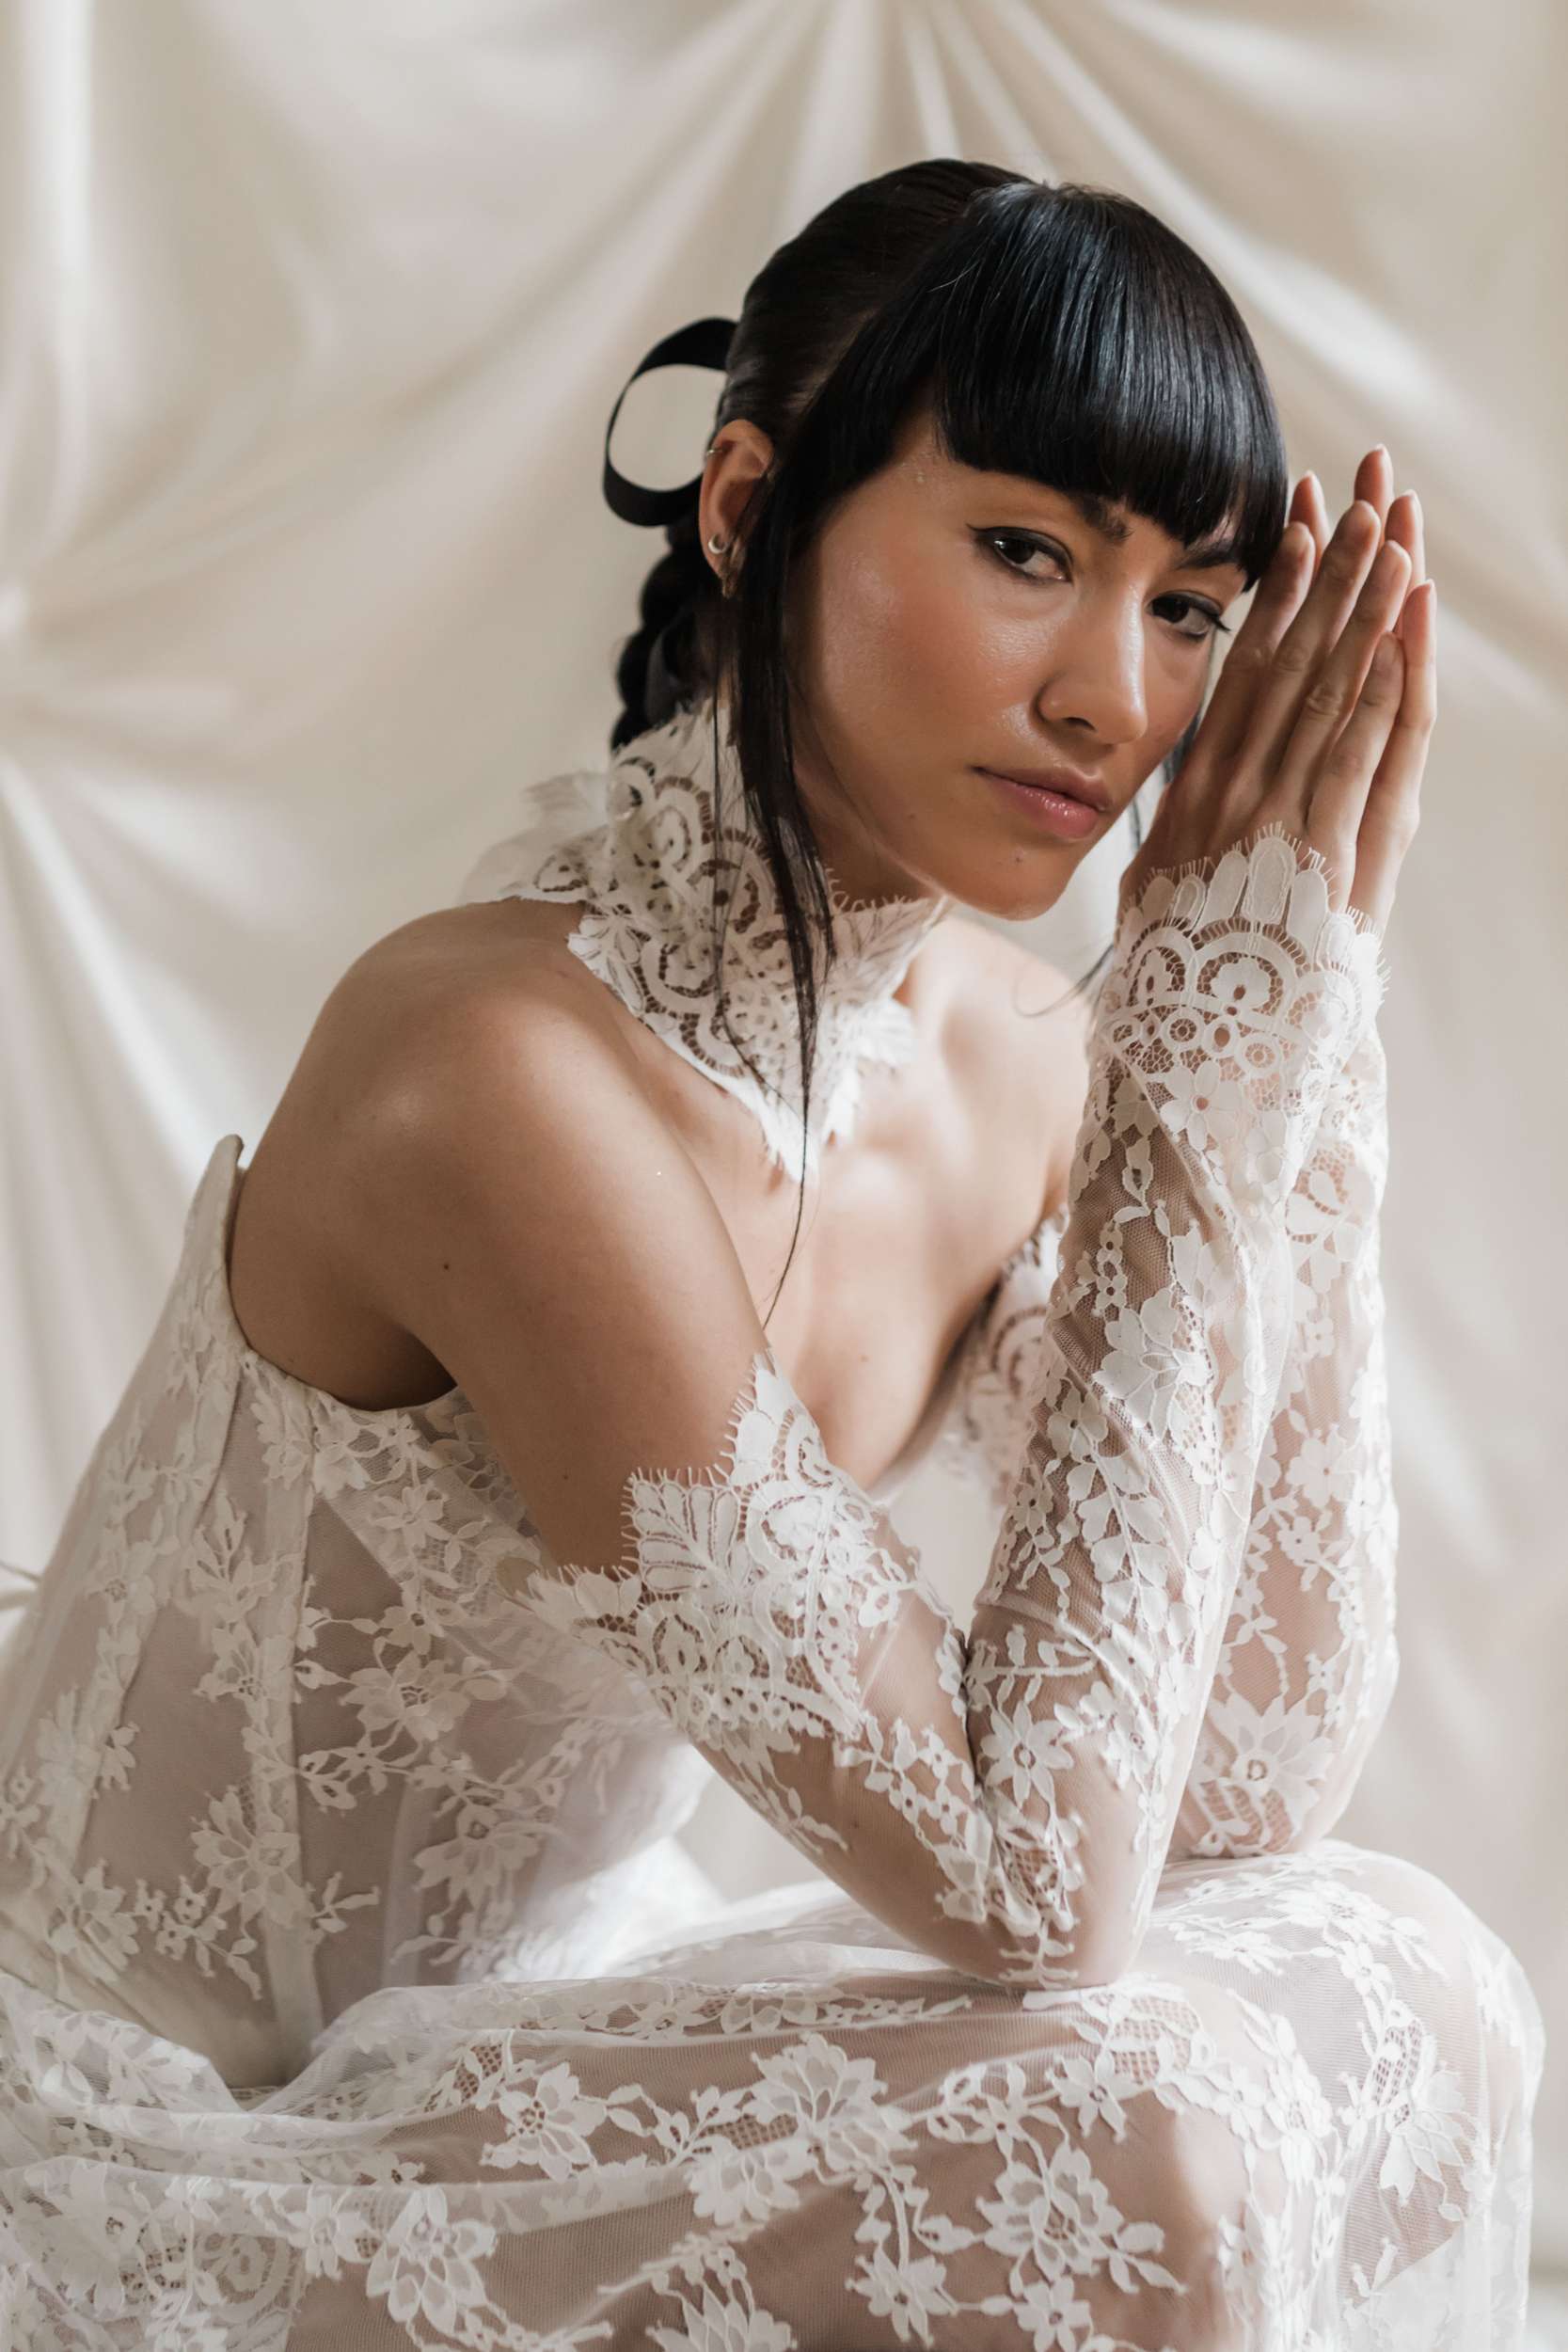
A high ponytail, massive earrings and a dress with shoulders worth showing off? Very much here for it. A low pony tied with an oversized black bow? Also sold. A ponytail is a great option for a wedding, especially if you already wear your hair up and feel most like yourself that way. Extensions can add extra length or volume, whether you’re after a blunt, straight finish or a ponytail that reaches your waist. The bit that needs some planning is keeping the attachments covered when you pull your hair back.
Start by deciding where you want the ponytail to sit. Low and mid-height styles are usually easier with individual clip-in wefts. For a high ponytail, a dedicated wrap-around extension can make the job simpler.
Clip-In Wefts or a Wrap-Around Ponytail?
If you already own clip-in extensions, you may be able to use them for your wedding hairstyle. Wefts are separate sections of hair attached with small clips, so you can choose how many to use and where to position them.
A wrap-around ponytail is a single hairpiece that attaches around an existing ponytail. It’s useful if you want extra length without arranging several rows of extensions underneath your own hair.
Here’s how the options compare. Timings are estimates, so allow longer for your first attempt and any additional styling.
| Ponytail method | How easy to keep the clips covered | Time to put in | What you need | Price |
| Clip-in wefts in a low ponytail | Very easy; the lowest rows stay covered by nape hair | 10 to 15 minutes | Clip-in wefts, hairbrush, hair band, and hair grips | £93 (130g full-head set) |
| Clip-in wefts in a mid ponytail | Easy with careful placement and symmetry | 10 to 15 minutes | Clip-in wefts, hairbrush, hair band, and hair grips | £93 (130g full-head set) |
| Clip-in wefts in a high ponytail | More challenging; the nape hair lifts and the lowest rows risk showing | 15 to 20 minutes with extra smoothing | Clip-in wefts, hairbrush, hair band, hair grips, and smoothing product | £93 (130g full-head set) |
| Wrap-around ponytail extension | Easy; it attaches above the band, with nothing sitting underneath | 1 to 2 minutes | Ponytail extension, hairbrush, hair band, and hair grips | £90 |
How to Put Clip-In Extensions in a Ponytail
Placement depends on your hair’s length, thickness and the height of your ponytail. Give yourself a practice run so you can work out what stays covered and feels secure.
Choose your ponytail height first
Gather your own hair into the position you want before adding anything. This shows you which sections will lift and where you’ll need coverage. If you’re wearing a veil, consider where its comb will sit too.
Section your hair
Release the ponytail and separate your hair into sections, leaving enough around the hairline and nape to cover the clips. Keep the upper layers out of the way while you work.
Add the wefts gradually
Position the extensions within the area your natural hair will cover when gathered. Check each row by lifting your hair towards the intended ponytail position before adding another.
You may need fewer pieces than you use when wearing your hair down. Start with a small amount and build up until you have the fullness you want. Packing in every weft can leave you with bulky attachments and unnecessary weight.
Gather and secure
Bring your natural hair and extensions together, smoothing around the attachments without dragging a brush through the clips. Secure with a hair band, then check the sides and back using a second mirror or a phone photo.
If a clip shows, reposition it. Hairspray will help with flyaways, but it won’t cover an exposed attachment.
What About a High Ponytail?
A high ponytail pulls the hair at your nape upwards, which can reveal wefts placed for a hair-down style. Those extensions may need to sit higher or face a different direction to follow the finished ponytail.
This is a good reason to take your extensions to your hair trial. Your stylist can work out the placement using your own hair, rather than trying to copy a tutorial designed for someone with a completely different cut or thickness.
If you’re doing your own hair, practise the whole style in advance. Wear it for a few hours, turn your head, bend down and have a dance. You’ll soon find out whether anything slips, shows or starts pulling.
Using a Wrap-Around Ponytail Extension
For a high ponytail, wrap-around clip-in ponytail extensions attach at the base of your finished ponytail, keeping the extra hair concentrated in one place. Attachment methods vary, so follow the instructions for your chosen piece. For a comb-and-wrap design, the process generally involves:
💁♀️ Putting your natural hair into a secure ponytail at your chosen height.
💁♀️ Sliding the built-in comb into place above the hair band.
💁♀️ Fastening the wrap around the base.
💁♀️ Using the finishing section of hair to conceal the attachment and securing it underneath with hair grips.
💁♀️ Arranging your own hair and the extension together.
Check that the attachment feels comfortable before moving on to styling. A heavier hairpiece may look great in a photograph and feel very different halfway through the reception.
Hide the Band or Make It Part of the Look
For a concealed finish, take a narrow section from underneath the ponytail, wrap it around the band and pin the end underneath. Some ponytail extensions have a section specifically for this.
You can also make the fastening part of the style. Try velvet ribbon, a metal cuff or a bow made from an offcut of your outfit. If you’re adding an accessory, check that it sits securely without catching the extension’s attachment.
Give It a Proper Trial Run
Try the ponytail with your earrings, neckline and any veil or headpiece before the wedding. Take photographs from the back as well as the front, and check how the colour and texture blend in daylight.
If you’re booking a stylist, bring the extensions along to your trial. If you’re doing it yourself, keep a few spare grips and a hair band with whoever’s carrying your wedding-day essentials.
The aim is a ponytail you love wearing and can leave alone once the party starts. You’ve got better things to do than spend the reception checking the back of your head.
Suppliers
- Photography: Katie Rogers Photography