I’m slightly obsessed with gel manicures. I find nothing more annoying than nail varnish that chips the first time I wear it, so I love that gels last up to 4 weeks and without damaging your nails underneath. However getting them done professionally all the time can be really blooming expensive. After realising what a dent in my bank balance my love affair was having, I decided to see if there was a DIY option. And so I uncovered a brand new obsession.
Unfortunately I quickly found out that the gel brands used by the professionals (Gelish, Shellac etc) aren’t available for purchase by us mere mortals. Everywhere I looked you needed a trade card to be allowed to buy them. BOO to that!
Refusing to be beaten I kept on searching high and low, and I think that I’ve now not only finally uncovered my perfect formula, but I’ve figured out how to do a DIY glitter manicure too! Even the professional manicurist I went too didn’t have glitter options with as much coverage as this method gave me.
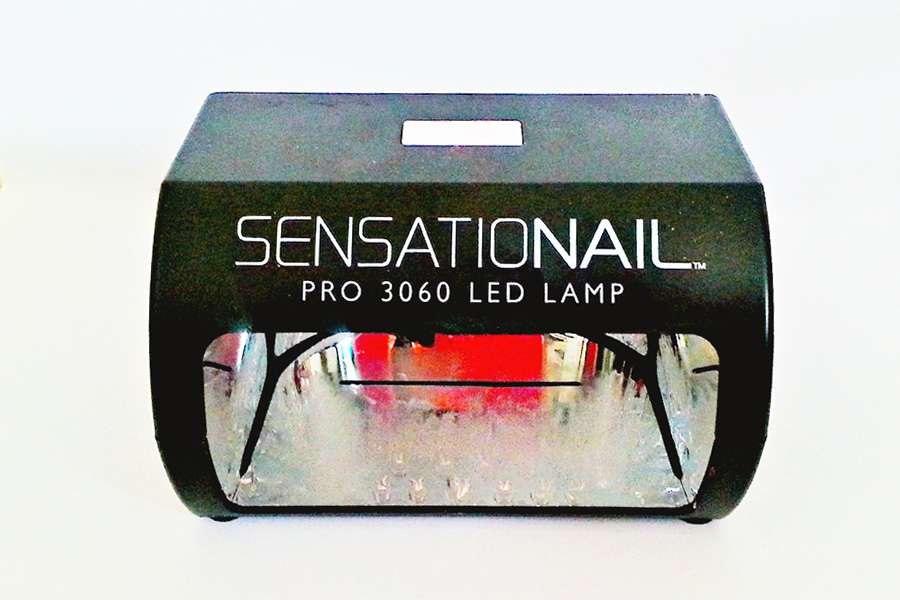
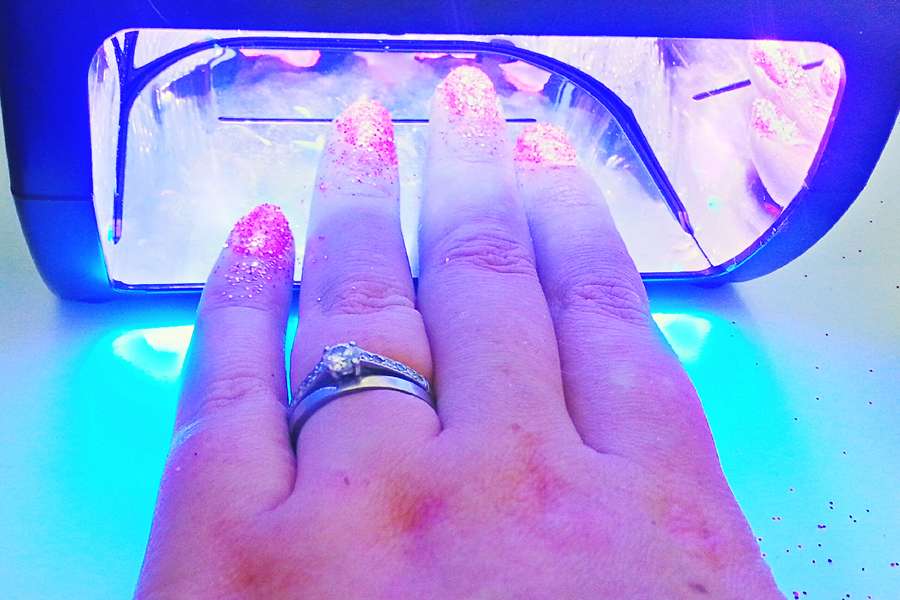
The first thing that you’ll need is a UV LED lamp, which cures (hardens) the gel. I did a little test to see if it was possible to do it without one and it’s just not. I left some gel polish on a piece of paper and 24 hours later it was still sticky.
I bought the SensatioNAIL Starter Set from Boots. It comes with the lamp, nail primer, cleanser, base and top coat, and your choice of colour polish. While the lamp does the trick I was disappointed with the colours available. I bought ‘Rose’ which was the brightest pink they had in stock but the results were baby pink, almost nude finish nails. That simply would not do! I also found the top coat to not be very effective. The first time I did it my nails started to peel within 2 – 3 days.
The starter set costs £69.99, which may seem like a lot initially, but when consider that getting them done professionally costs upward of £30, it pays for itself after just a few uses.
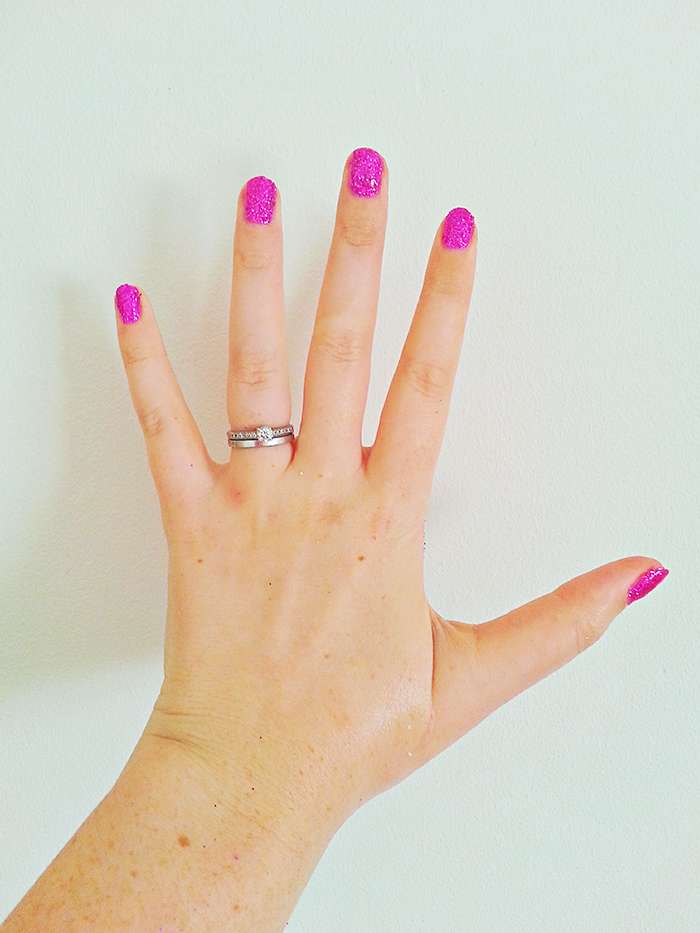
In terms of the colours, Bluesky is the best non-professional brand I’ve found so far. You can buy them on Amazon, they’re only £5 a pop and there are literally hundreds of colours to choose from. There are so many in fact that it’s a little overwhelming. The one I’m using in this tutorial is Neon Cherise
, a super hot neon pink. Love it! If you want something a bit darker, a black gel base under the glitter is great option.
OK, so enough gassing, on with the tutorial!
Supplies Needed
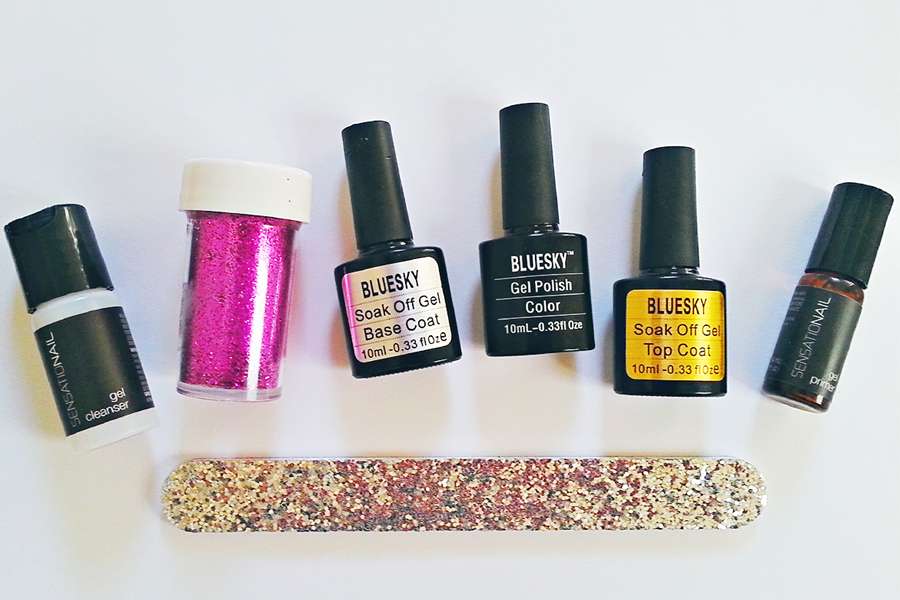
♥ UV LED lamp
♥ Gel nail primer
♥ Gel nail cleanser
♥ Gel base coat and top coat
♥ Gel polish colour of your choice
♥ Pot of glitter, mine was from Hobbycraft
♥ Tissue/ cotton pads
♥ Orange stick
♥ Nail file
Method
Step one: Trim and file your nails to the desired length. Prep the nails by wiping with the gel cleanser and then apply a thin coat of the pre-gel primer. Leave to air dry for 30 seconds.
Step two: Apply a thin layer of base coat to all the nails on one hand, being careful not to get any on your skin. If you do smudge any, use the orange stick to clear up the edges. If you don’t, you’ll get big gloopy bits of gel hanging off your nails once it’s hardened. Gross.
Cure under the LED lamp for 1-2 minutes (I’ve found that the longer you cure each layer for, the longer the manicure lasts).
Step three: Apply a thin layer of your chosen colour polish to every nail on one hand. Cure for 1-2 minutes.
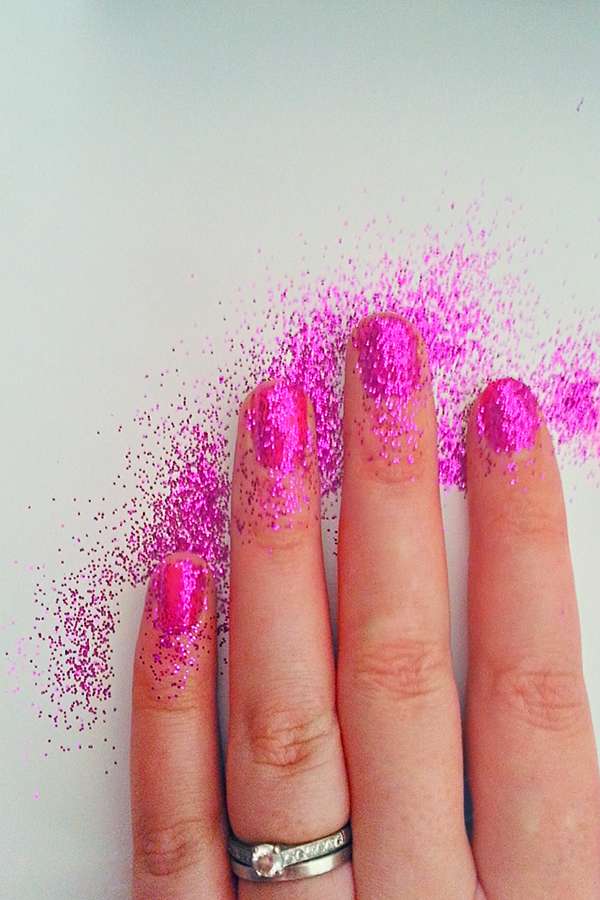
Step four: Apply a second thin layer of colour polish, just to your thumb this time. While the gel is still tacky, sprinkle glitter over it, trying your best to get an even coverage. Gently pat the glitter down and blow off any excess. If you don’t you’ll be more likely to end up with a rough finish. Cure for 1-2 minutes.
Step five: Carefully clean around the nail, removing any excess glitter using tissue and the orange stick. Apply a medium – thick layer of top coat and cure for 2-3 minutes.
When you do a non-glitter gel manicure they suggest a thin layer of top coat, similar to the other layers. However, I found that as the glitter is 3D, I needed a thicker layer of top coat to encase it, otherwise I got a rough finish.
Step six: The nail will be tacky still – this is normal. Use a cotton pad to wipe gel cleanser over the top of the nail to finish up. You may also need to file to nails a little if you have any bits of stray glitter causing an uneven tip.
Step seven: Repeat steps 4, 5 and 6 for the rest if your fingers on the same hand. Then repeat the entire process for your other hand.
You’re done! Gel nails last between 2-4 weeks without any peeling or chipping so you now have a fortnight to show off your handiwork (!!) and plan which glitter colour to go for next. Hurrah! A whole new world of glittery possibilities!
To remove gel nails you’ll need to get yourself some acetone nail polish remover available in most pharmacies.
Now go forth and glitter !