
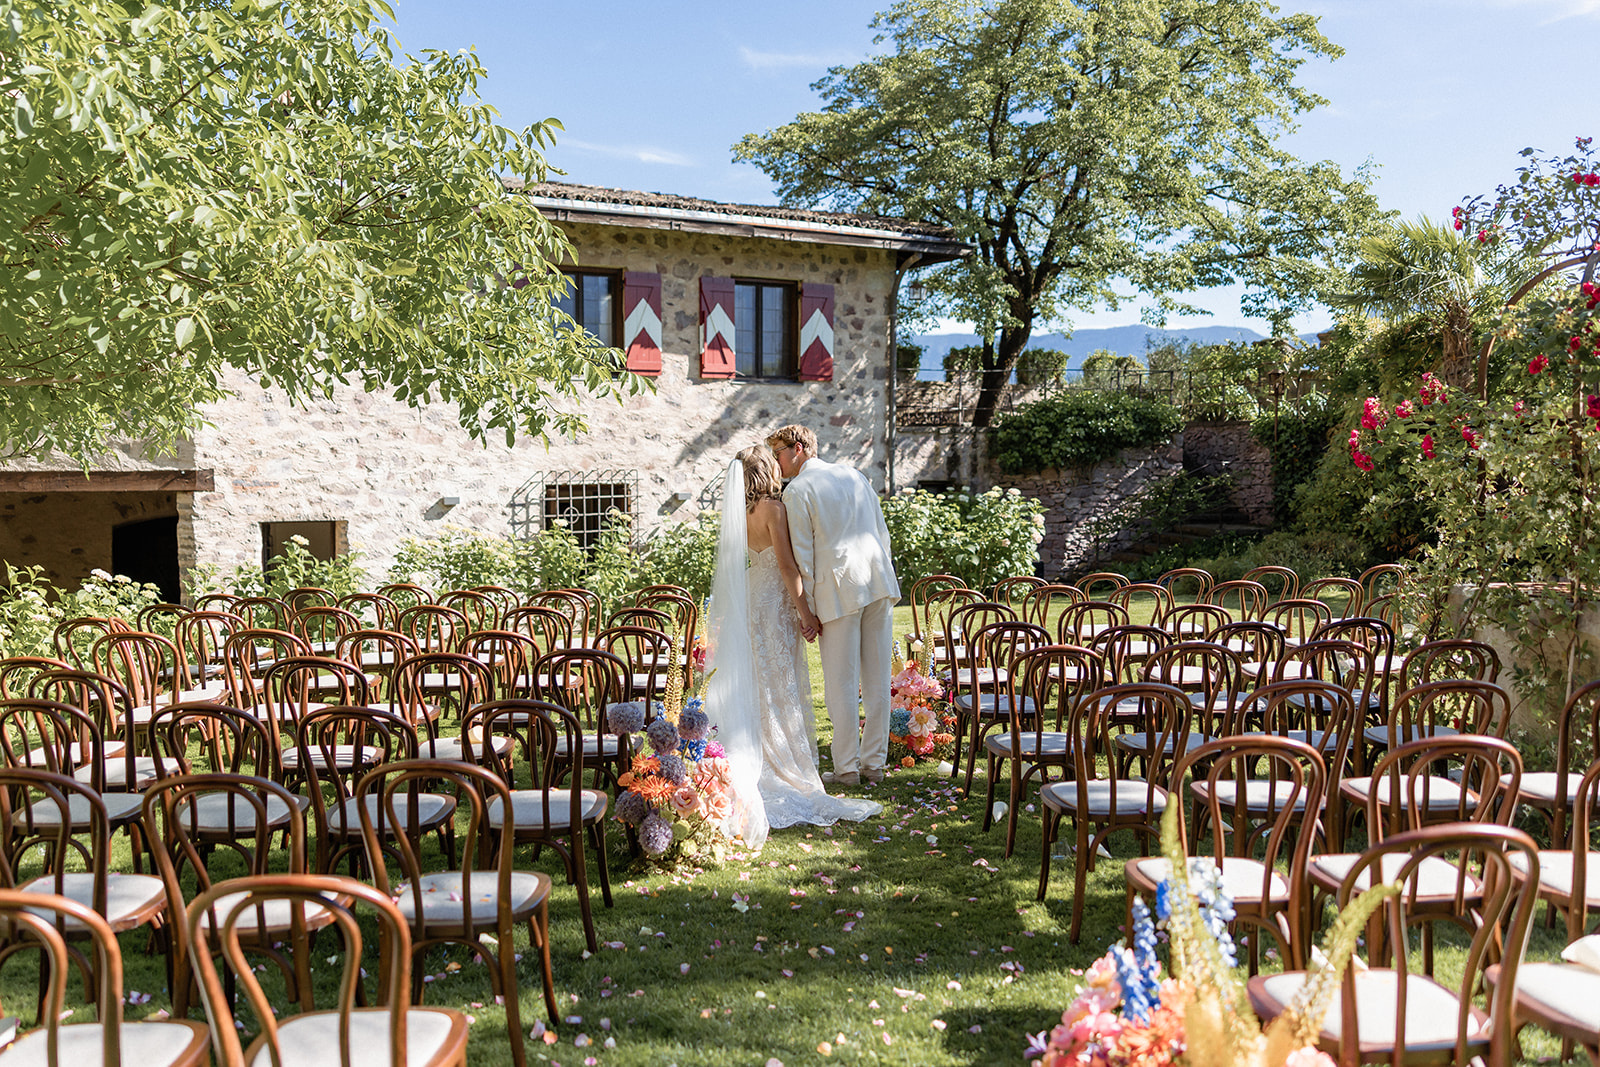
Congratulations, you’ve made the decision to have a destination wedding! You can already imagine the picturesque ceremony, the delicious dinner under the stars and the outfit you’ll probably sweat through. You tell people the invites are on the way… but then the incessant messages start.
Which airport?
Are we staying for two or three nights?
Is the Friday night dinner included?
Can I bring the kids?
How do we get from the airport to the venue?
What will the weather be like?
ARGH! PLEASE MAKE IT STOP. Thankfully, there is a very easy way to do that: enter, the Aisle wedding website.
Getting married abroad always comes with a substantial amount of guest admin. But Aisle’s wedding website and RSVP tools bring your wedding website, guest list, event RSVPs and accommodation arrangements together all in one place. You can use it with a venue you’ve already booked elsewhere, or even use their destination wedding venues search to finding your venue through the platform itself!
Not sure what to put on your destination wedding website so everyone has a fighting chance of arriving in the right place, at the right time, wearing something appropriate? Here is our handy guide:
Start with the basics
Once your date and venue are confirmed, you have useful information to share. Guests may need to save money, request time off, arrange childcare or coordinate travel with someone else, so give them that head start.
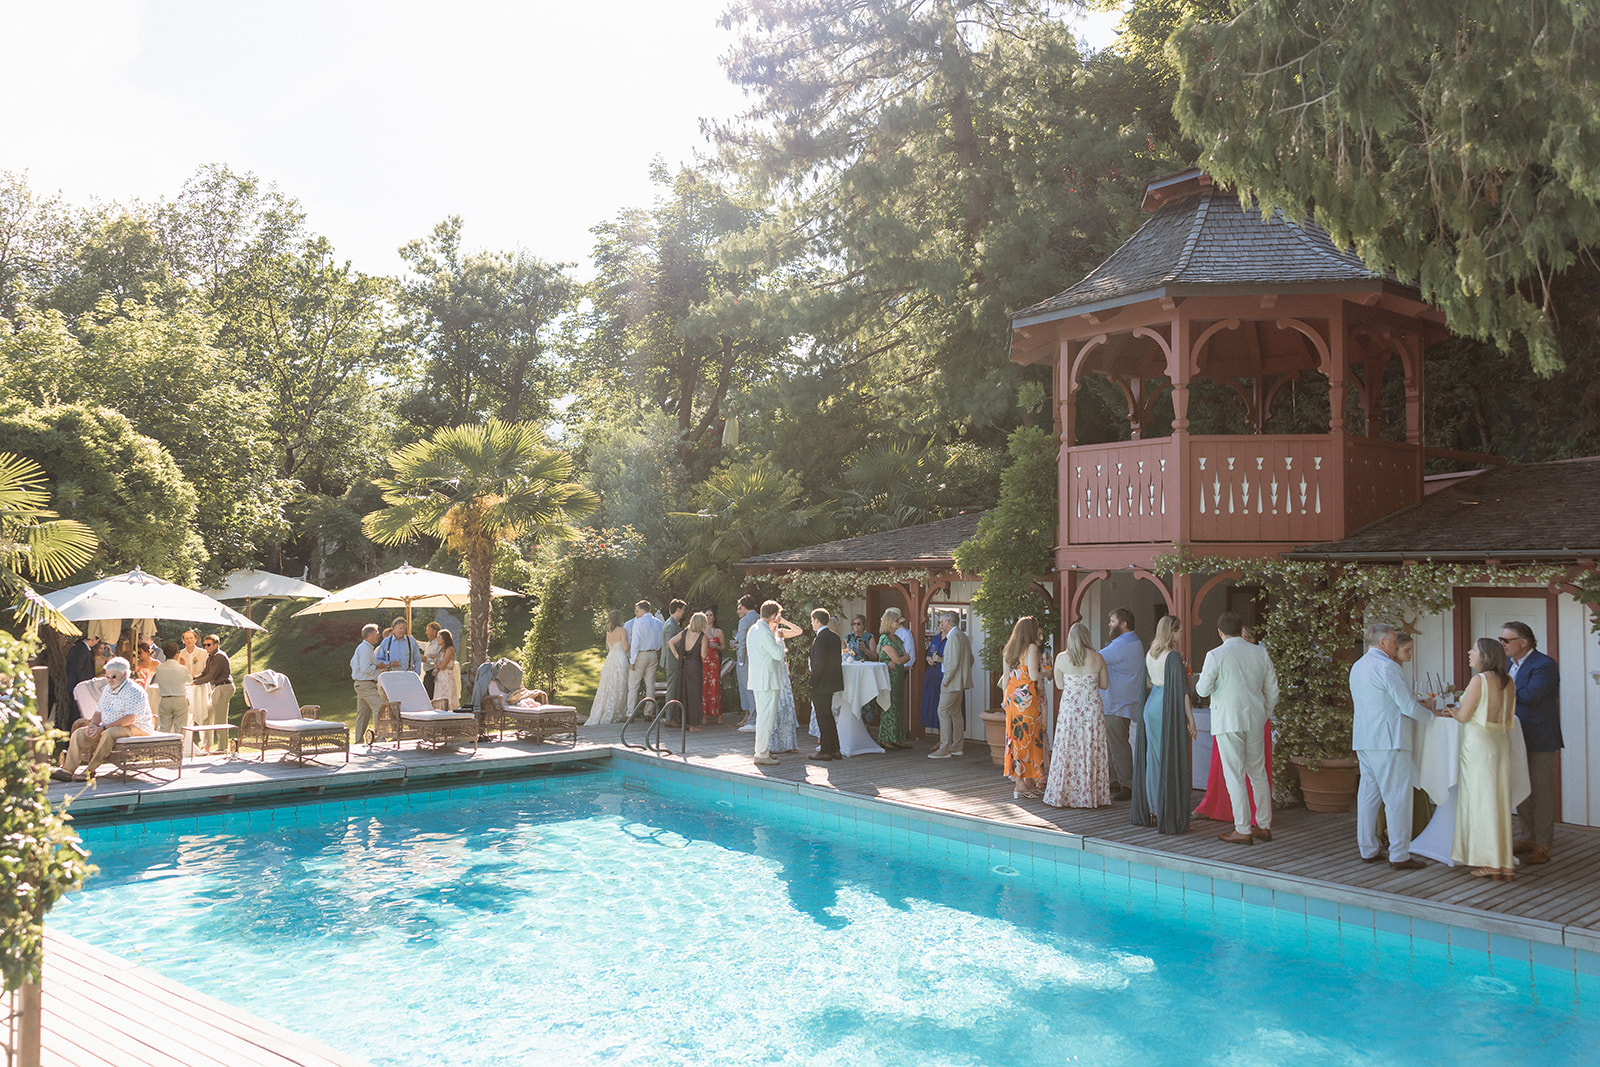
Publish your wedding date, destination, venue and the dates you’d ideally like people to be there. If you’re planning a Friday welcome dinner before a Saturday wedding, say so early so that people who are keen to book their flights know there’s something going on the night before.
Make it obvious that there there will be more to come: “We’re arranging transport between the hotel and venue. Pick-up times will be added here by 1st June” for example, gives guests something concrete to work with.
Spell out the schedule
For each event, include the date, location, arrival time and what’s happening. Explain whether there’s food, whether transport is provided and if guests need to RSVP to individual events (and by what date).
Be precise about timings. If guests should arrive at 3pm for a 3.30pm ceremony, write both to avoid any potential confusion.
If you are arranging optional activities such as a day at the beach or a wine tasting, be sure to say they are optional. Guests might love the idea of a farewell brunch, or they might prefer to catch an earlier flight home. Let them make that decision without a guilt trip.
Explain transfers from the airport
List all the relevant airports and the approximate journey from each to the venue or accommodation. The cheapest flight can become considerably less appealing once someone discovers the airport is three hours away!
Its really helpful to include the practical next steps too: train connections, taxi arrangements, car hire options or any transfers you’re organising. For arranged transport, publish the pick-up point, departure time and how to reserve a space.
If guests are staying at a different location to the wedding itself, think about their journey home after the reception. If taxis need booking in advance, tell people. Share the venue’s full address and a map link so guests can save them before travelling.
Make accommodation options clear
“Rooms are available at the venue” is lovely, but puts the pressure on your guests to figure it out. They can, of course, but they’ll be very thankful if you also explain the room options, price, currency, number of nights and whether the rate is per room or per person. You can also get extra points by including what’s covered, such as breakfast, alongside check-in and check-out times, booking deadlines and the relevant cancellation terms.
Be very clear about who pays. If guests are covering their own rooms, say so before they commit to attending. With Aisle this is super easy! You can add accommodation you’ve arranged and let guests book and pay for rooms through your wedding website. That then keeps those bookings all in one place, alongside the rest of the plans.
If guests are to arrange their own accommodation, include a few suggested hotels at different price points where possible, with realistic travel information.
Translate your dress code
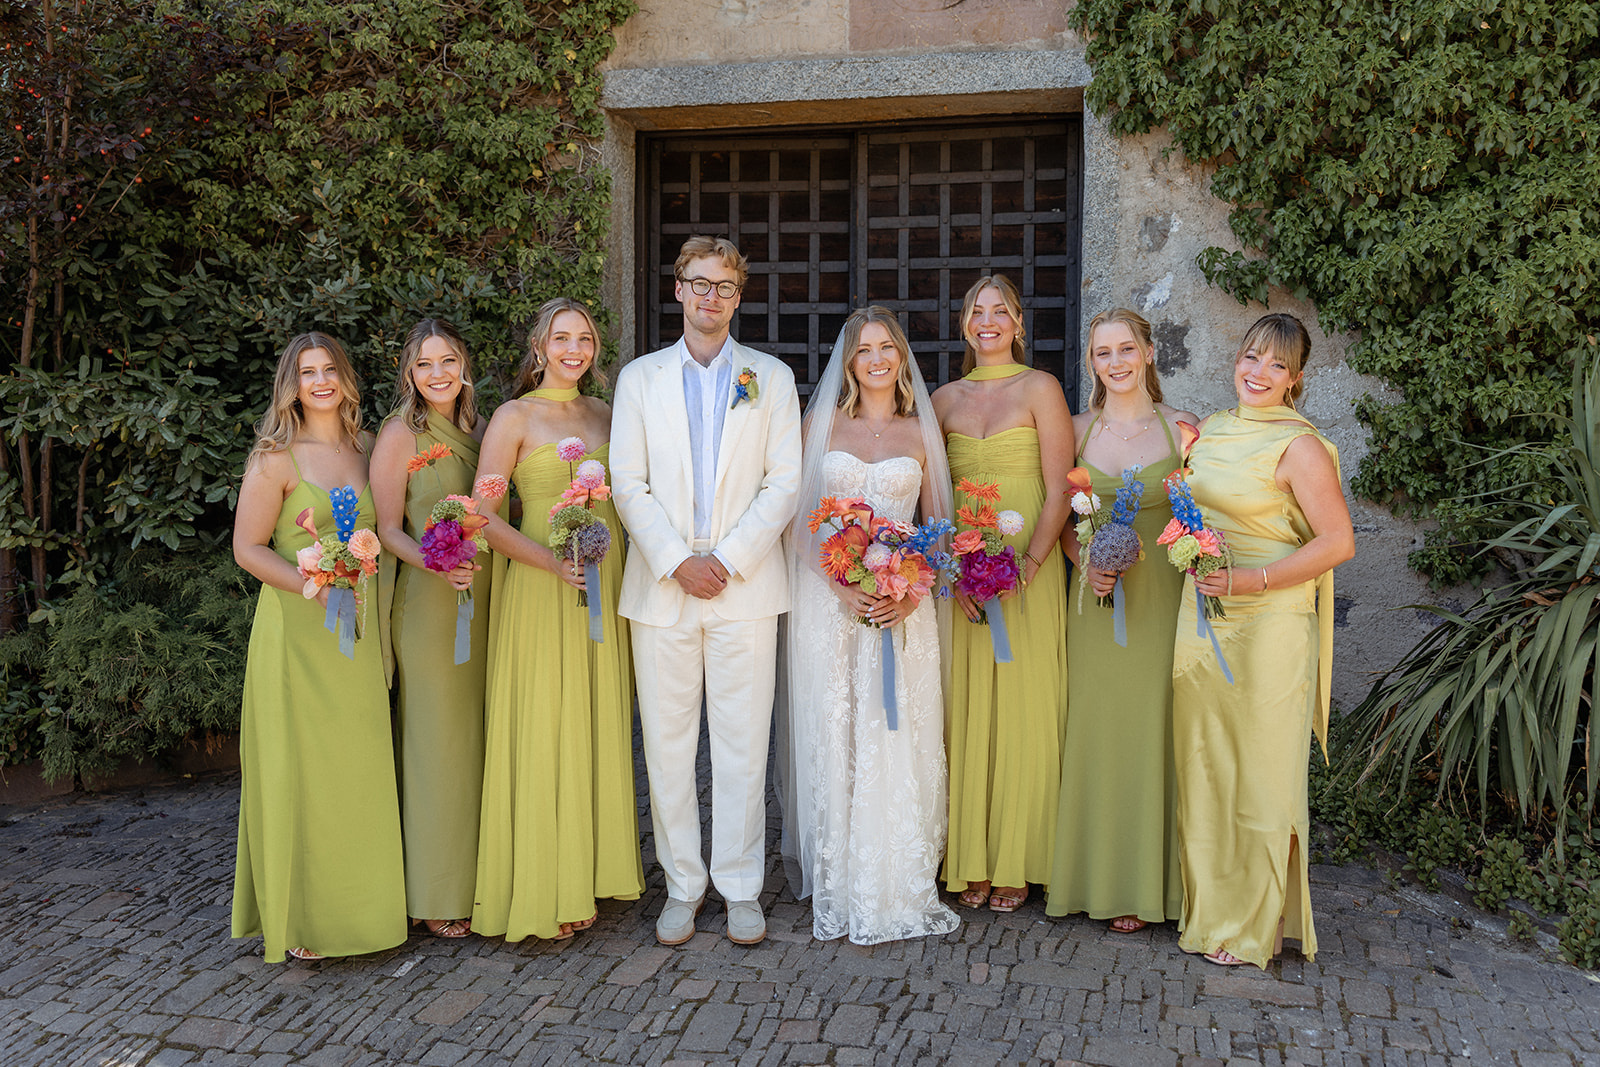
“Barefoot disco goblin” might capture the mood perfectly but it can be confusing to know how that translates into an actual outfit. Including mood boards, a colour scheme and suggested accessories will be really helpful for people. Tell guests about the conditions too: grass, gravel, sand, steps, outdoor seating and expected weather conditions.
Keep the wording open to different bodies, genders and budgets too. “Bright colours, informal suits, long dresses, sequin jumpsuits, whatever you feel good dancing in” gives people a great place to start.
Add local information that people will use
Try to include a short selection of useful advice on nearby places to eat, the closest shop, how people generally get around and anything specific to your venue’s location.
Prioritise details that can affect someone’s plans such as can they buy lunch when they arrive? Is the hotel within walking distance of anything? Will they need cash for the transfer you’ve recommended?
Keep it updated
Put your website link, and/or a QR code on your paper invitations or in your invite email. And if you need to make any significant updates or changes, tell the people it may affect.
You can also set a contact for questions during the wedding itself, provided that person has agreed and has the answers. You don’t want to be dealing with loads of panicked texts or last minute questions the morning of the wedding!
Setting up a wedding website is pretty much a must-do when you’re getting married abroad. The aim is to make planning easier for you and your guests. Give everyone the information they need, keep it updated and you’ll have fewer questions to answer and more time to get excited about the whole getting married bit.
Suppliers
- Photography: Lukas Hanifle