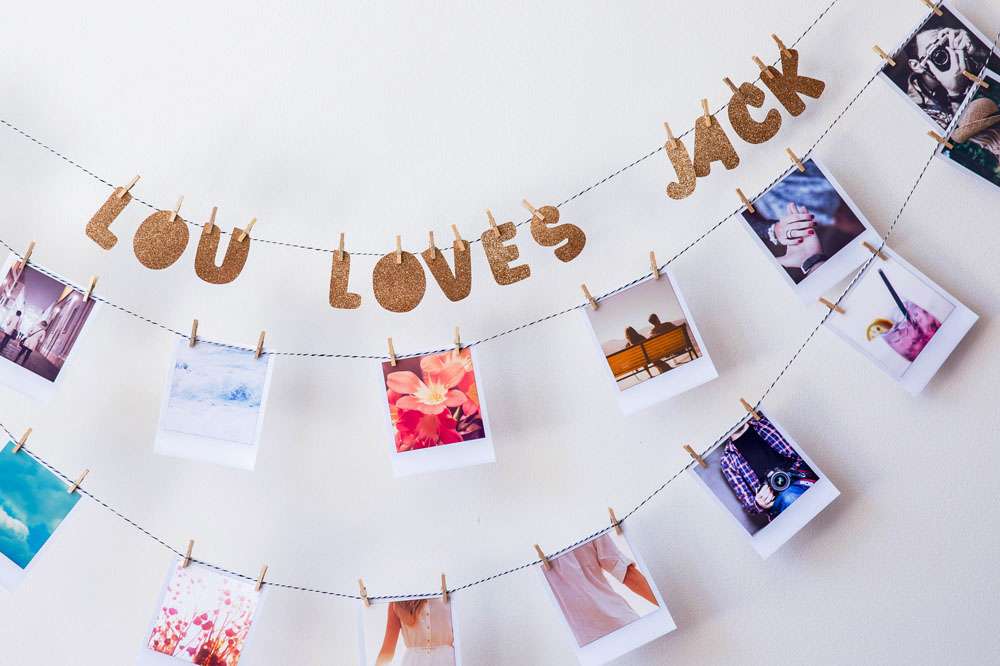
At the last Blogcademy class of 2014 in Auckland, we were lucky enough to have Josie of Wink helping us decorated the space. I loved her creations so much that I asked her if she’d do some DIY tutorials for the blog and print magazine over the coming months. Luckily she agreed! I think this Polaroid banner idea is super adorable and would be amazing to hang at your wedding reception. Over to you Josie!
Supplies Needed:
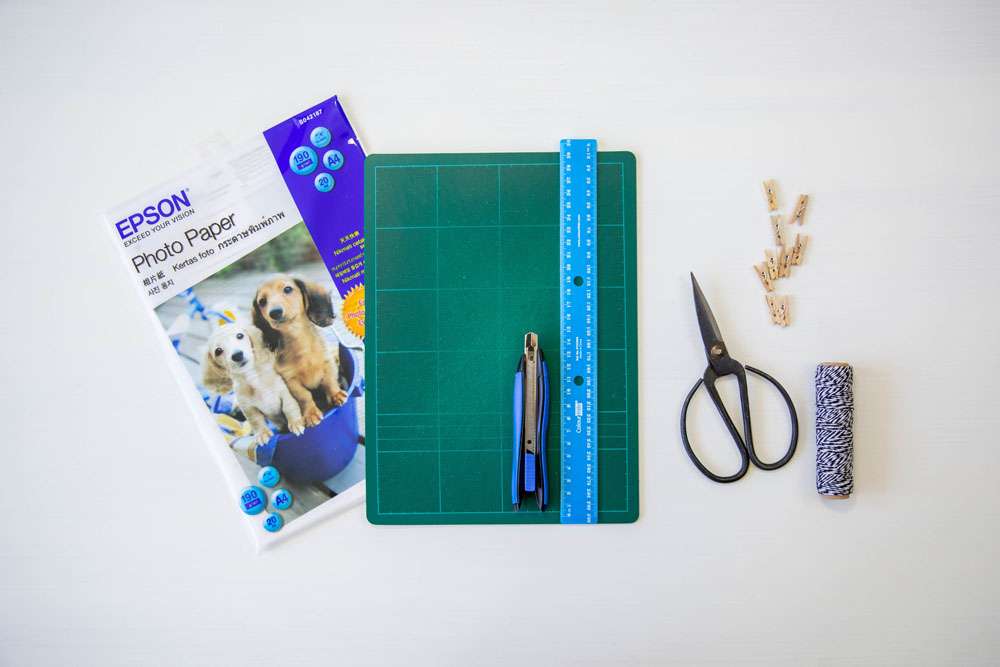
♥ Cutting board
♥ Scissors or craft knife
♥ Ruler
♥ Mini wooden pegs
♥ Photo paper
Method:
Step one: I decided to print my own Polaroids using my own printer and photo paper, but if you don’t want to do this you can get them printed cheaply and through lots of different place such as Square Snaps, Printic App, Printstagr.am, Polabora and Origrami. If you do this you can skip directly to step seven!
Step two: If you don’t use an online service to print your pictures, start by downloading a Polaroid template like this one. It has four blank Polaroid spaces on it. Open it up in PhotoShop and using the Move tool, move the first four images you want to use into the space on the template. Then, using your Layers Menu, move the photo layer beneath the template layer.
Step three: If your image is large you might need to resize it using Edit – Transform – Scale and double click to set the image in place. Do this for all four of your images. Finish by going to Layer – Flatten Image and save your file as a JPEG or PDF.
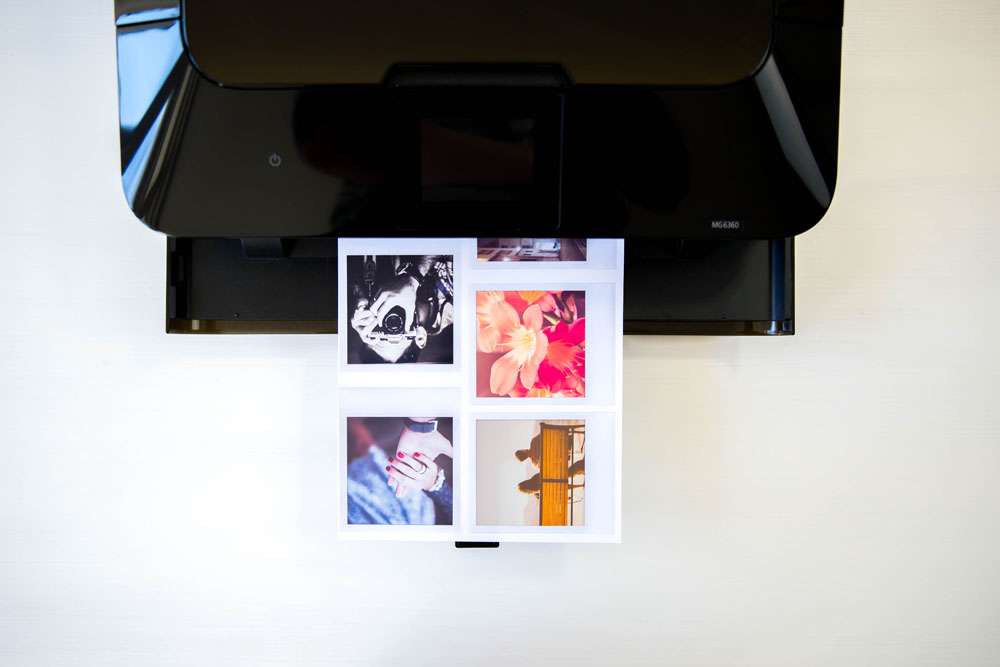
Step four: Print the finished document onto photo paper. I used paper with a weight of 190gsm and it was perfect. You could also use thicker paper if you want to but I would recommend the photo or glossy paper as it makes them look so realistic.
Step five: Repeat the process to create as many pages of Polaroids as you need. I love the way two strings of Polaroids look so I printed about 20 pictures in total.
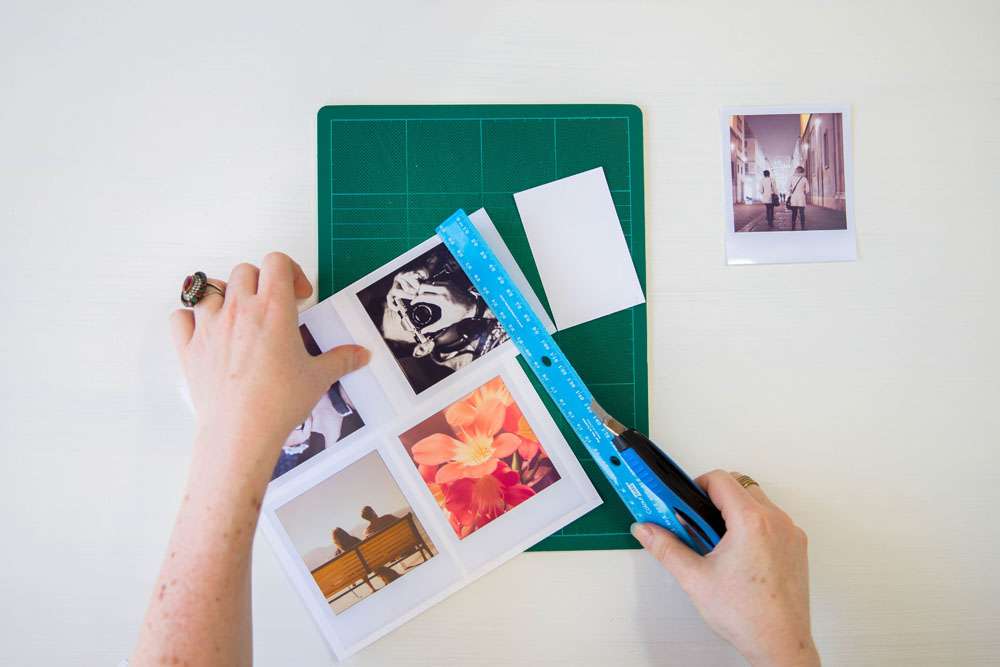
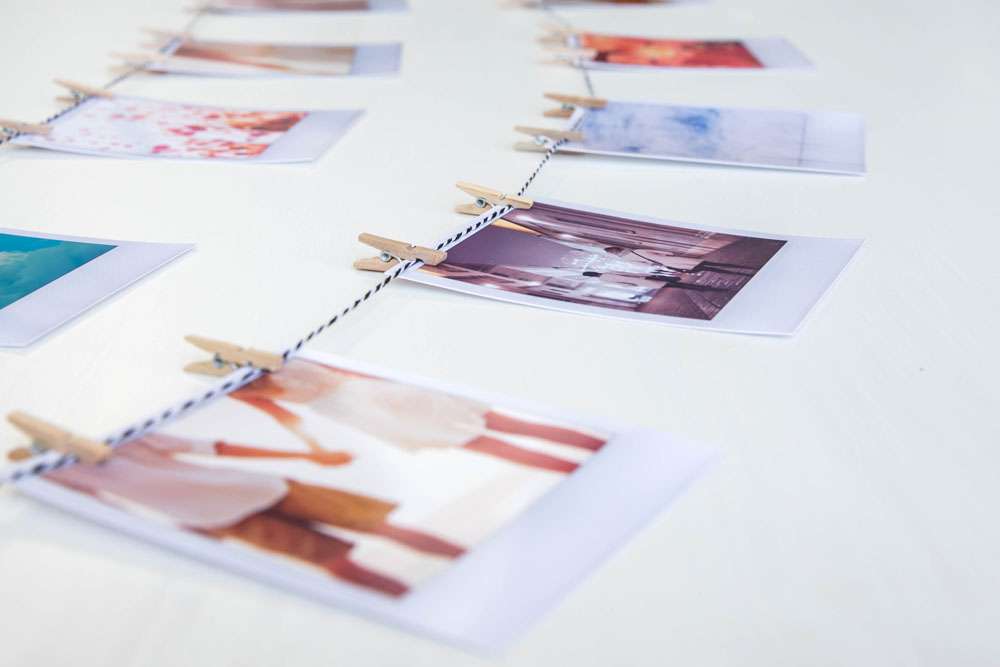
Step six: Cut out your Polaroids using a ruler and craft knife or scissors, whatever you are more comfortable with.
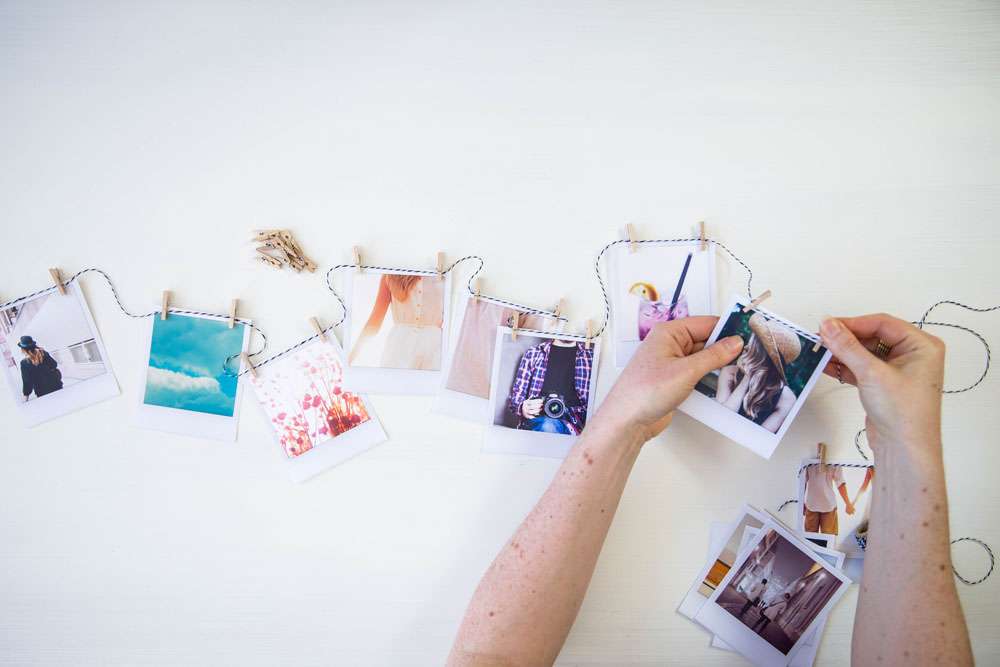
Step seven: Lay out your photos as you want them to be seen on your banner. Think about a mix of colours and styles – don’t put all the same type of photos together.
Cut a length of twine to suit and peg the Polaroids onto it. Alternatively, you can punch a hole into the Polaroids and string the twine through.
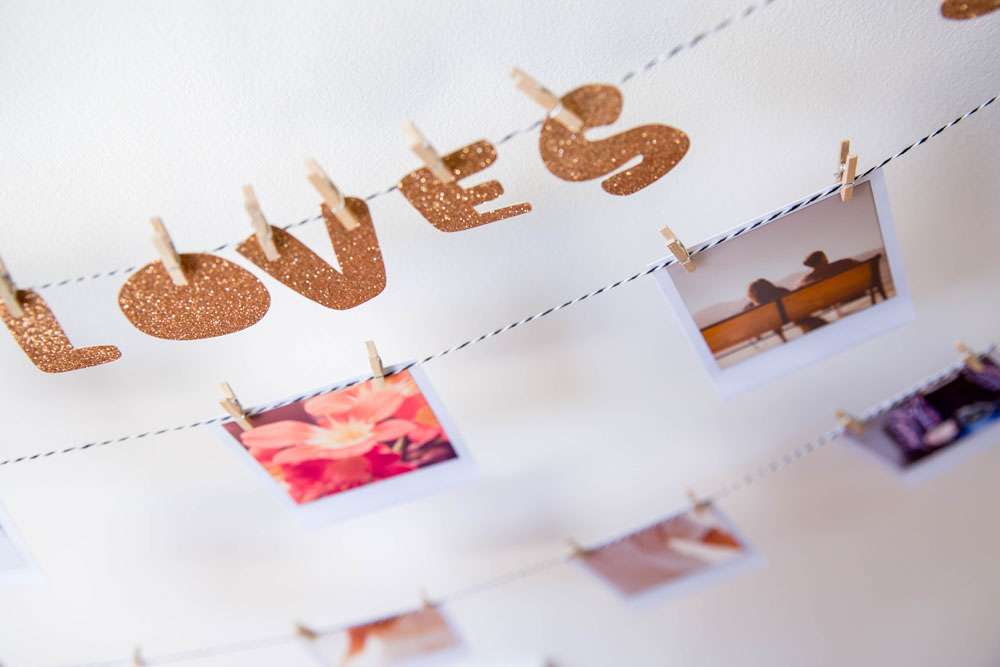
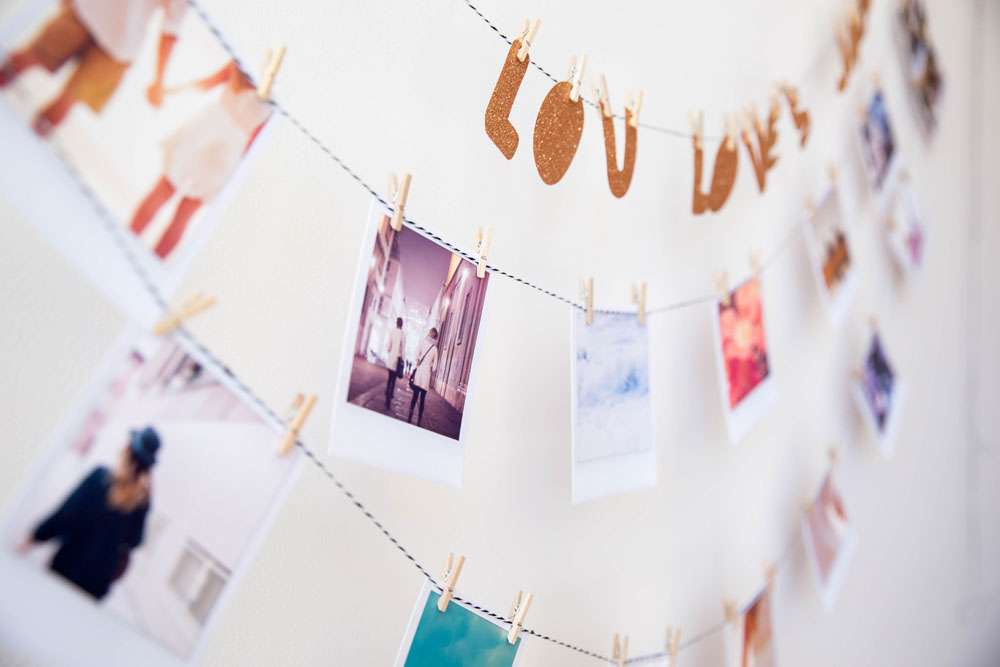
Step eight: That’s it! All you now need to do it hang it up! There are lots of ways to use the photos other than just putting them on twine too. How about hanging them on a strings of fairy lights, on pretty thread or fabric? You could add other items to the banner too like glitter letters or cut out shapes from card. This is where you can personalise your banner to suit the two of you.
Suppliers
- Photography: Natalie Morgan Photography
- Tutorial by: Wink