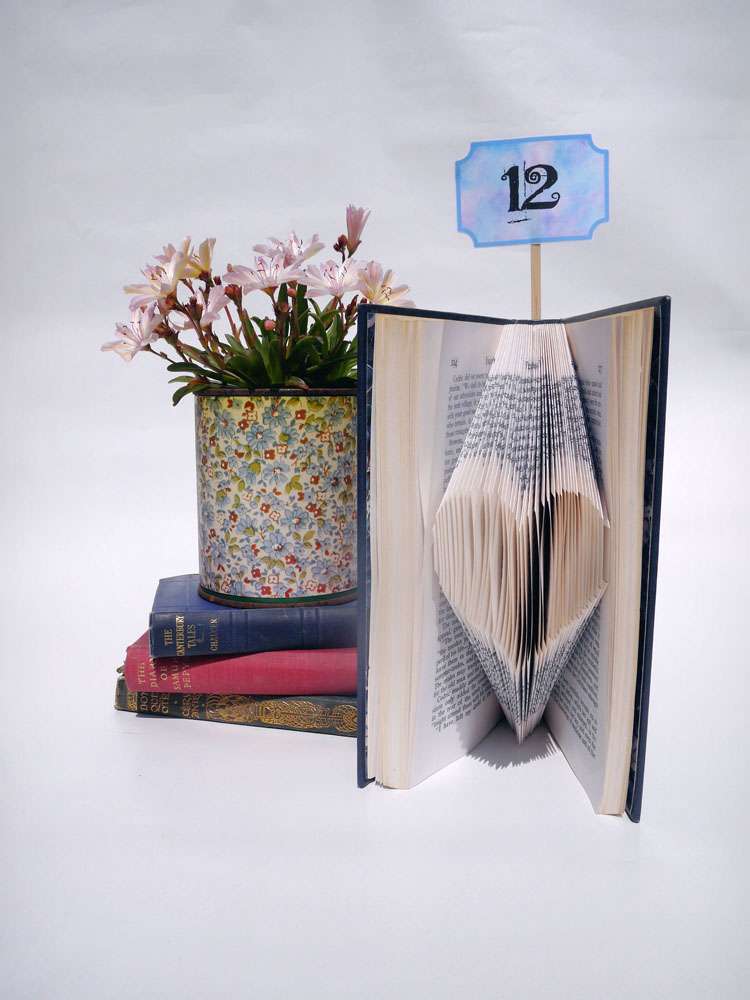
If you’re considering a literary inspired wedding, or perhaps just want something a bit different for your centrepieces, then folded book art could be the answer. With a bit of practice and concentration, folded book art is easy to accomplish at a very low cost!
Thank you to Rachael Mills for submitting this fab tutorial and to Foldilocks for the folding pattern. Download the (free!) heart pattern before you begin, you’ll need it for the tutorial to make sense!
Supplies needed:
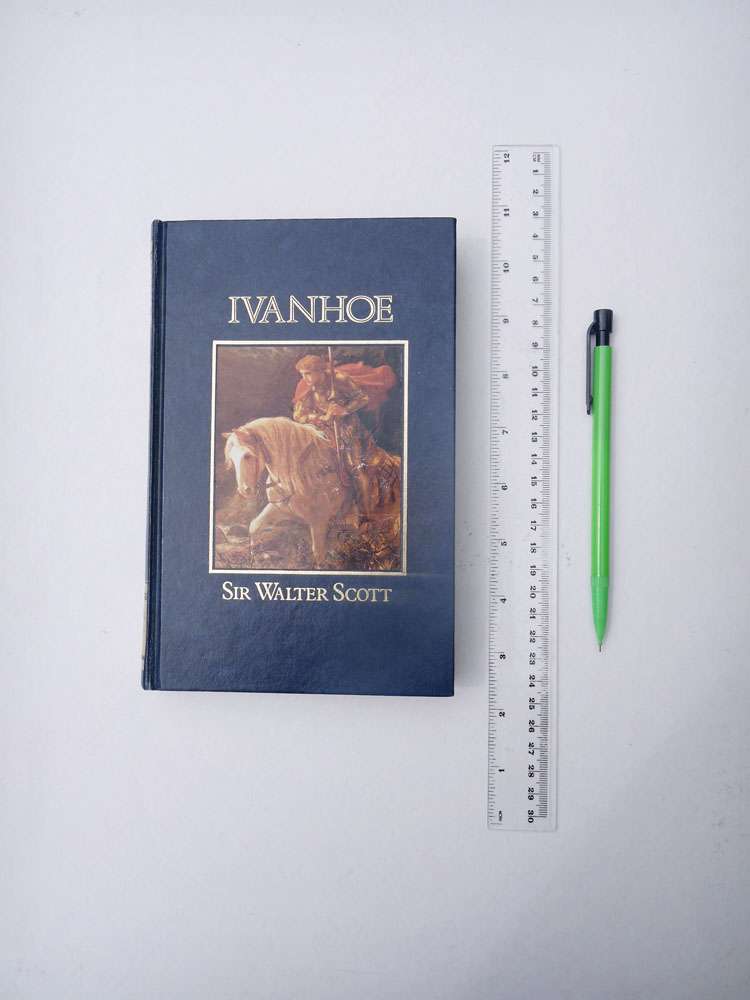
♥ Hardback book, at least 20 cm tall (for this pattern you need a book with at least 82 pages – the pattern has 41 folds, each of which needs one sheet)
♥ Ruler
♥ Pencil
Method:
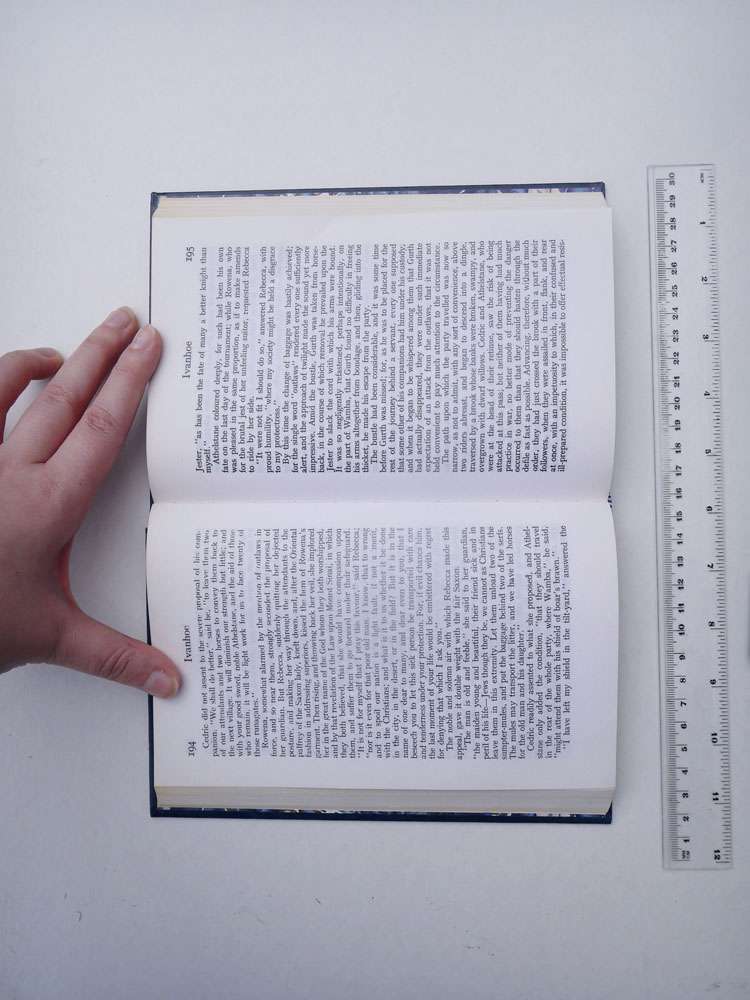
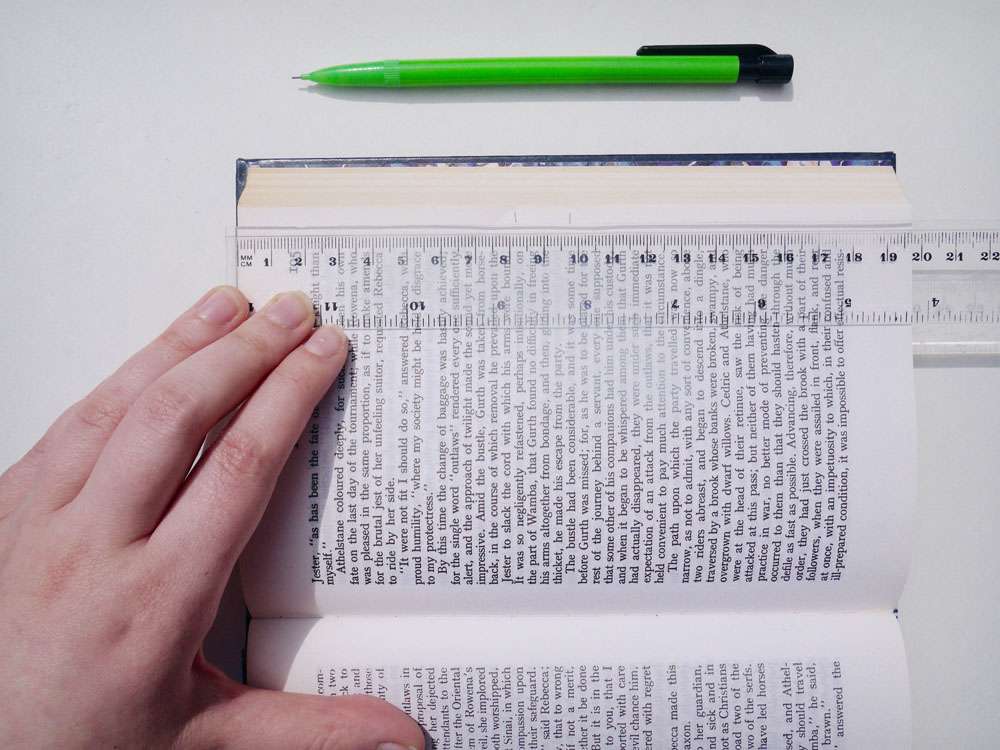
Step 1: Place the book in front of you as though you are about to begin reading it. Now turn it 90 degrees anti-clockwise until the spine is facing you.
Step 2: A pattern looks better if it’s placed centrally in the book so we now need to calculate which page to start at. To do this simply divide the total number of pages by two to find out the total number of folds possible within your particular book. Mine has 473 pages so that means the maximum folds my pattern can have with 236. Them, subtract the number of folds that the pattern requires. This pattern has 41 folds so for my book the sum is 236 – 41 = 195. That means my starting point is page 195.
Don’t worry if you hate maths as this becomes second nature after a few patterns!
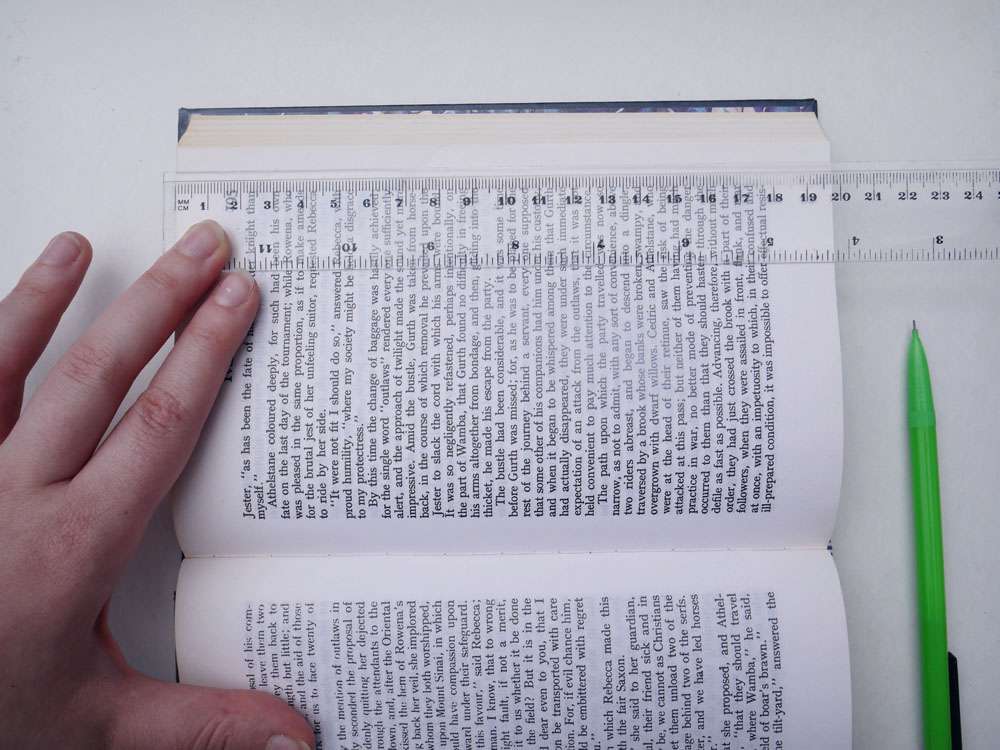
Step 3: You’ll be measuring from the top left corner across the book so place the 0cm mark of the ruler at the left hand edge of your starting page. You need to leave some room on the page to make the marks so don’t line it up too closely to the long edge of the page.
Step 4: You’re now ready to make the first marks. Referring to the pattern for fold number 1, use a pencil to mark 8.2cm from the top of the page. Without moving the ruler, make the second mark for this fold along the same line, in this instance 9.8cm, from the top of the page.
Be as accurate as you can when making the marks as this provides a better finish.
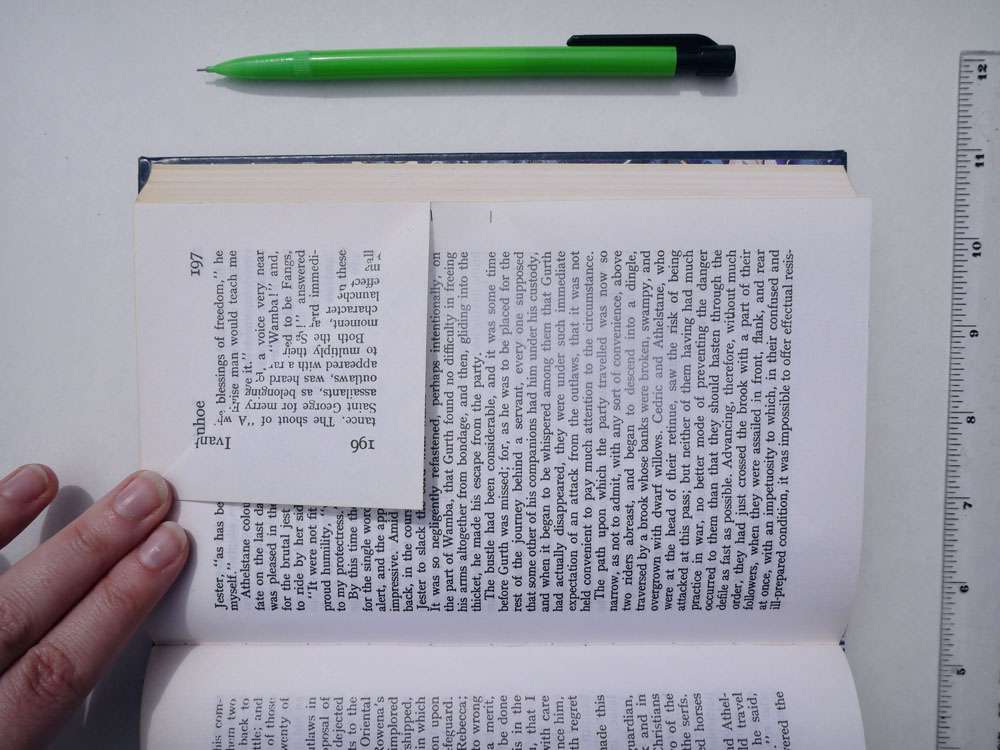
Step 5: Move to the next sheet and, referring to the pattern, make the marks for fold number 2. Then the next sheet and fold number 3 etc. I always find it helpful to cross off each fold as I mark it so I don’t lose my place. You’ll find this happens a few times when you first try book folding!
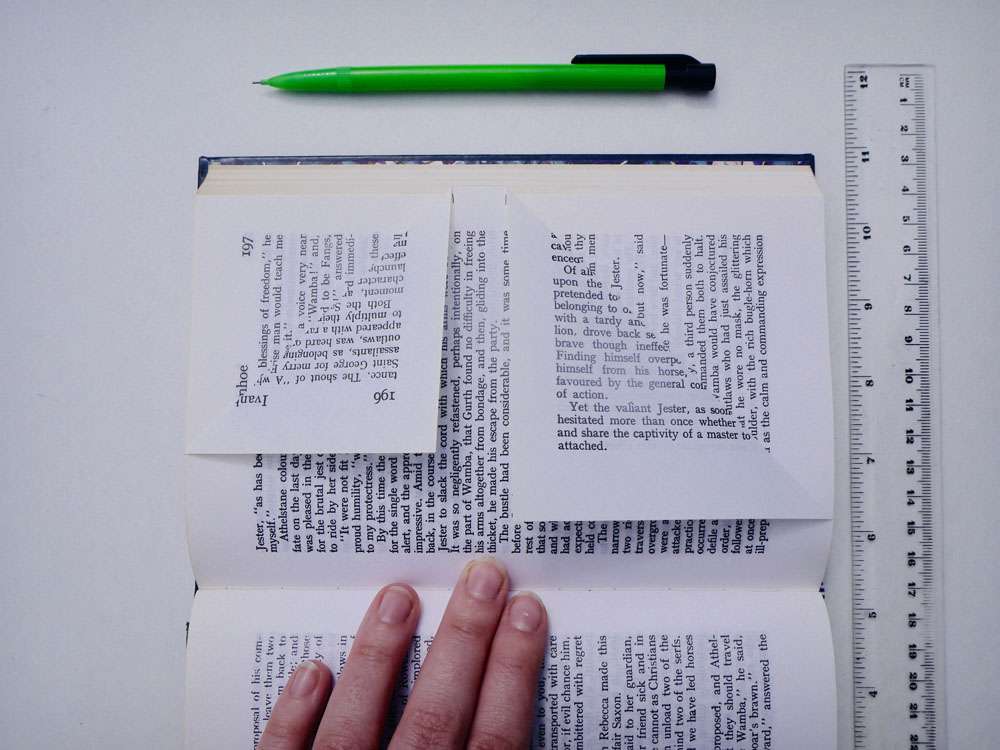
Step 6: Once you’ve finished marking the required sheets, you’re ready to begin folding. This is the easy bit as you don’t need to concentrate too much! Turn the book 180 degrees so the marked edge is now closest to you. Fold each page diagonally at the marks you made previously.
Try to keep the folds at 90 degrees and make them as sharp as possible. Repeat this until all the marked pages are folded.
Step 7: You’ve almost finished! Place the book under a heavy item overnight to make sure the folds are even on both sides. You can then add any decorative flourishes you like. You could tie a coordinating ribbon around the book to link it to your colour scheme, or decorate the outside cover with patterned paper.